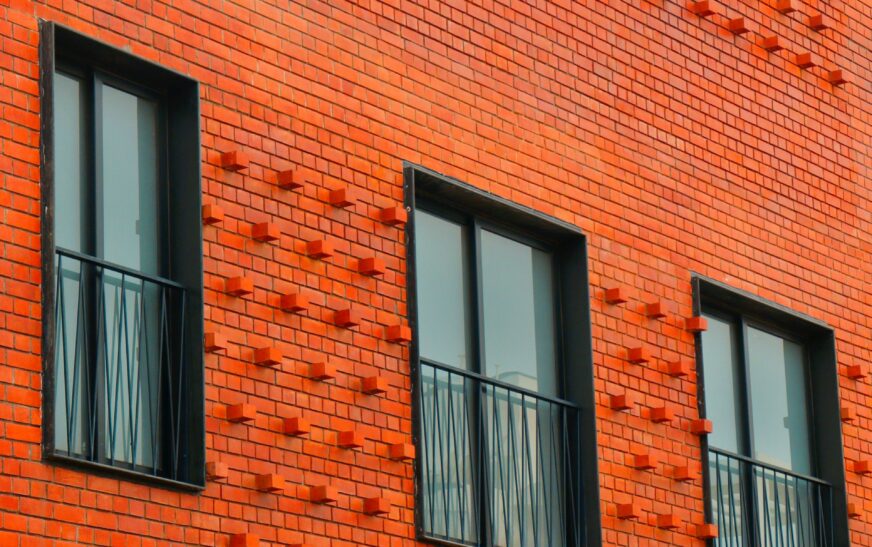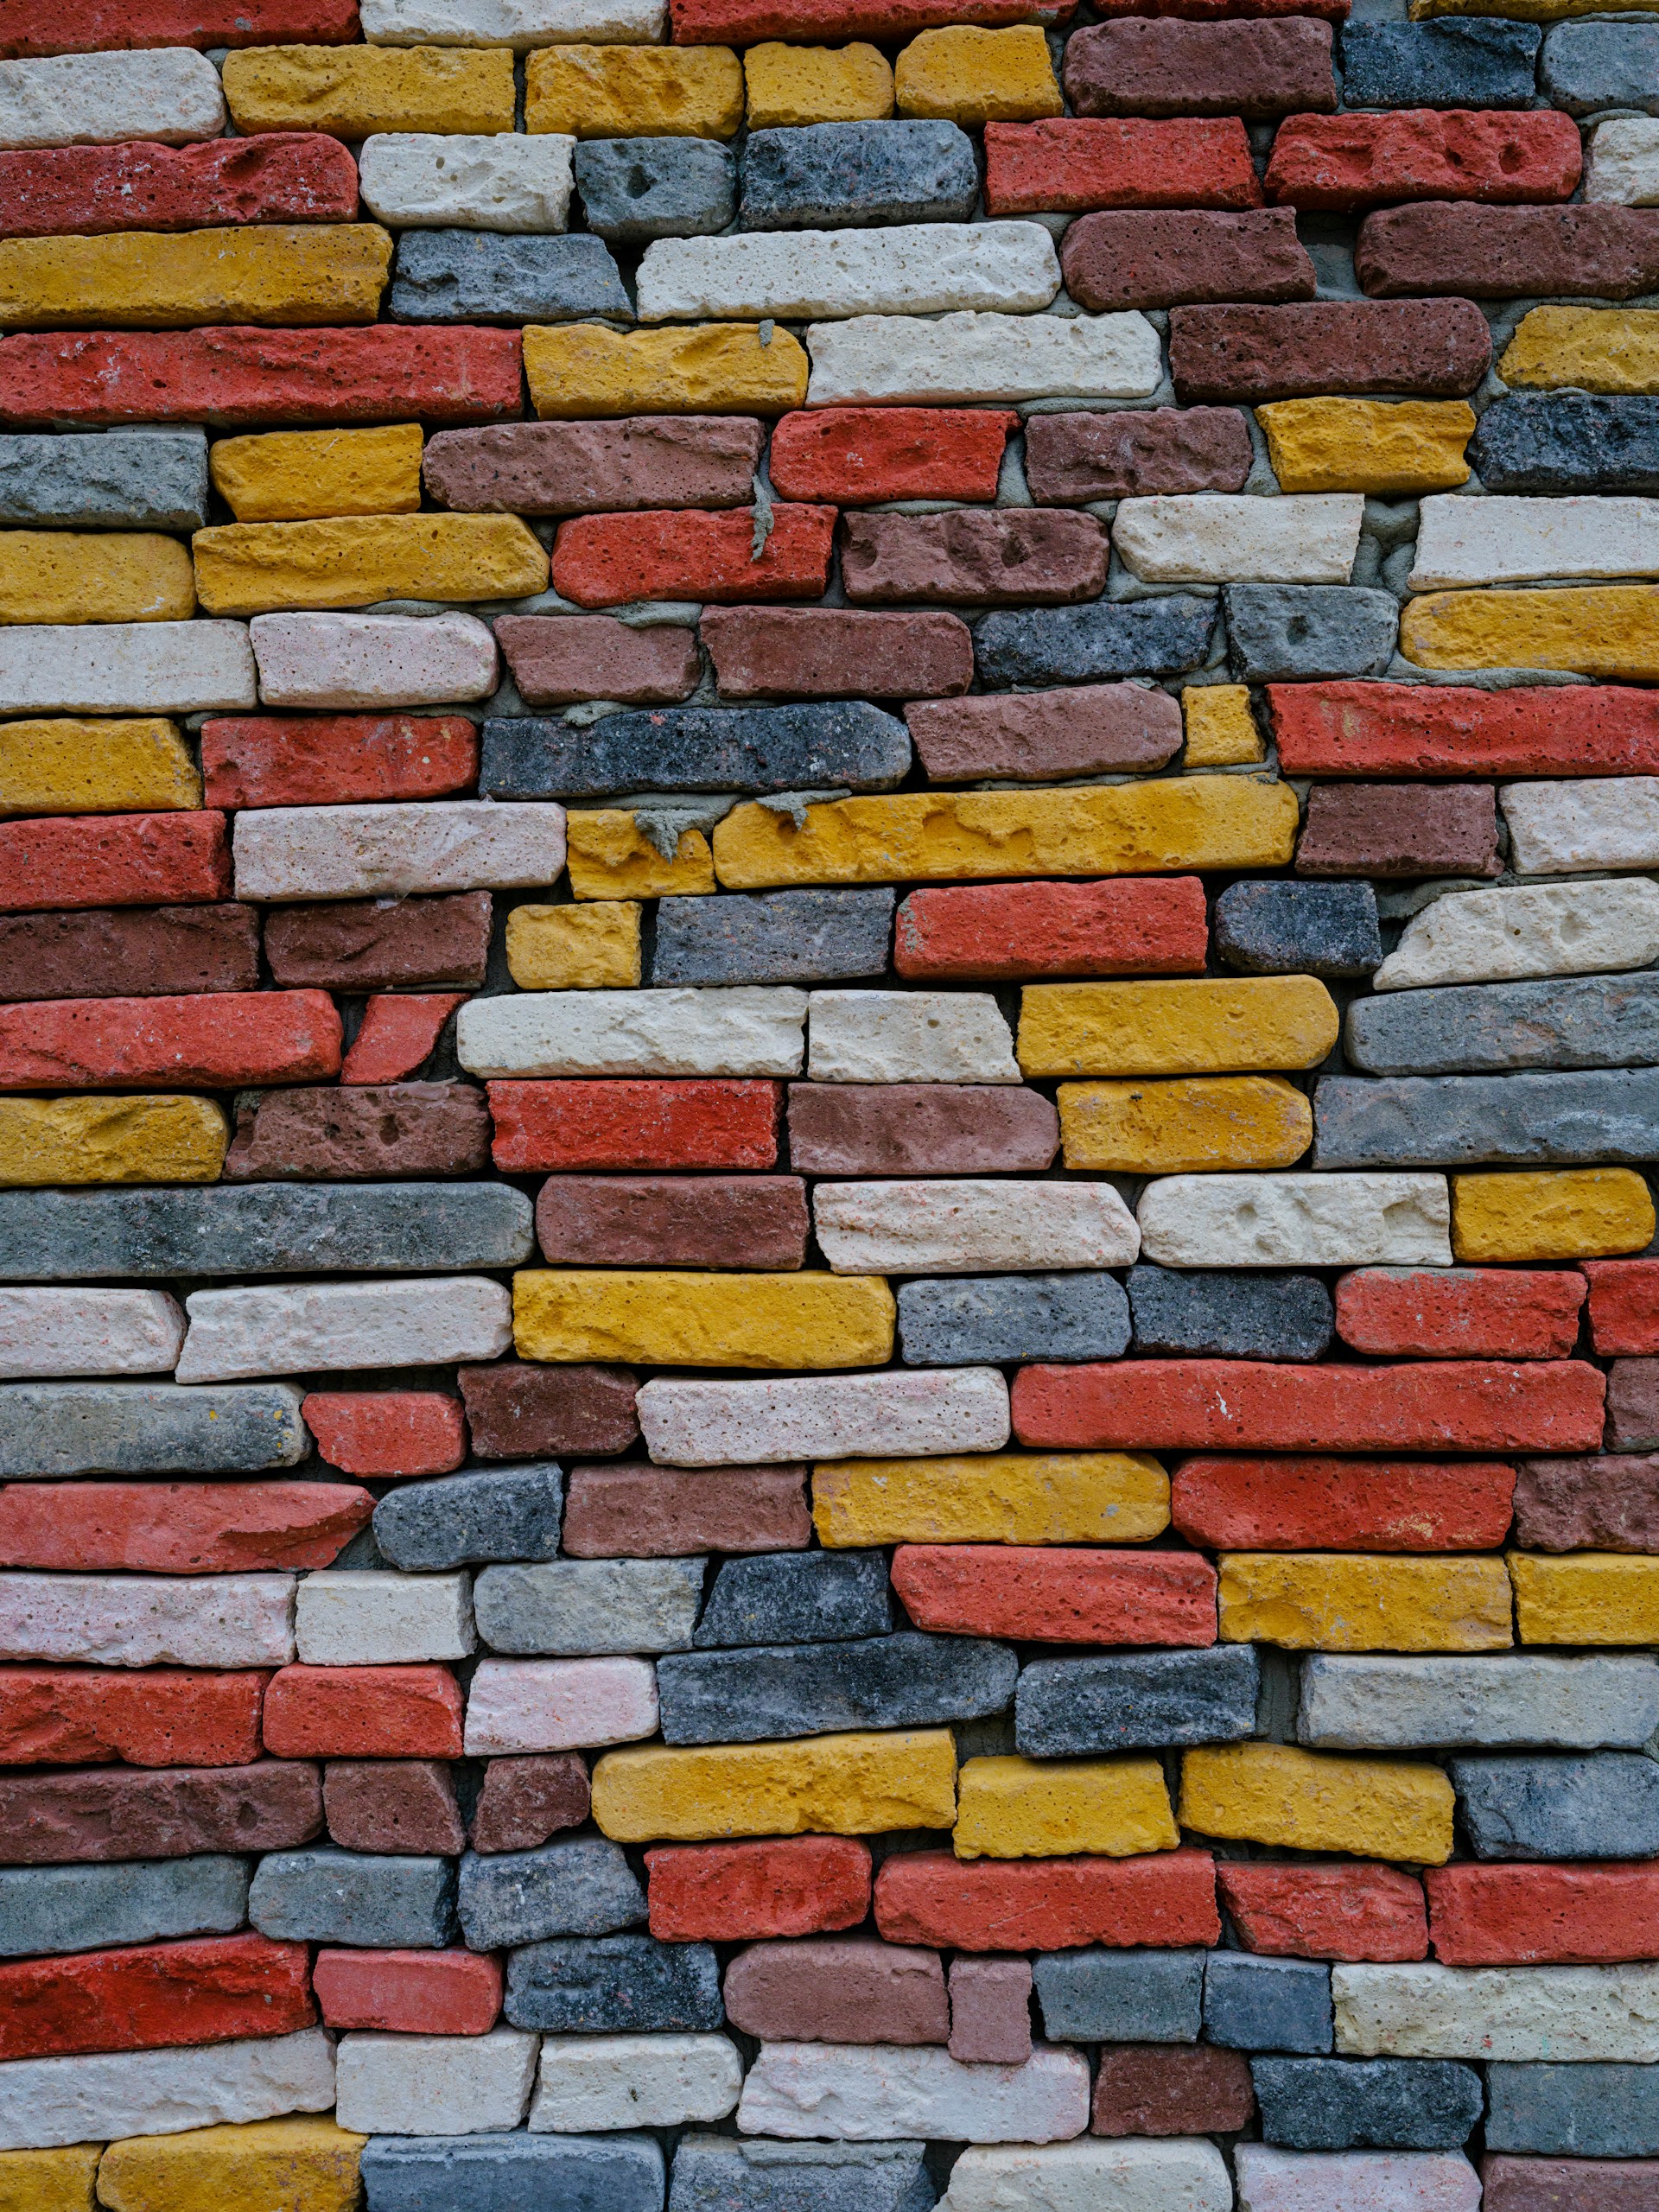
Real brick walls? Gorgeous. Also: expensive, heavy, and a total workout to install. Enter stucco — the budget-friendly, shape-shifting cousin that can pull off a surprisingly convincing brick impression if you treat it right. With a little technique (and patience), you can get all the “rustic charm” without the sore back or the giant bill from a mason.
Let’s walk through how to turn plain stucco into a wall that’ll make your neighbors do a double-take.
Why Stucco Works as a Brick Stand-In
Stucco is basically a mix of cement, sand, and water that turns into a sculptable surface once it’s spread on a wall. Think of it as Play-Doh for grown-ups. Here’s why it makes such a good brick impersonator:
- Way cheaper than hauling in real bricks.
- Flexible — you can slap it on concrete, drywall, or even wood.
- Customizable — pick your own “brick” color, size, and texture.
- Lightweight — no need to worry about your wall collapsing from the extra load.
It won’t feel exactly like brick if you knock on it, but visually? Pretty darn close.
What You’ll Need (a.k.a. Your DIY Brick Starter Pack)
- Pre-mixed stucco or a cement-sand mix
- Trowels and finishing tools
- A brick stencil or trusty masking tape
- Paint, stain, or pigment for color
- Sponge, brush, or rag for texture
- Protective gear (because stucco dust in your eyes = bad day)
Step-by-Step: Turning Stucco into “Brick”
1. Prep the Surface
Clean the wall, patch up rough spots, and make sure it’s dry. If it’s too smooth, use a bonding agent so the stucco actually sticks instead of sliding off like pancake batter on Teflon.
2. Sketch Your Brick Layout
Use a stencil, tape, or just a pencil to outline your “bricks.” Standard bricks are about 7.5″ x 2.25″, but honestly? A little variation makes it look more real. (Nature doesn’t do perfect symmetry, and neither should you.)
3. Apply the Base Layer
Spread on a thin layer of stucco with a trowel. Keep it even-ish, but don’t stress about perfection. A little roughness helps later.
4. Carve the Bricks
While it’s still workable, press or carve your brick pattern into the stucco. Stencil? Tape? Straightedge? Use whatever makes your lines look like mortar joints instead of random scratches.
5. Add Texture
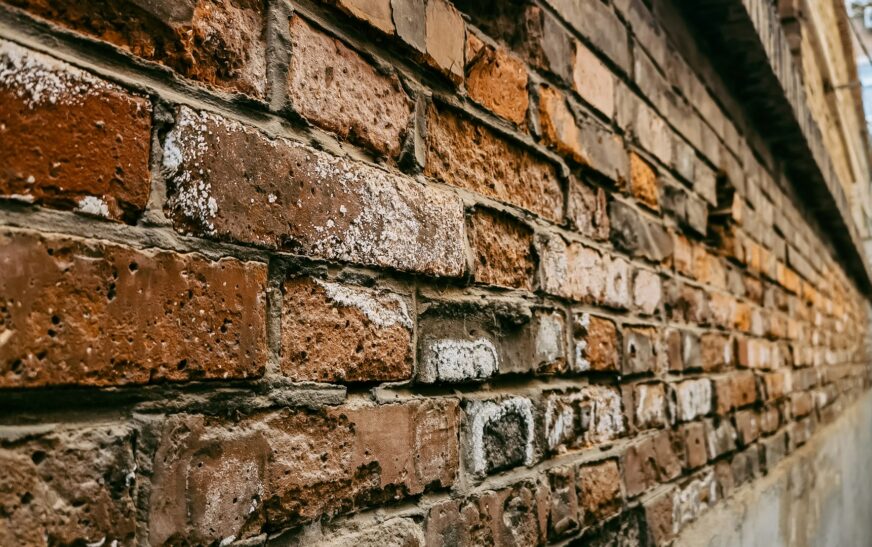
Real bricks aren’t baby-smooth. Dab with a sponge, brush, or rag to give them that “I’ve been here for 100 years” vibe. Random is good. Uniform is bad.
6. Color It Up
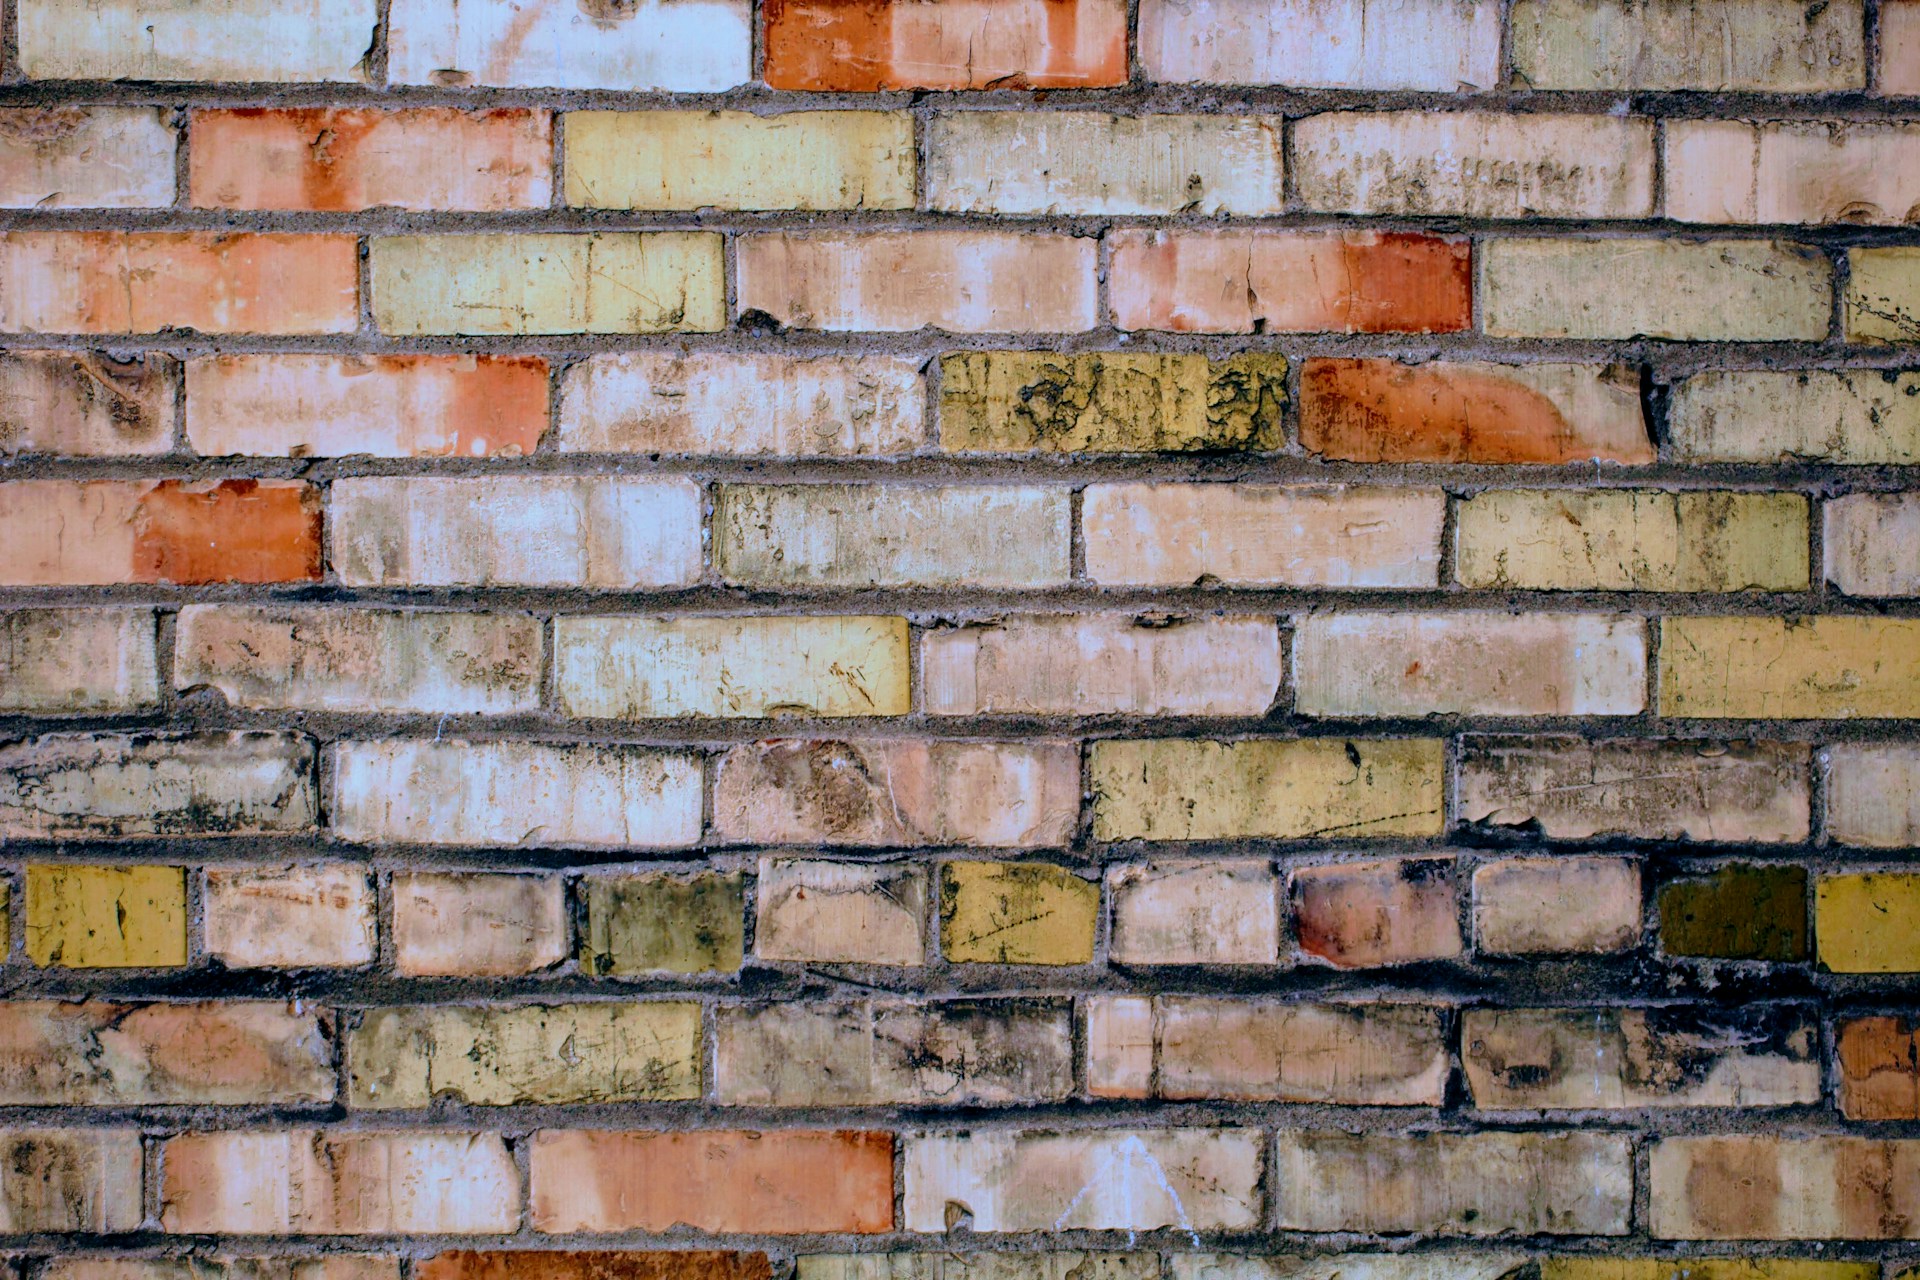
Once it sets a bit, layer on pigments or washes in different shades of red, orange, or brown. Bricks are never just one flat color — the variety is what sells the illusion. Don’t forget to hit the mortar lines with a lighter tone so they pop.
7. Seal the Deal
When it’s fully dry, protect your masterpiece with a breathable sealer. This keeps out moisture, sun damage, and nosy raccoons (well, mostly).
Pro Tips for Maximum Realism
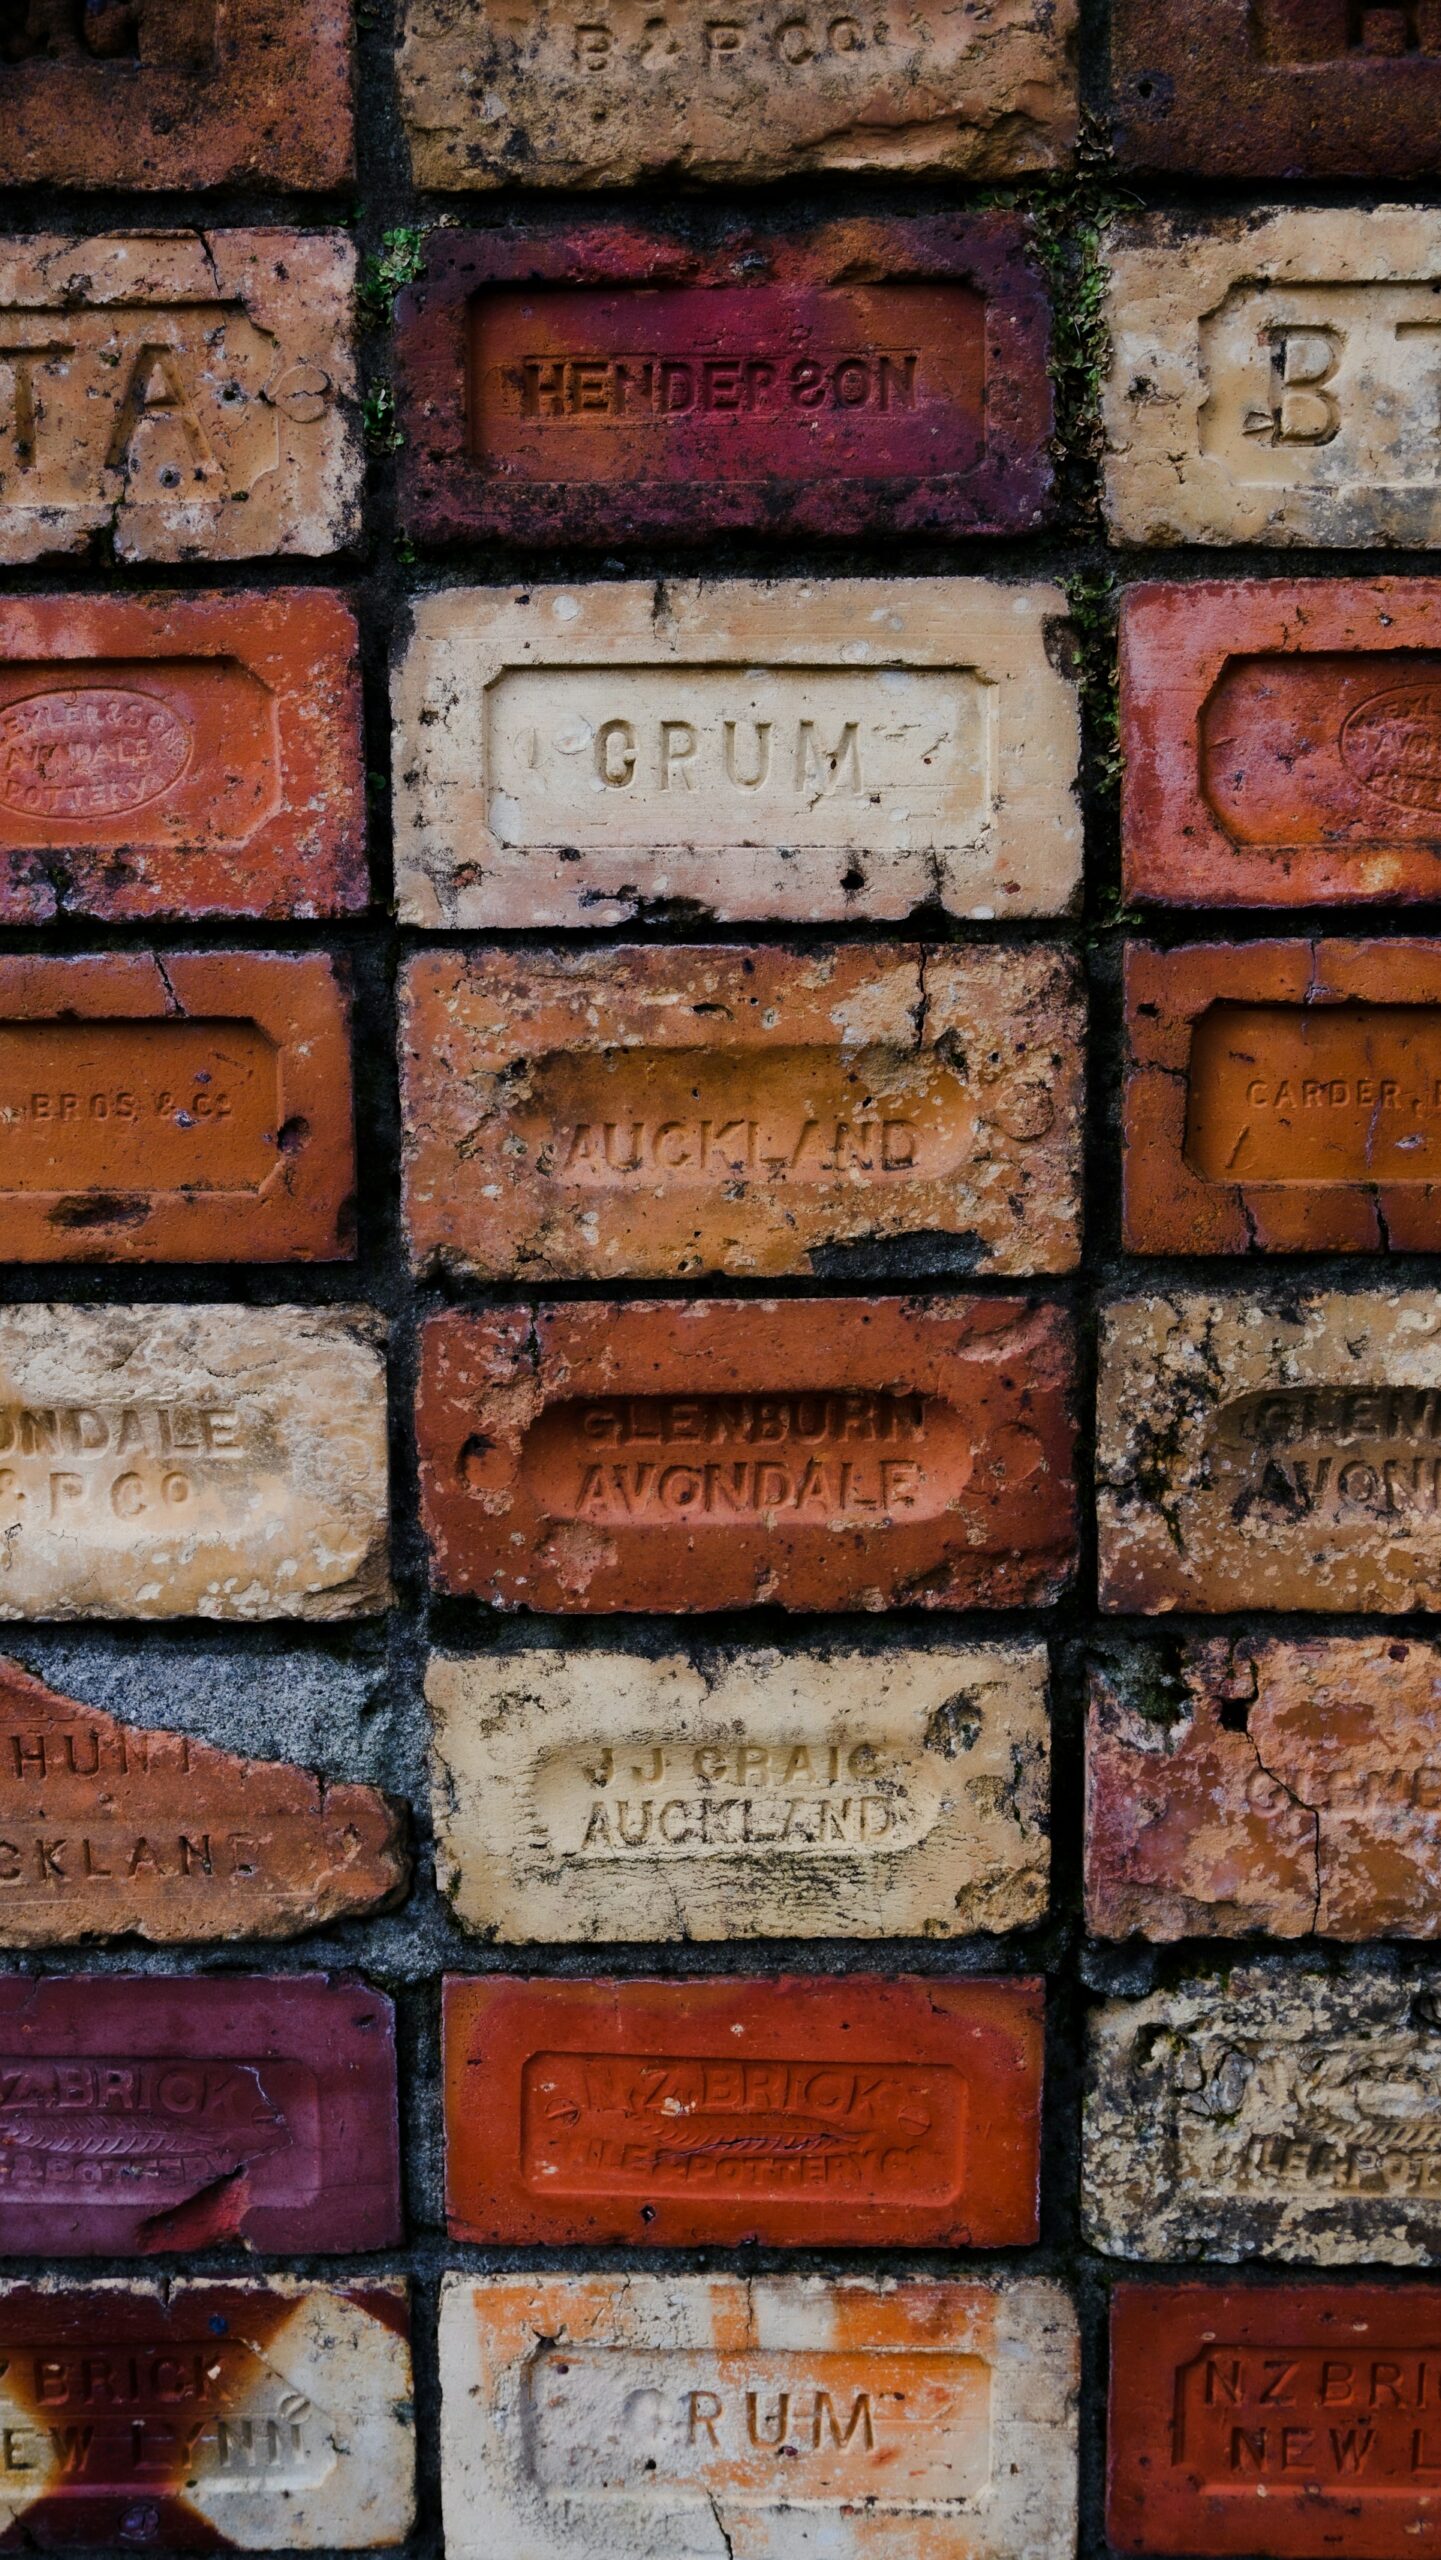
- Mix up brick sizes → too uniform = fake.
- Use more than one color → real bricks have depth.
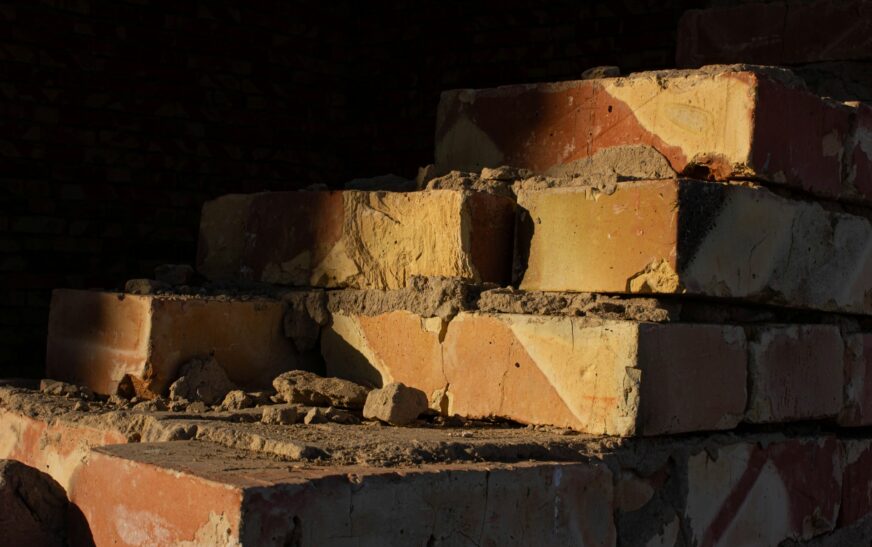
- Distress lightly → a little chip or sanding makes it look authentic.
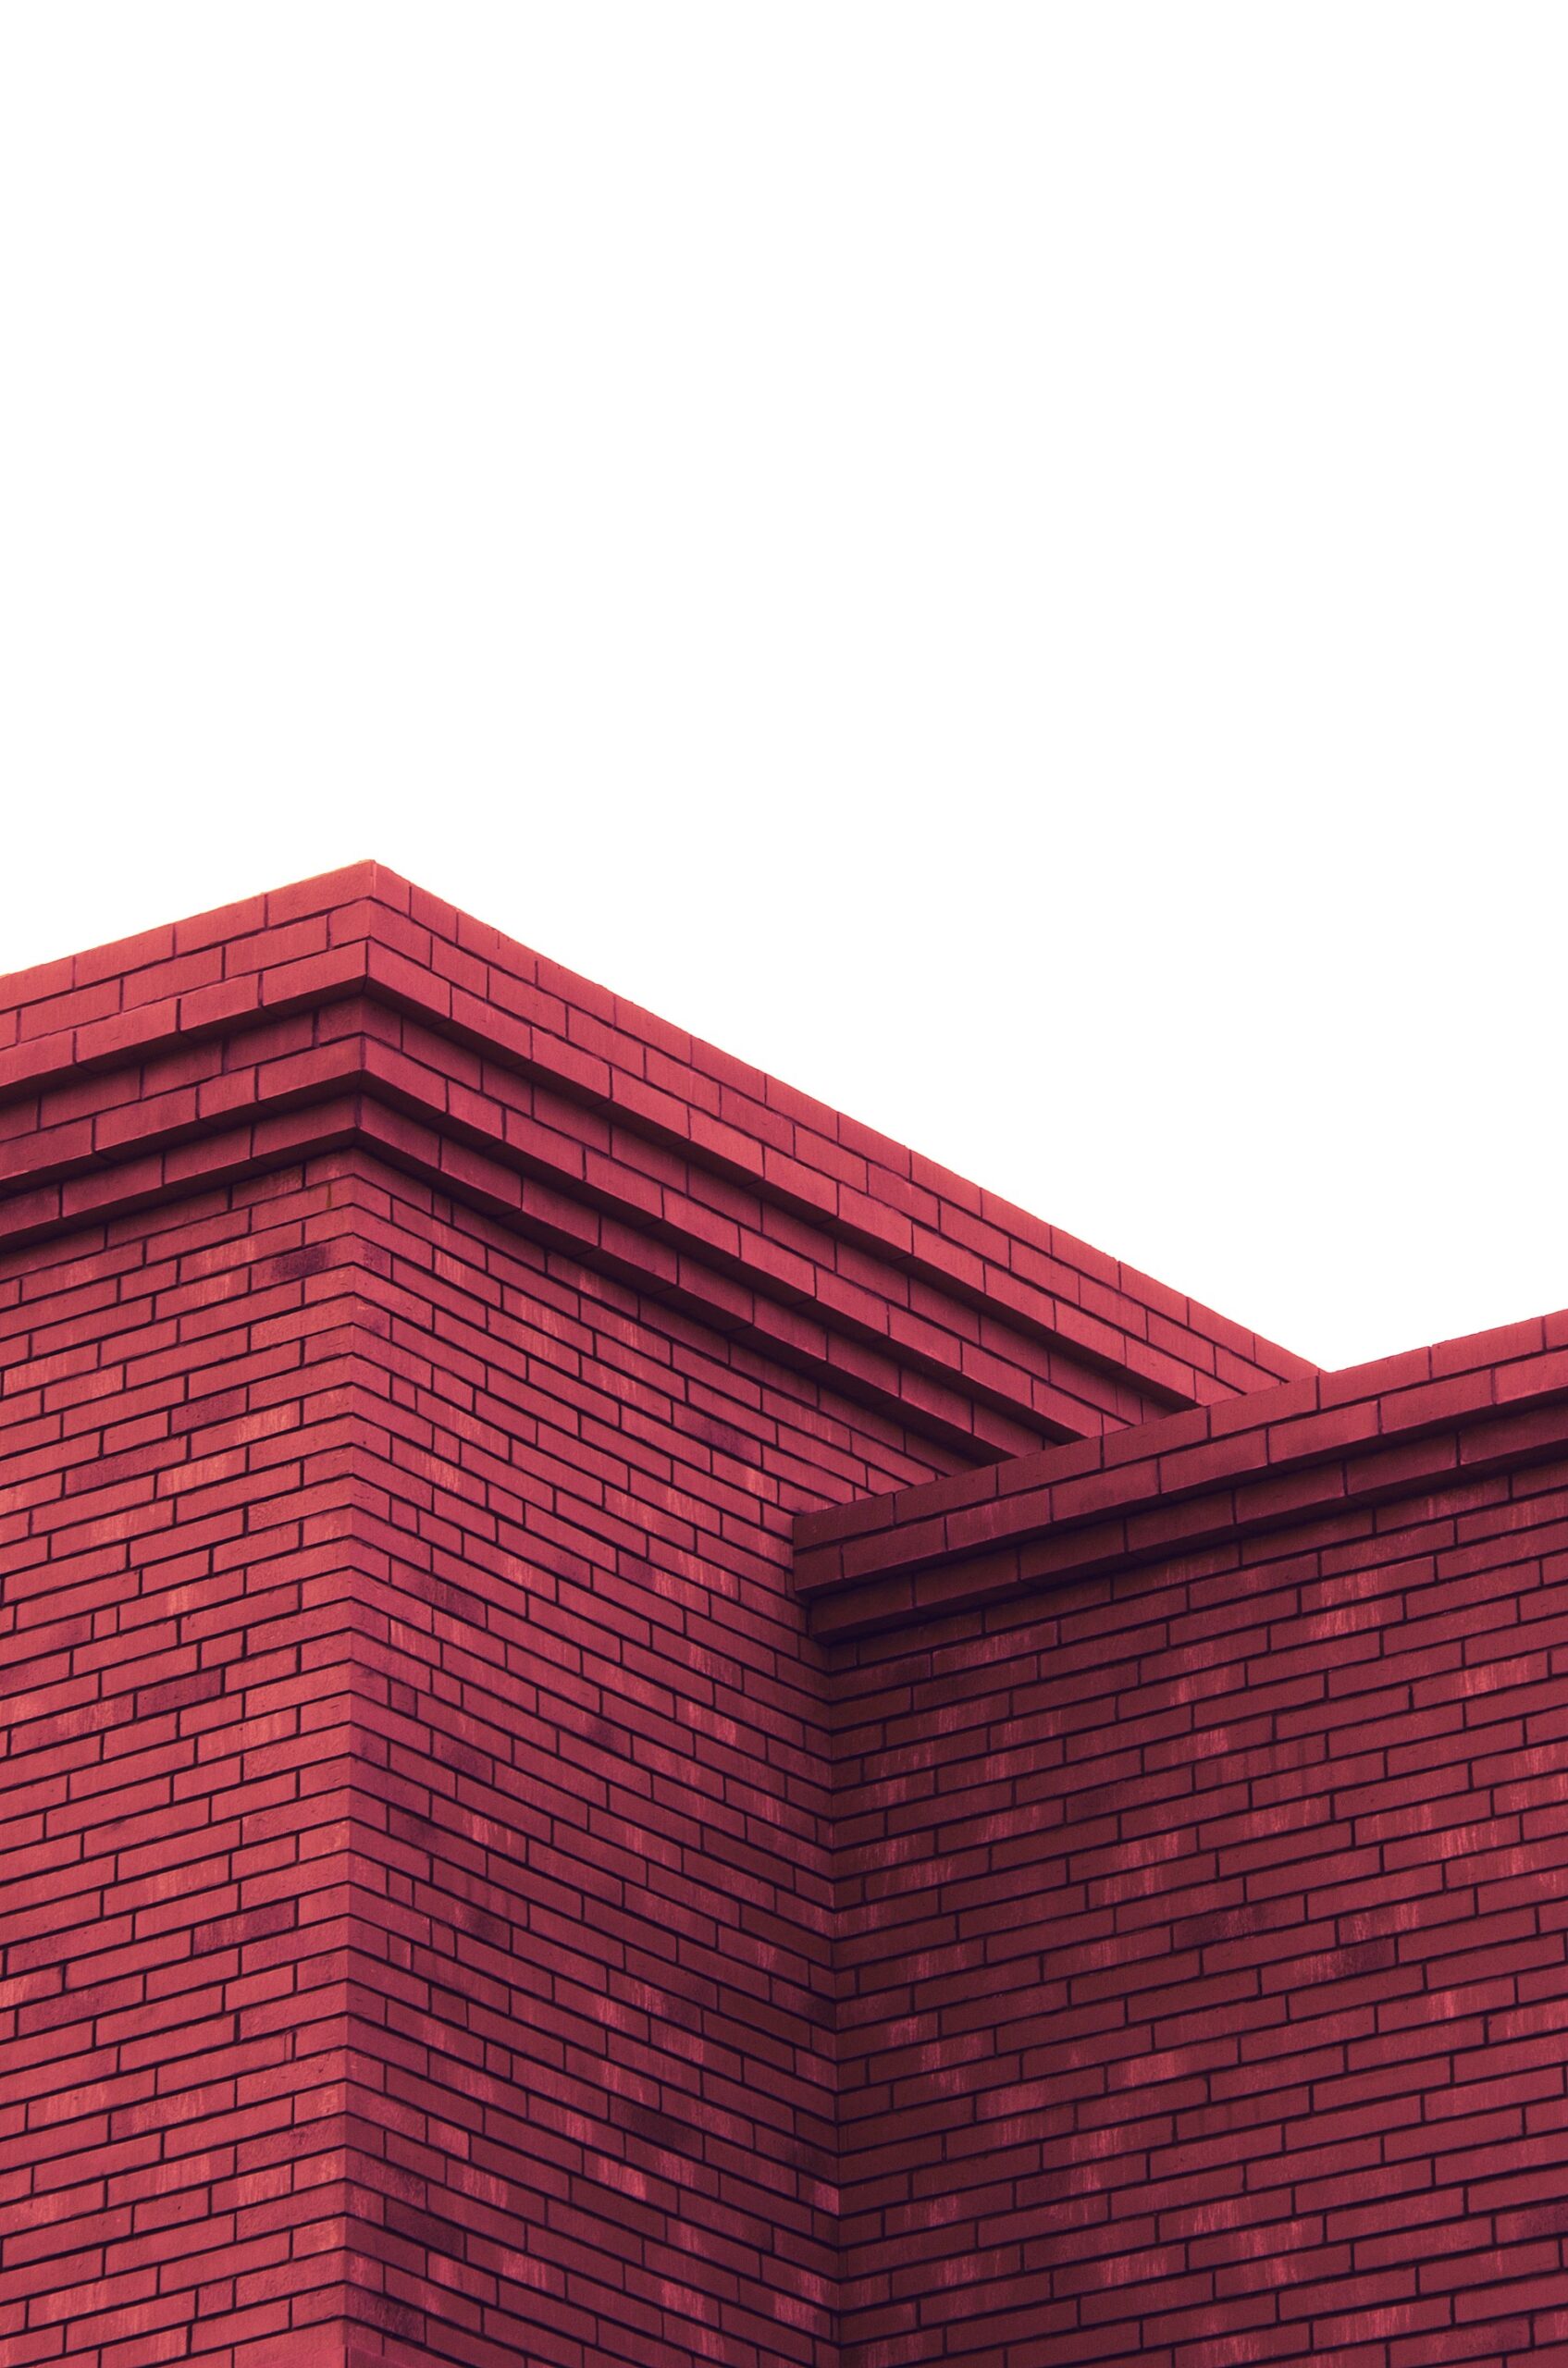
- Mortar matters → recessed or textured lines = believable.
Common Oopsies to Avoid
- Making every brick too perfect.
- Globing on stucco so thick it looks like cottage cheese.
- Rushing the drying process (patience, young grasshopper).
- Going neon red when real brick is more earthy.
Read More : How to Remove Efflorescence from Brick: Expert Techniques and Tips
Final Thought
Simulating brick with stucco is like a magic trick: when done right, nobody questions it — they just admire the look. With the right tools, a little creativity, and a dash of imperfection, you can create walls that scream “historic charm” without the historic price tag.