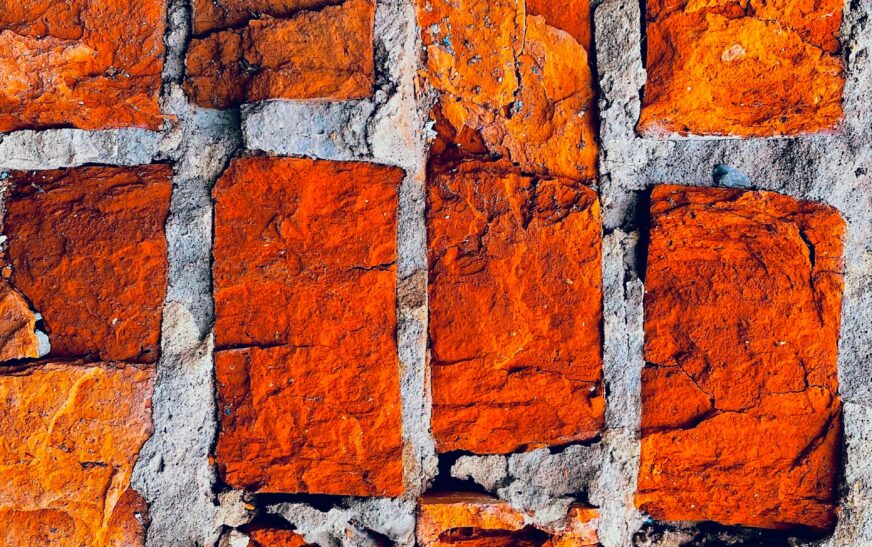
Brick has this timeless vibe—textured, rustic, solid. It looks amazing… until someone slaps a coat (or five) of paint on it. Suddenly, that charming, earthy character is buried under beige from the ’80s or a flaking mystery color.
How to Remove Paint from Brick
If you’re staring at painted brick and thinking “I just want the old stuff back,” don’t worry. You can strip it safely, thoroughly, and without turning your masonry into rubble. Here’s how.
Step 1: Size Up the Situation
Before you grab a scraper and go to town, pause. Check what you’re dealing with:
- Is the paint already peeling, or stuck like it’s superglued?
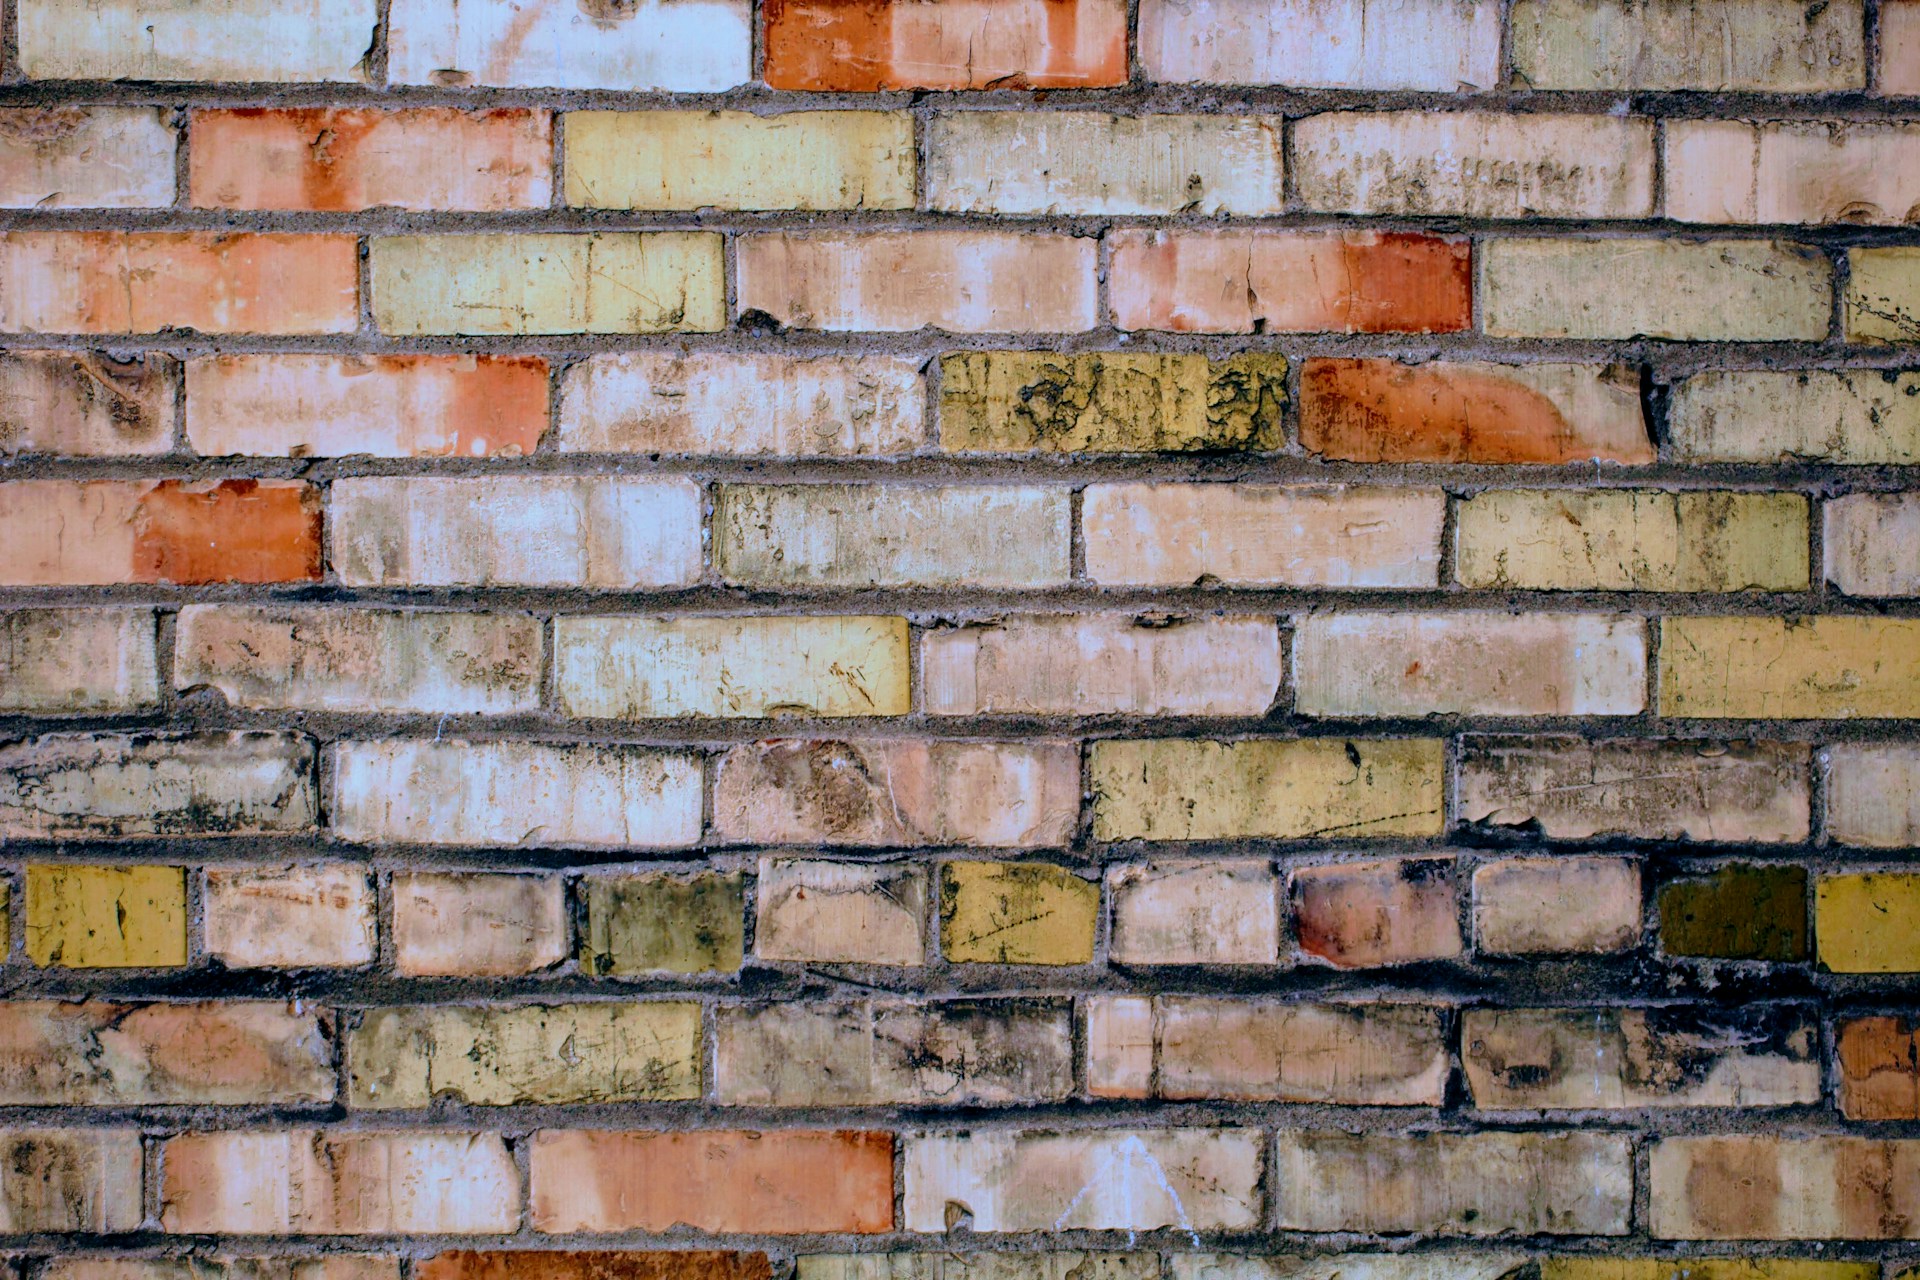
- Is your brick old and crumbly, or relatively new and sturdy?
- Are there multiple layers of paint (hello, rainbow past)?
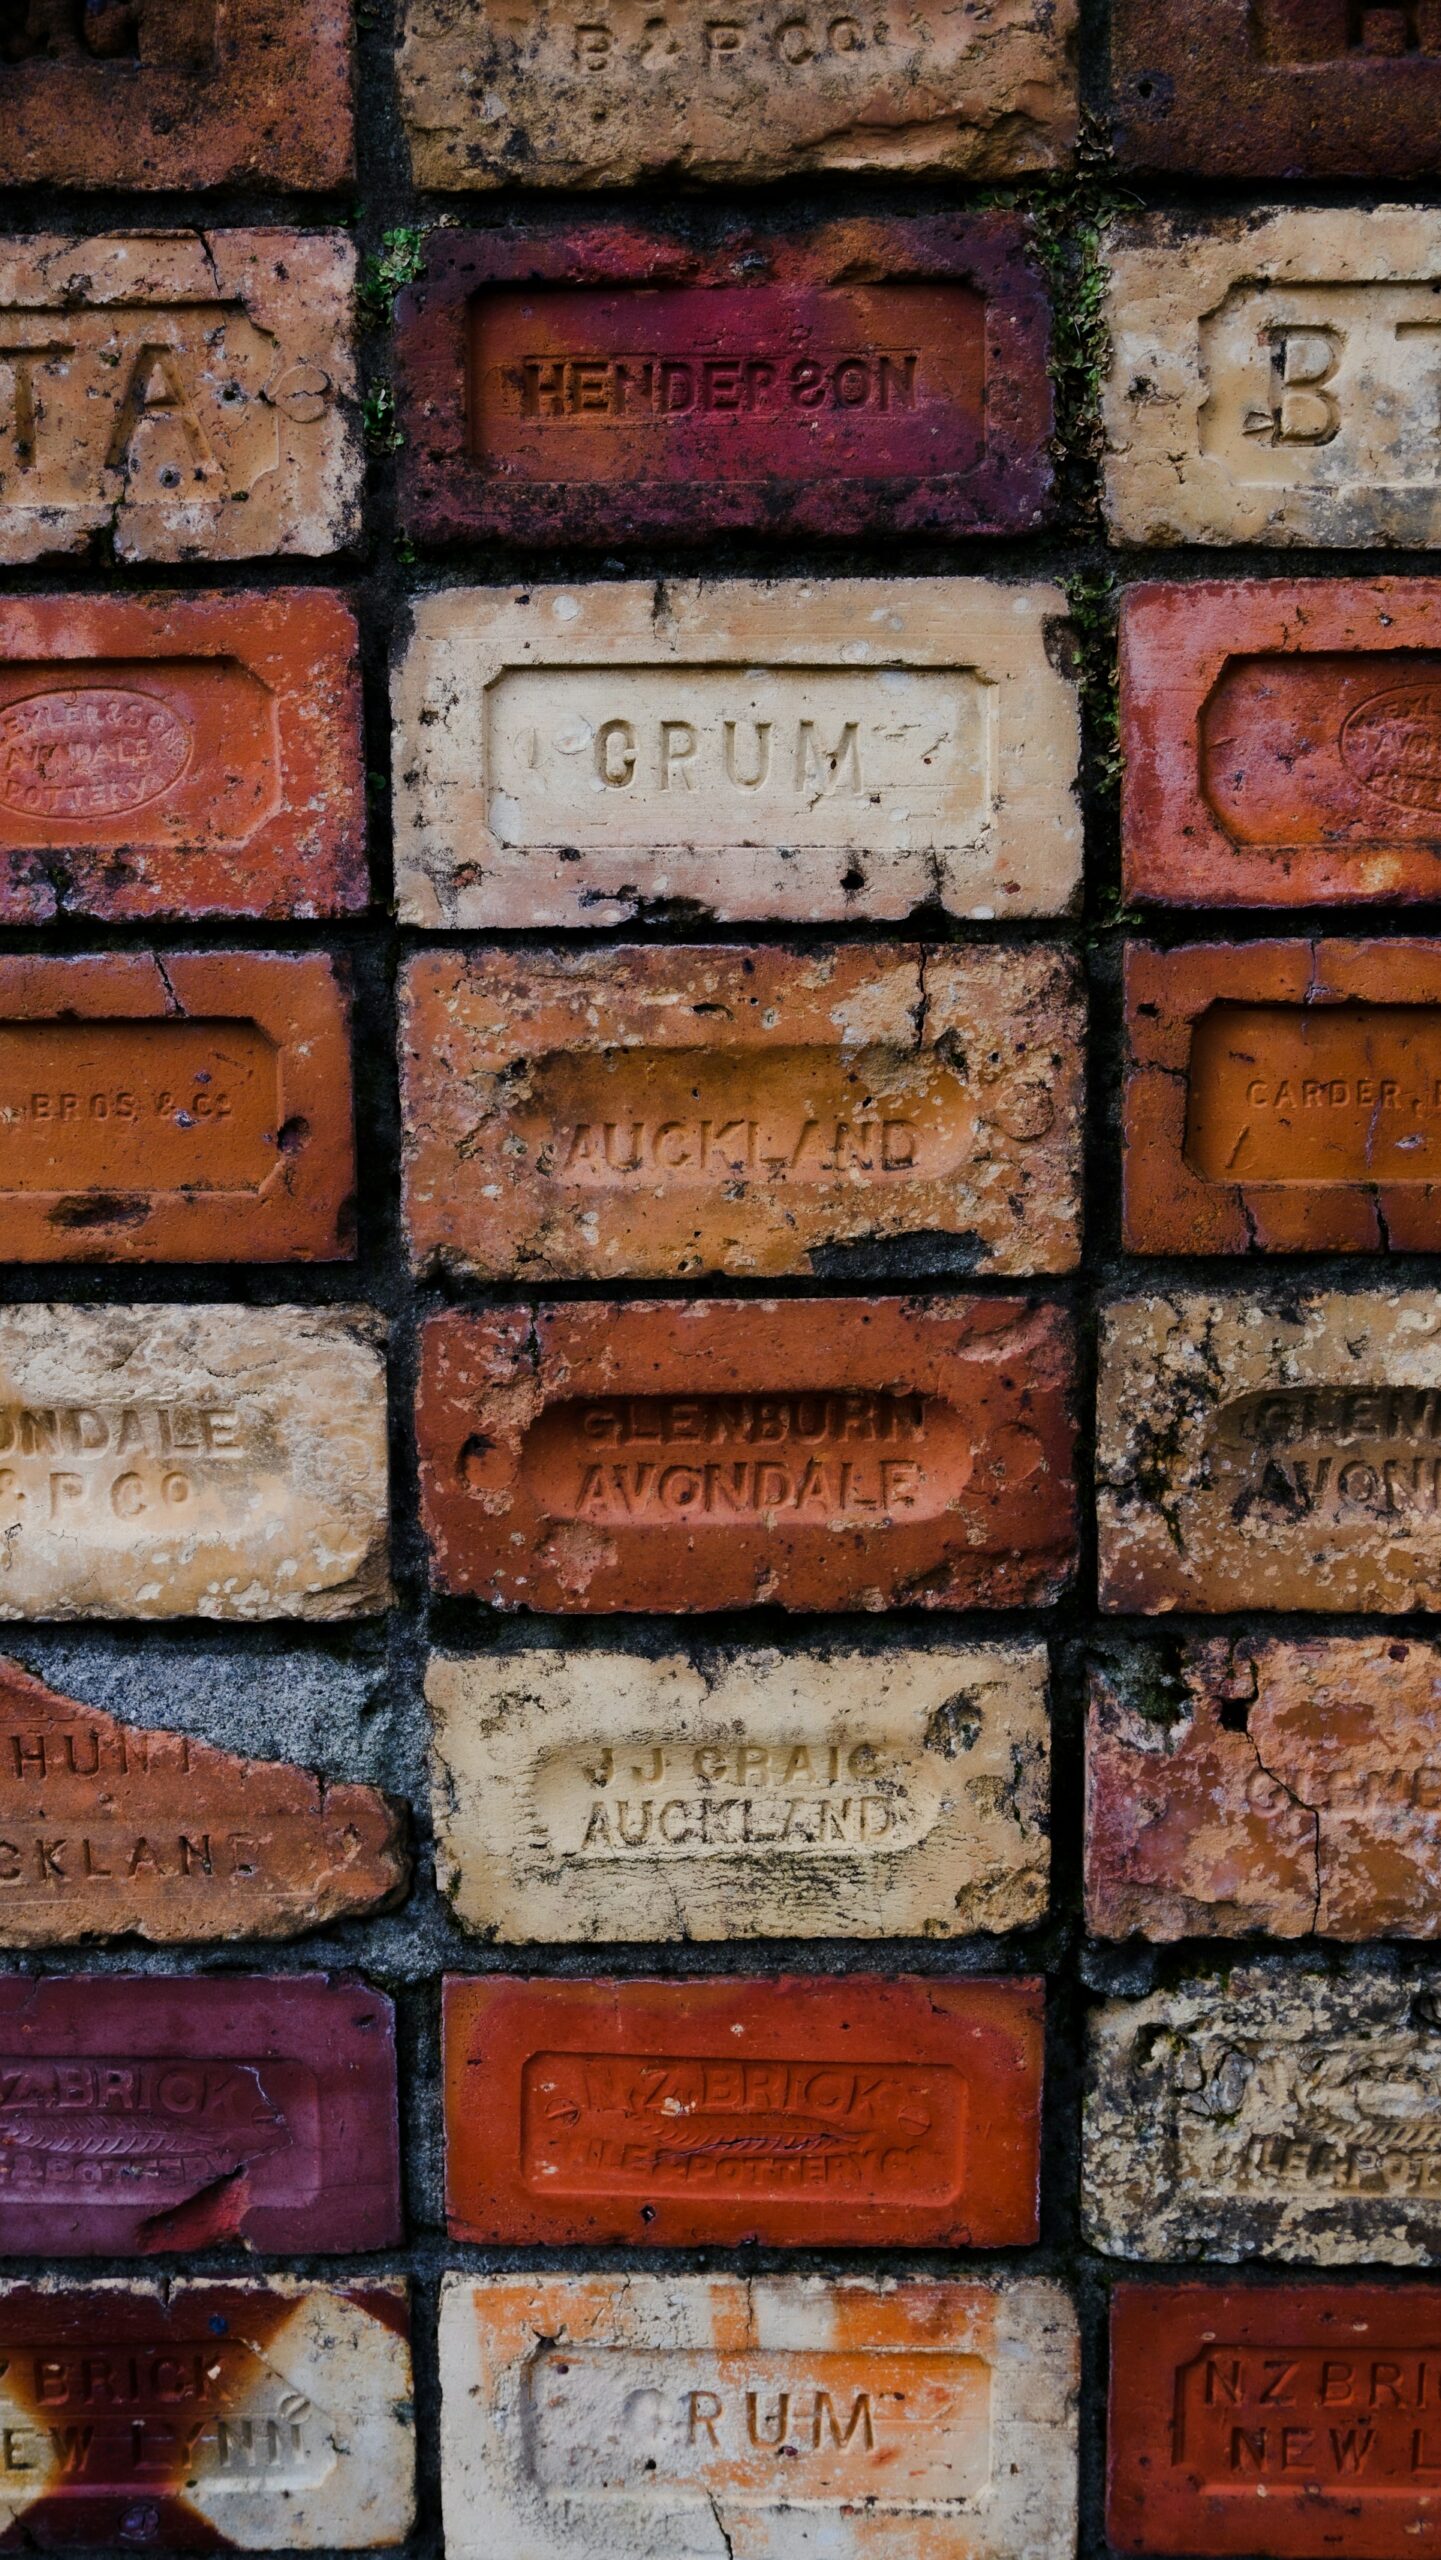
Fun fact: Bricks made before the 1930s are usually softer and more porous. Translation: they bruise easily. Go gentle.
Step 2: Soap, Water, and Elbow Grease
If it’s just a light coat or a fresh spill, you don’t need to bring in the chemical cavalry yet. Grab warm, soapy water and a stiff-bristle brush (plastic, not metal).
Scrub in circles, not lines—think polishing shoes, not sanding wood. It lifts paint better and saves your brick’s surface from scratches.
Step 3: Call in the Paint Stripper (The Masonry Kind)
For serious layers, use a paint remover made for brick. These usually come as gels, which stick nicely to uneven surfaces.
How it works:
- Slather it on generously.
- Let it sit (a few hours, sometimes overnight).
- Gently scrape with a plastic putty knife.
Pro tip: It often takes more than one round. And if the paint is older (possibly lead-based), test first. If it’s lead? Don’t DIY—call in a pro.
Oh, and don’t forget gloves, goggles, and a mask. You’re not trying to dissolve your hands or breathe in mystery fumes.
Step 4: Poultice Power
Got stubborn, multi-layered paint or delicate brickwork? Poultice removers are your friend.
They’re basically a paste of solvent + fibrous material. You spread it on, let it dry, then peel it off like a giant face mask… except instead of unclogging pores, it pulls paint out of brick. Satisfying, but slow.
Perfect for historic buildings or tricky mortar joints.
Step 5: Pressure Washing—Proceed with Caution
This one’s tempting but risky. Too much pressure and you’ll blast the face right off your brick (not a good look).
If you try it:
- Keep it under 500 PSI.
- Use a wide spray angle.
- Keep moving—don’t park the nozzle on one spot.
Best used with a chemical stripper for large outdoor walls, not on its own.
Step 6: Things Not to Do
Let’s save you from some classic DIY heartbreak:
Don’t use metal brushes—they’ll scratch your brick forever.
Don’t sand or grind—this destroys the protective surface.
Don’t grab random paint strippers for wood/metal—they won’t work right and may leave nasty residues.
Read More : How to Hang Painting on Brick Wall
Step 7: Aftercare Matters
Congrats, the paint is gone! But don’t stop there.
- Rinse everything down with clean water to clear off chemical residue.
- Let it dry fully.
- Consider sealing (with a breathable sealer—no shiny, plastic-y stuff). This helps prevent future staining or moisture damage.
Think of it like moisturizer after a spa day. Your brick deserves it.