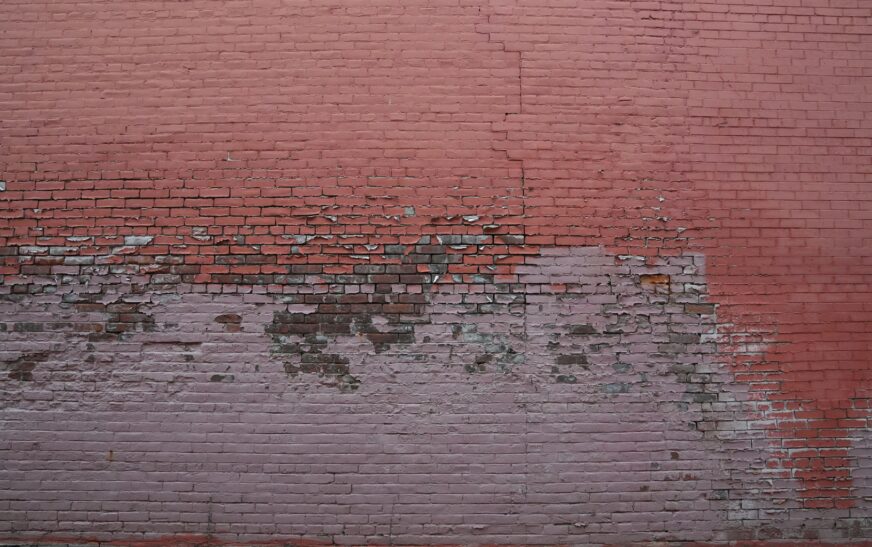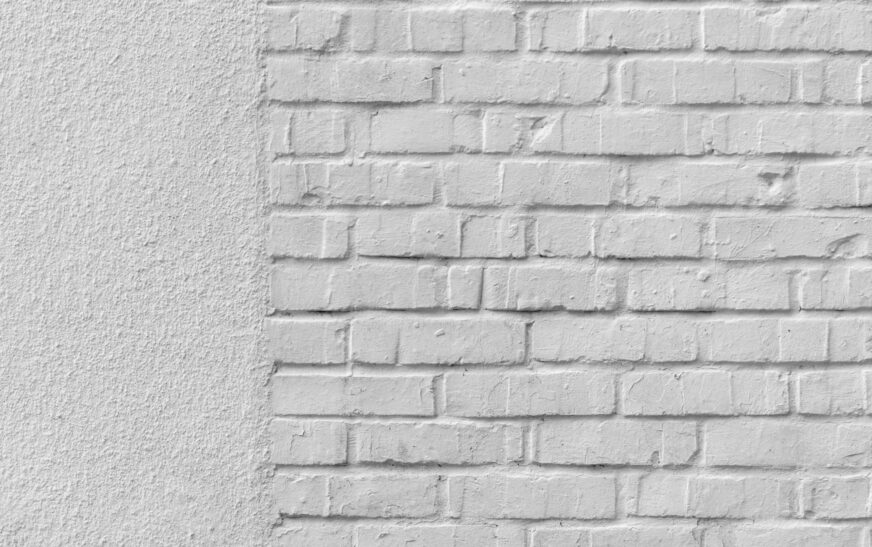
Brick, in its raw and weathered state, tells a story. Over time, however, layers of paint—whether applied intentionally for aesthetics or to cover wear—can obscure its natural texture and historical charm. If you’re looking to bring back the original look, understanding how to remove paint from brick is key to preserving both appearance and integrity.
What Color to Paint Brick: A Design-Forward Guide to Choosing the Right Hue: How to Remove Paint from Brick: A Detailed Guide to Restoring Brick SurfacesHow to Remove Paint from Brick
But here’s the truth: stripping paint from brick isn’t as simple as grabbing a scraper. It requires method, patience, and a respect for the material.
Step 1: Assess the Brick and Paint Type
Before diving into any removal technique, pause. Every brick surface is different, and so is the paint it holds.
- Age of the brick: Older bricks (pre-1930s) are often softer and more porous. Aggressive methods can cause irreversible damage.
- Paint layers: Is it one coat? Or five? Multiple layers will likely need a multi-step removal process.
- Lead paint warning: If the paint was applied before the 1980s, have it tested for lead. If it’s positive, do not attempt removal without professional assistance. Lead dust is hazardous.
Step 2: Start with the Least Aggressive Method
Always begin with the gentlest approach. It’s not just about safety—it’s about preserving the character of the brick beneath.
Materials you’ll need:
- Soft-bristle brush or nylon scrub brush
- Warm water
- Mild detergent (dish soap works)
Method:
- Mix warm water with a small amount of detergent.
- Apply the solution to a small section of painted brick.
- Scrub gently and observe how much (if any) paint lifts.
This method likely won’t remove deeply set paint, but it may soften the uppermost layers or help loosen flaking paint.
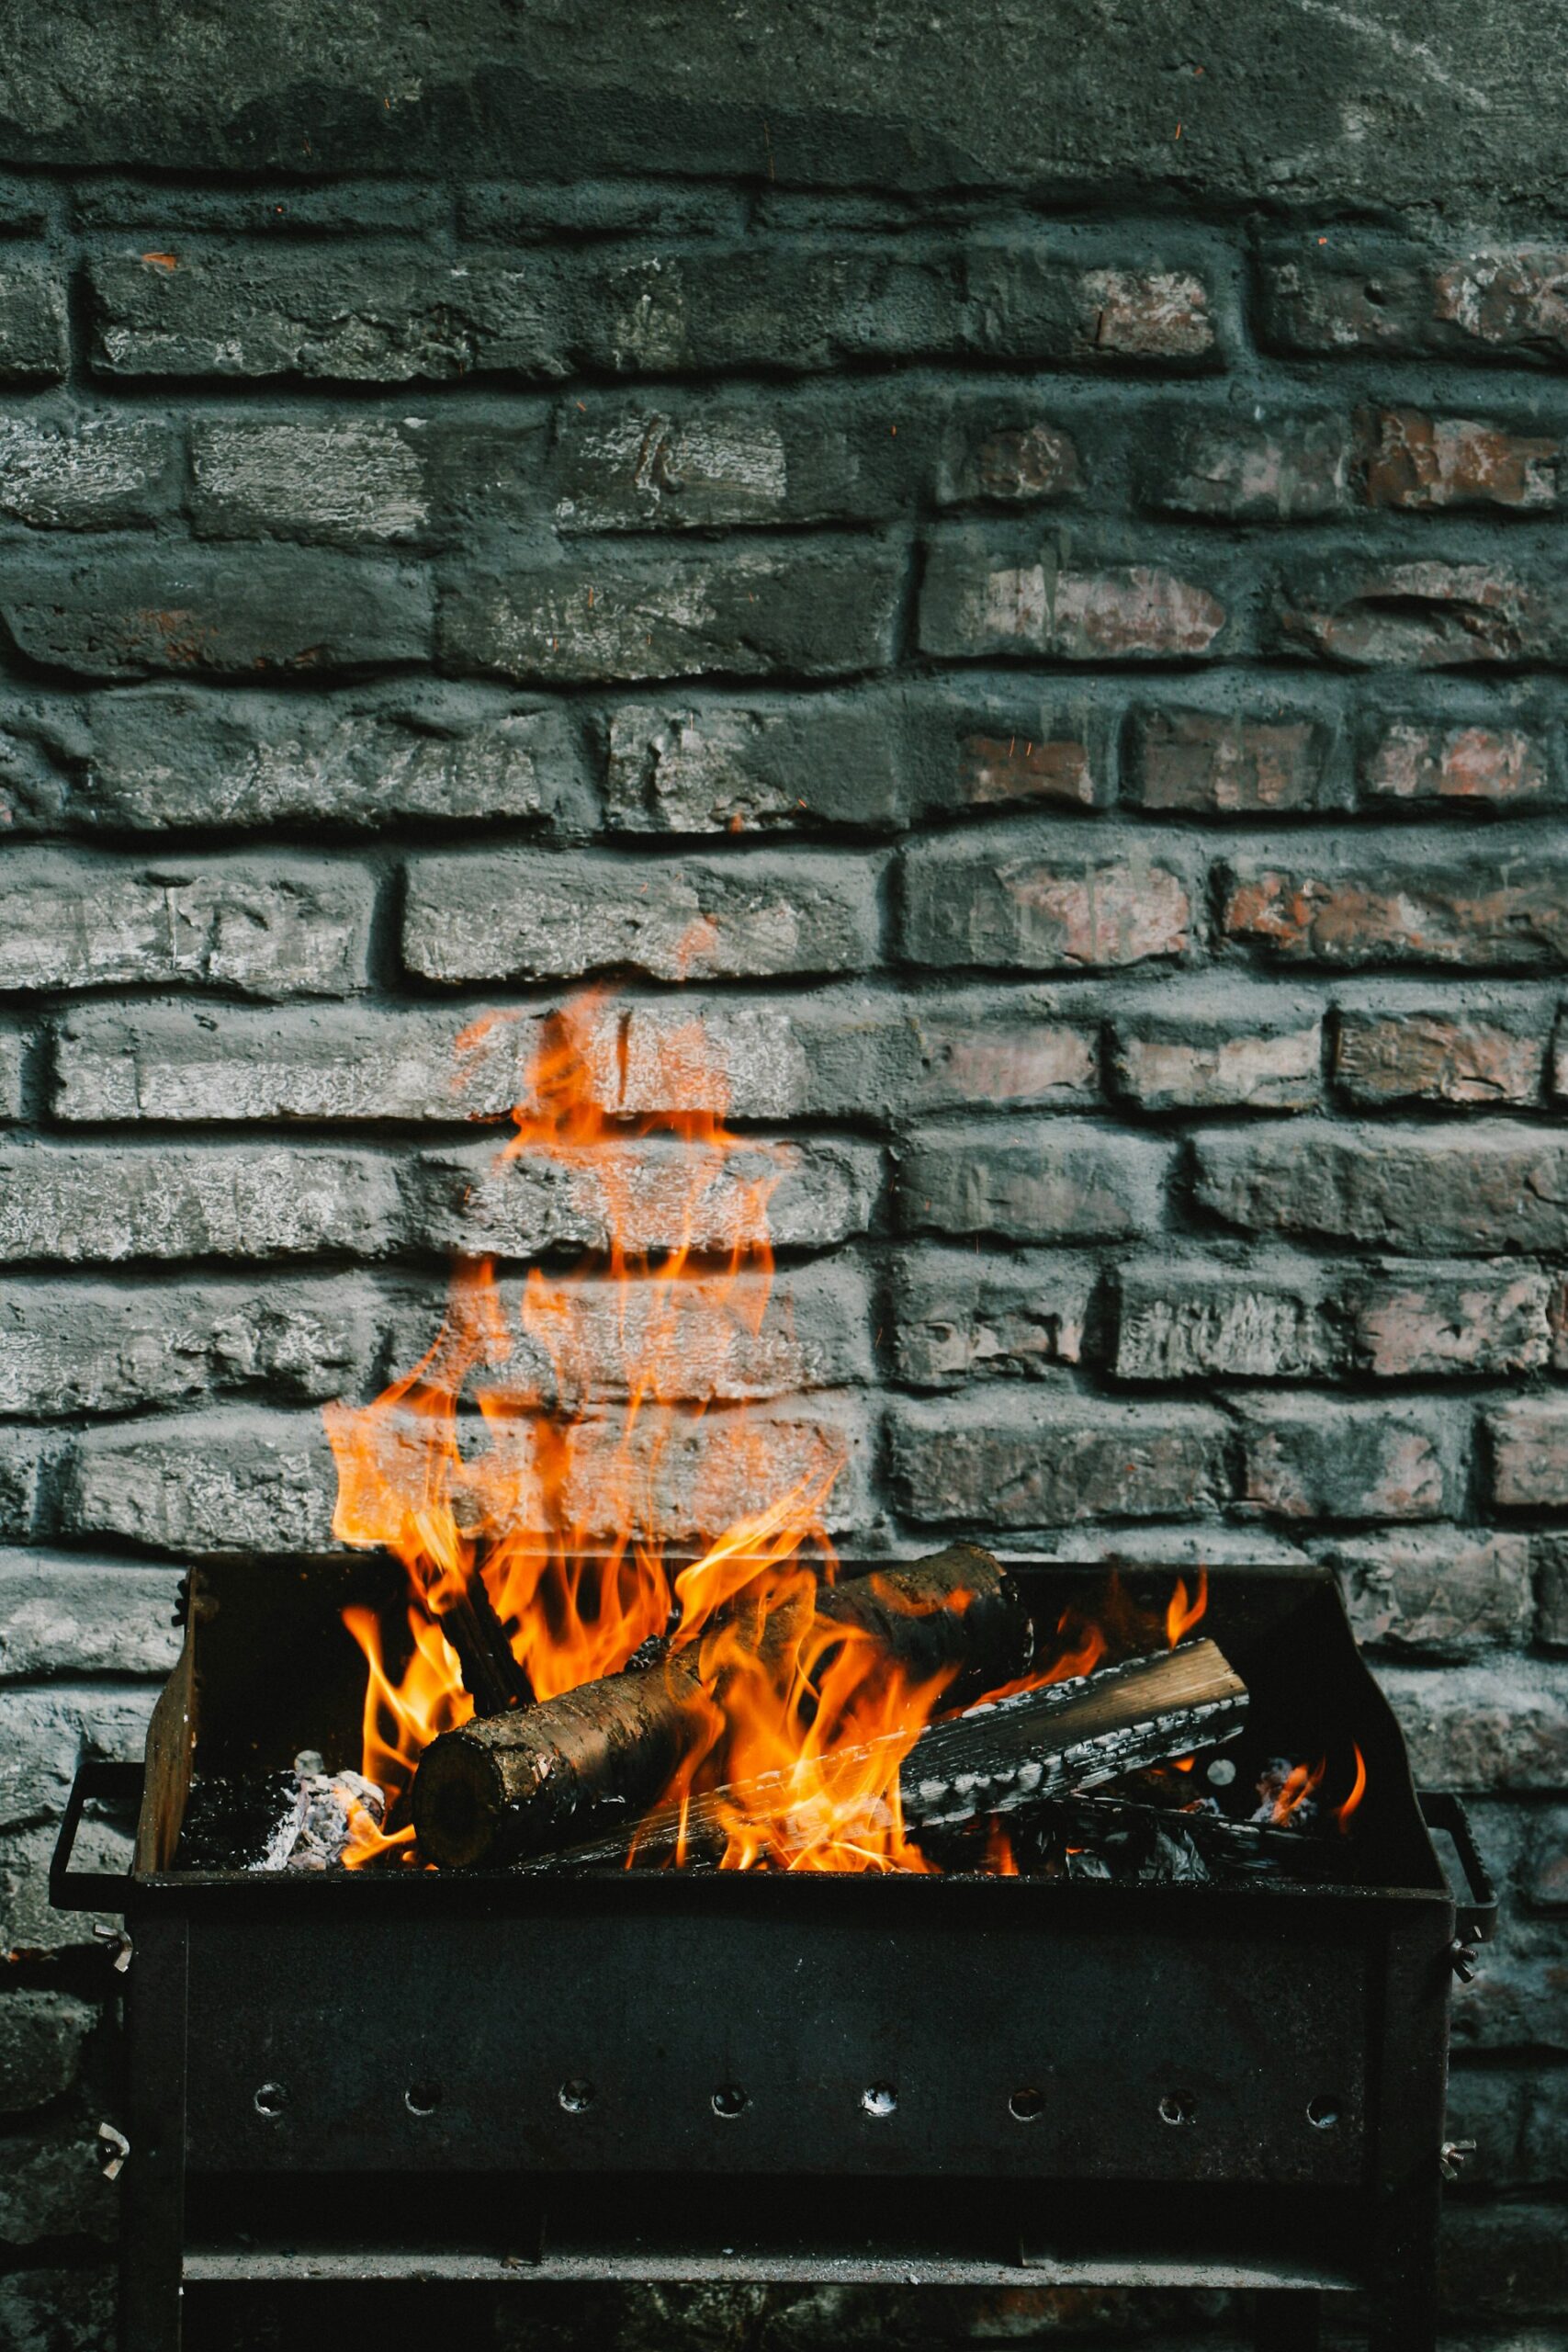
Step 3: Try a Heat Gun (With Caution)
A heat gun can be an effective tool—especially for small areas like a fireplace or accent wall. It softens the paint, making it easier to scrape without chemicals.
Steps:
- Hold the heat gun 6–8 inches from the surface.
- Work in small sections.
- As the paint softens and bubbles, use a scraper to gently lift it away.
Caution: Overheating can damage the brick or ignite flammable materials nearby. Always work in a well-ventilated area and wear heat-resistant gloves.
Step 4: Use a Masonry-Safe Paint Stripper
When water and heat don’t cut it, a chemical approach may be necessary. But not just any paint stripper will do. You need a product designed specifically for use on brick and masonry.
Look for:
- Gel or paste-based strippers (they cling to vertical surfaces)
- Products labeled “masonry-safe” or “non-caustic”
Application process:
- Apply the stripper generously to the brick using a brush or roller.
- Allow it to dwell—anywhere from 30 minutes to overnight, depending on the product.
- Scrape away the softened paint using a plastic or metal scraper.
- Rinse thoroughly with water (a hose or sponge will do).
Pro tip: Test a small area first. Some chemical strippers can darken brick or leave behind residue.
Step 5: Consider Pressure Washing (But Proceed Carefully)
Pressure washing can work wonders—but it’s not without risks. Used improperly, it can erode mortar joints and damage the surface of the brick.
Tips for safe use:
- Stick to a low PSI (500–800) to avoid stripping the brick itself.
- Use a fan-tip nozzle for broader coverage.
- Combine with a chemical stripper for better results on stubborn areas.
Avoid: Fragile, antique, or interior brick surfaces. This method is best suited to modern exterior walls with durable mortar.
Eco-Friendly Options for Sensitive Areas
If you’re working indoors or prefer a non-toxic route, consider citrus-based strippers or soda blasting.
- Citrus-based strippers: Natural and biodegradable, but may require longer dwell time.
- Soda blasting: A professional-grade method using sodium bicarbonate (baking soda) under low pressure. It’s gentler than sandblasting and less likely to damage soft bricks.
These options are excellent for people sensitive to fumes or those restoring historic interiors.
Step 6: Rinse, Neutralize, and Let It Breathe
After removing the paint, give the brick time to recover.
- Rinse thoroughly with clean water to remove stripper residue.
- Use a neutralizing agent if the chemical stripper recommends it.
- Allow the surface to dry completely—this can take up to 48 hours.
Once dry, consider applying a breathable sealer if the brick will be exposed to harsh weather. Avoid non-permeable coatings, which can trap moisture inside and damage the structure over time.
Bonus Tip: Avoid These Common Mistakes
- Skipping the test patch: Always test products and methods in a small, hidden area first.
- Using metal bristle brushes: These can scratch and scar the surface of the brick.
- Applying too much pressure or heat: Brick is resilient, but not indestructible. Overdoing it will compromise the very character you’re trying to reveal.
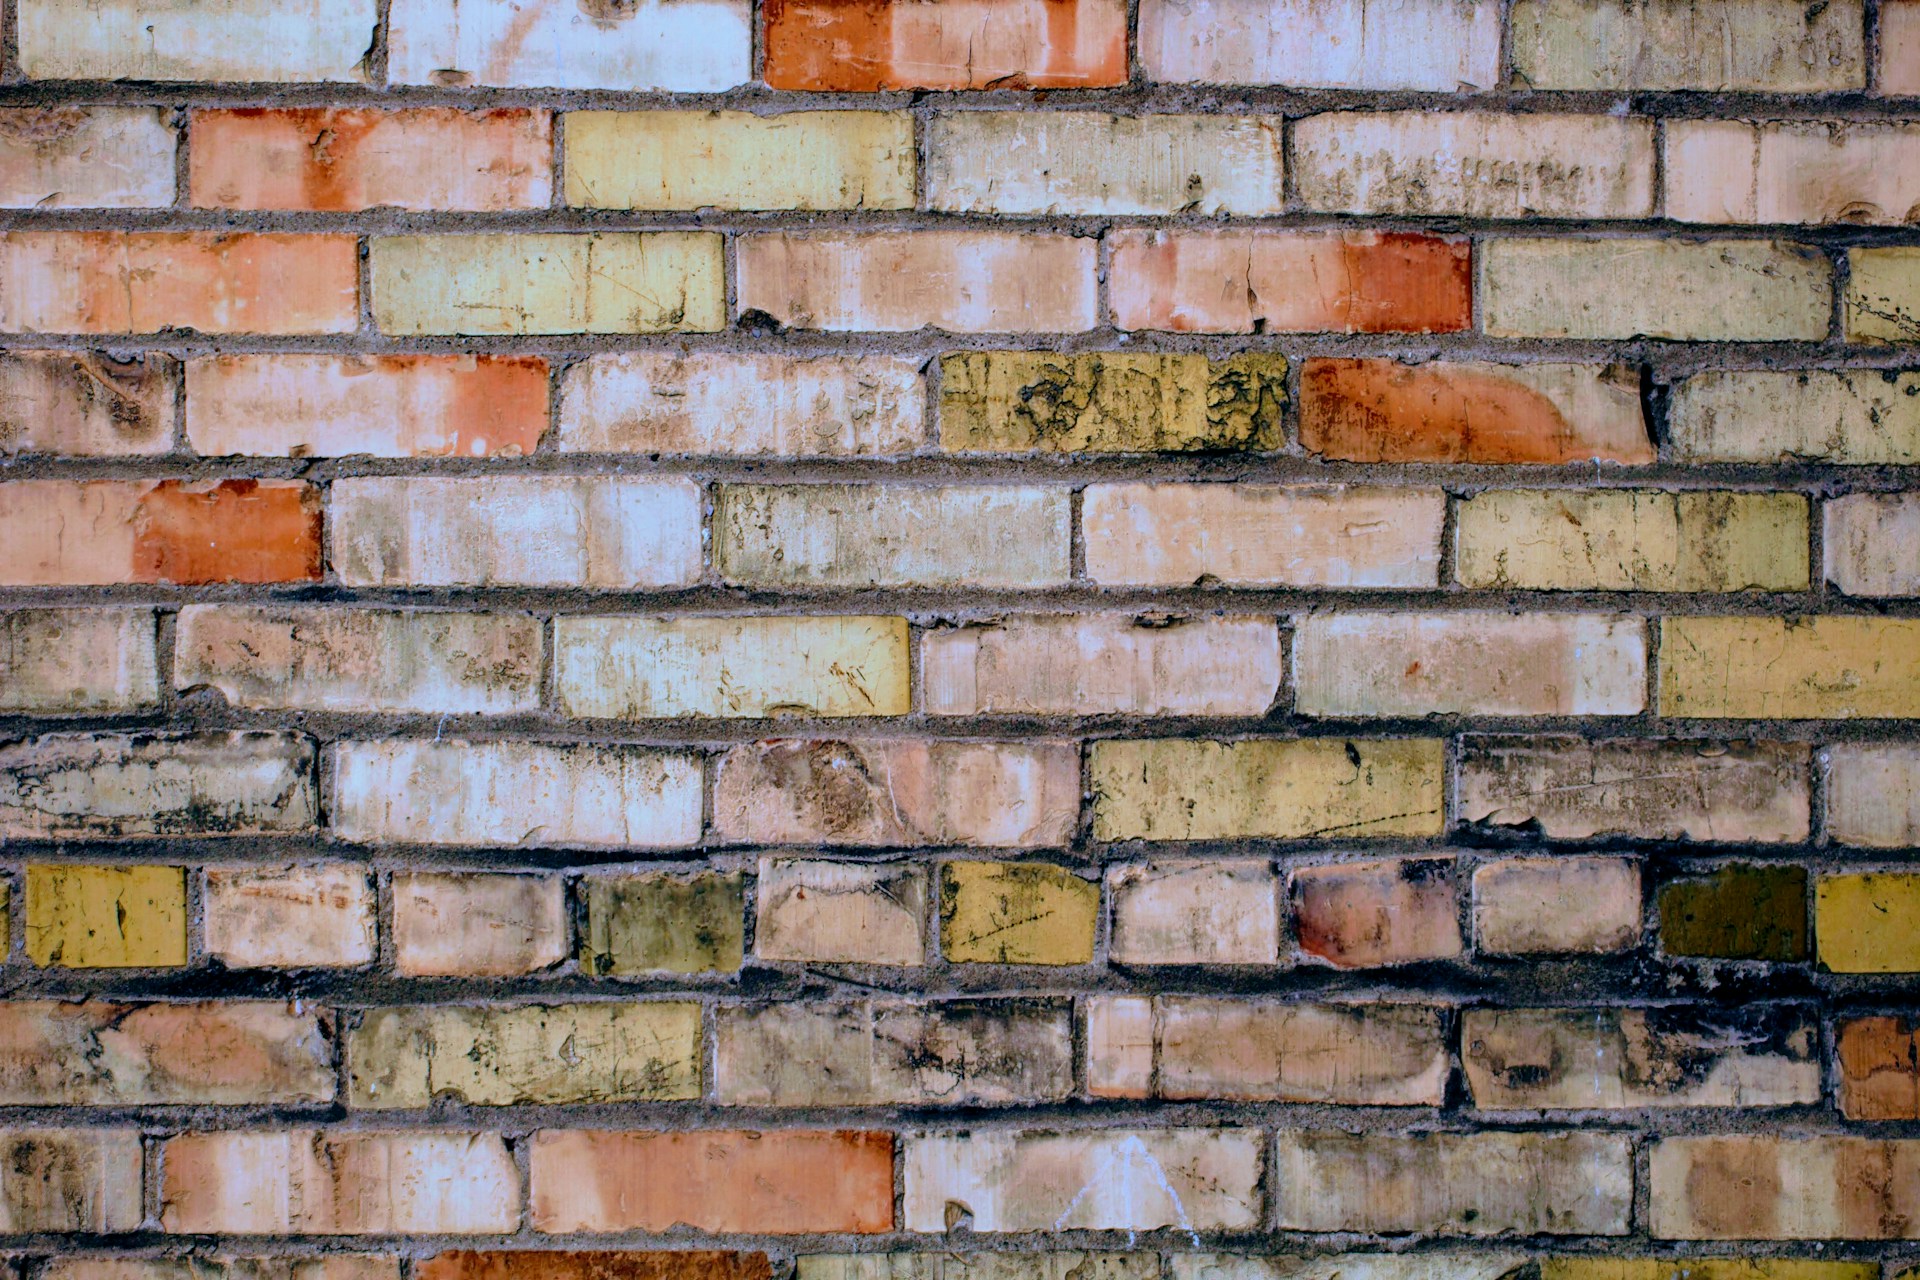
Final Thoughts: Let the Brick Speak Again
Learning how to remove paint from brick is as much about respect as it is about technique. This isn’t just a renovation—it’s a restoration. By using the right methods in the right order, you can uncover the raw, honest beauty beneath the paint. You’re not erasing history; you’re letting it breathe again.