Brick has timeless charm, but it doesn’t always match the look you want for your space. Whether it’s a tired fireplace, a dated exterior wall, or an unfinished basement, painting brick can completely transform the feel of a room or home.
But it’s not as simple as slapping on a coat of paint. Brick is porous, textured, and often weathered, so preparation and technique are key.
Should You Paint Brick? Pros and Cons
Before grabbing a brush, ask yourself: Should I even paint this brick?
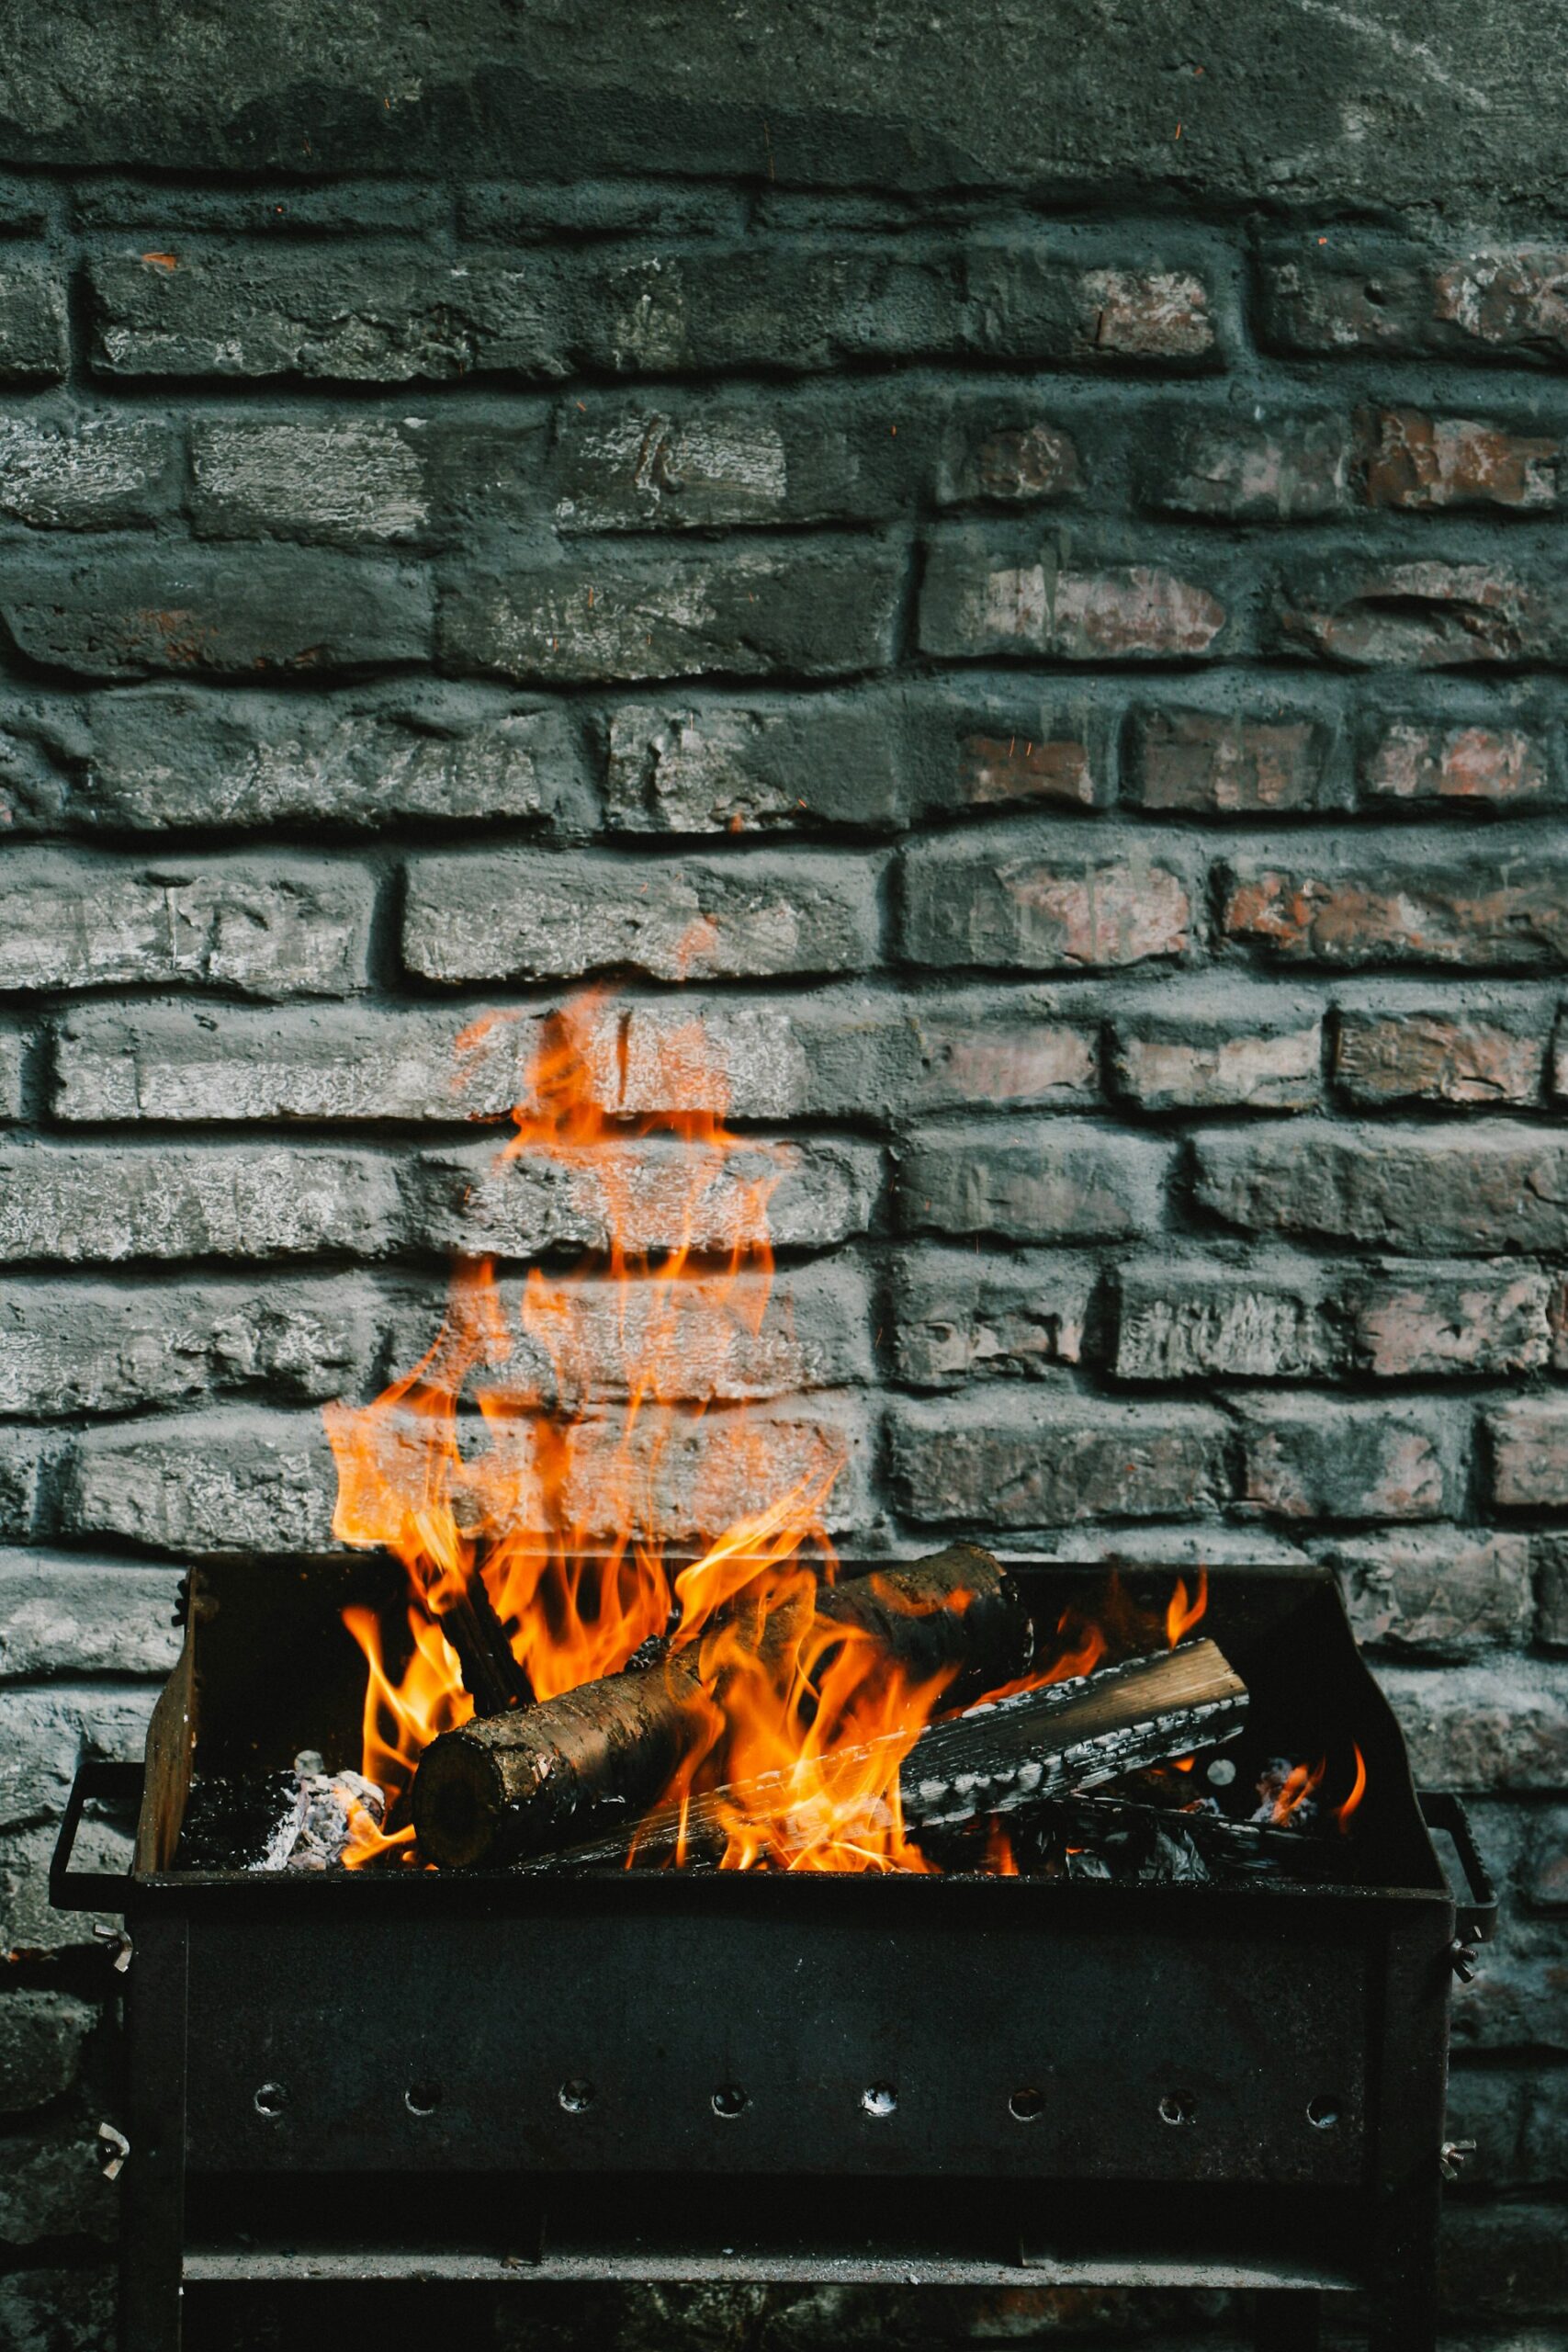
Some bricks—especially older or historic ones—aren’t meant to be coated. Paint can trap moisture, which may lead to long-term deterioration. That said, if your brick is structurally sound and you want a fresh, modern look, painting can be a powerful design choice.
Pros:
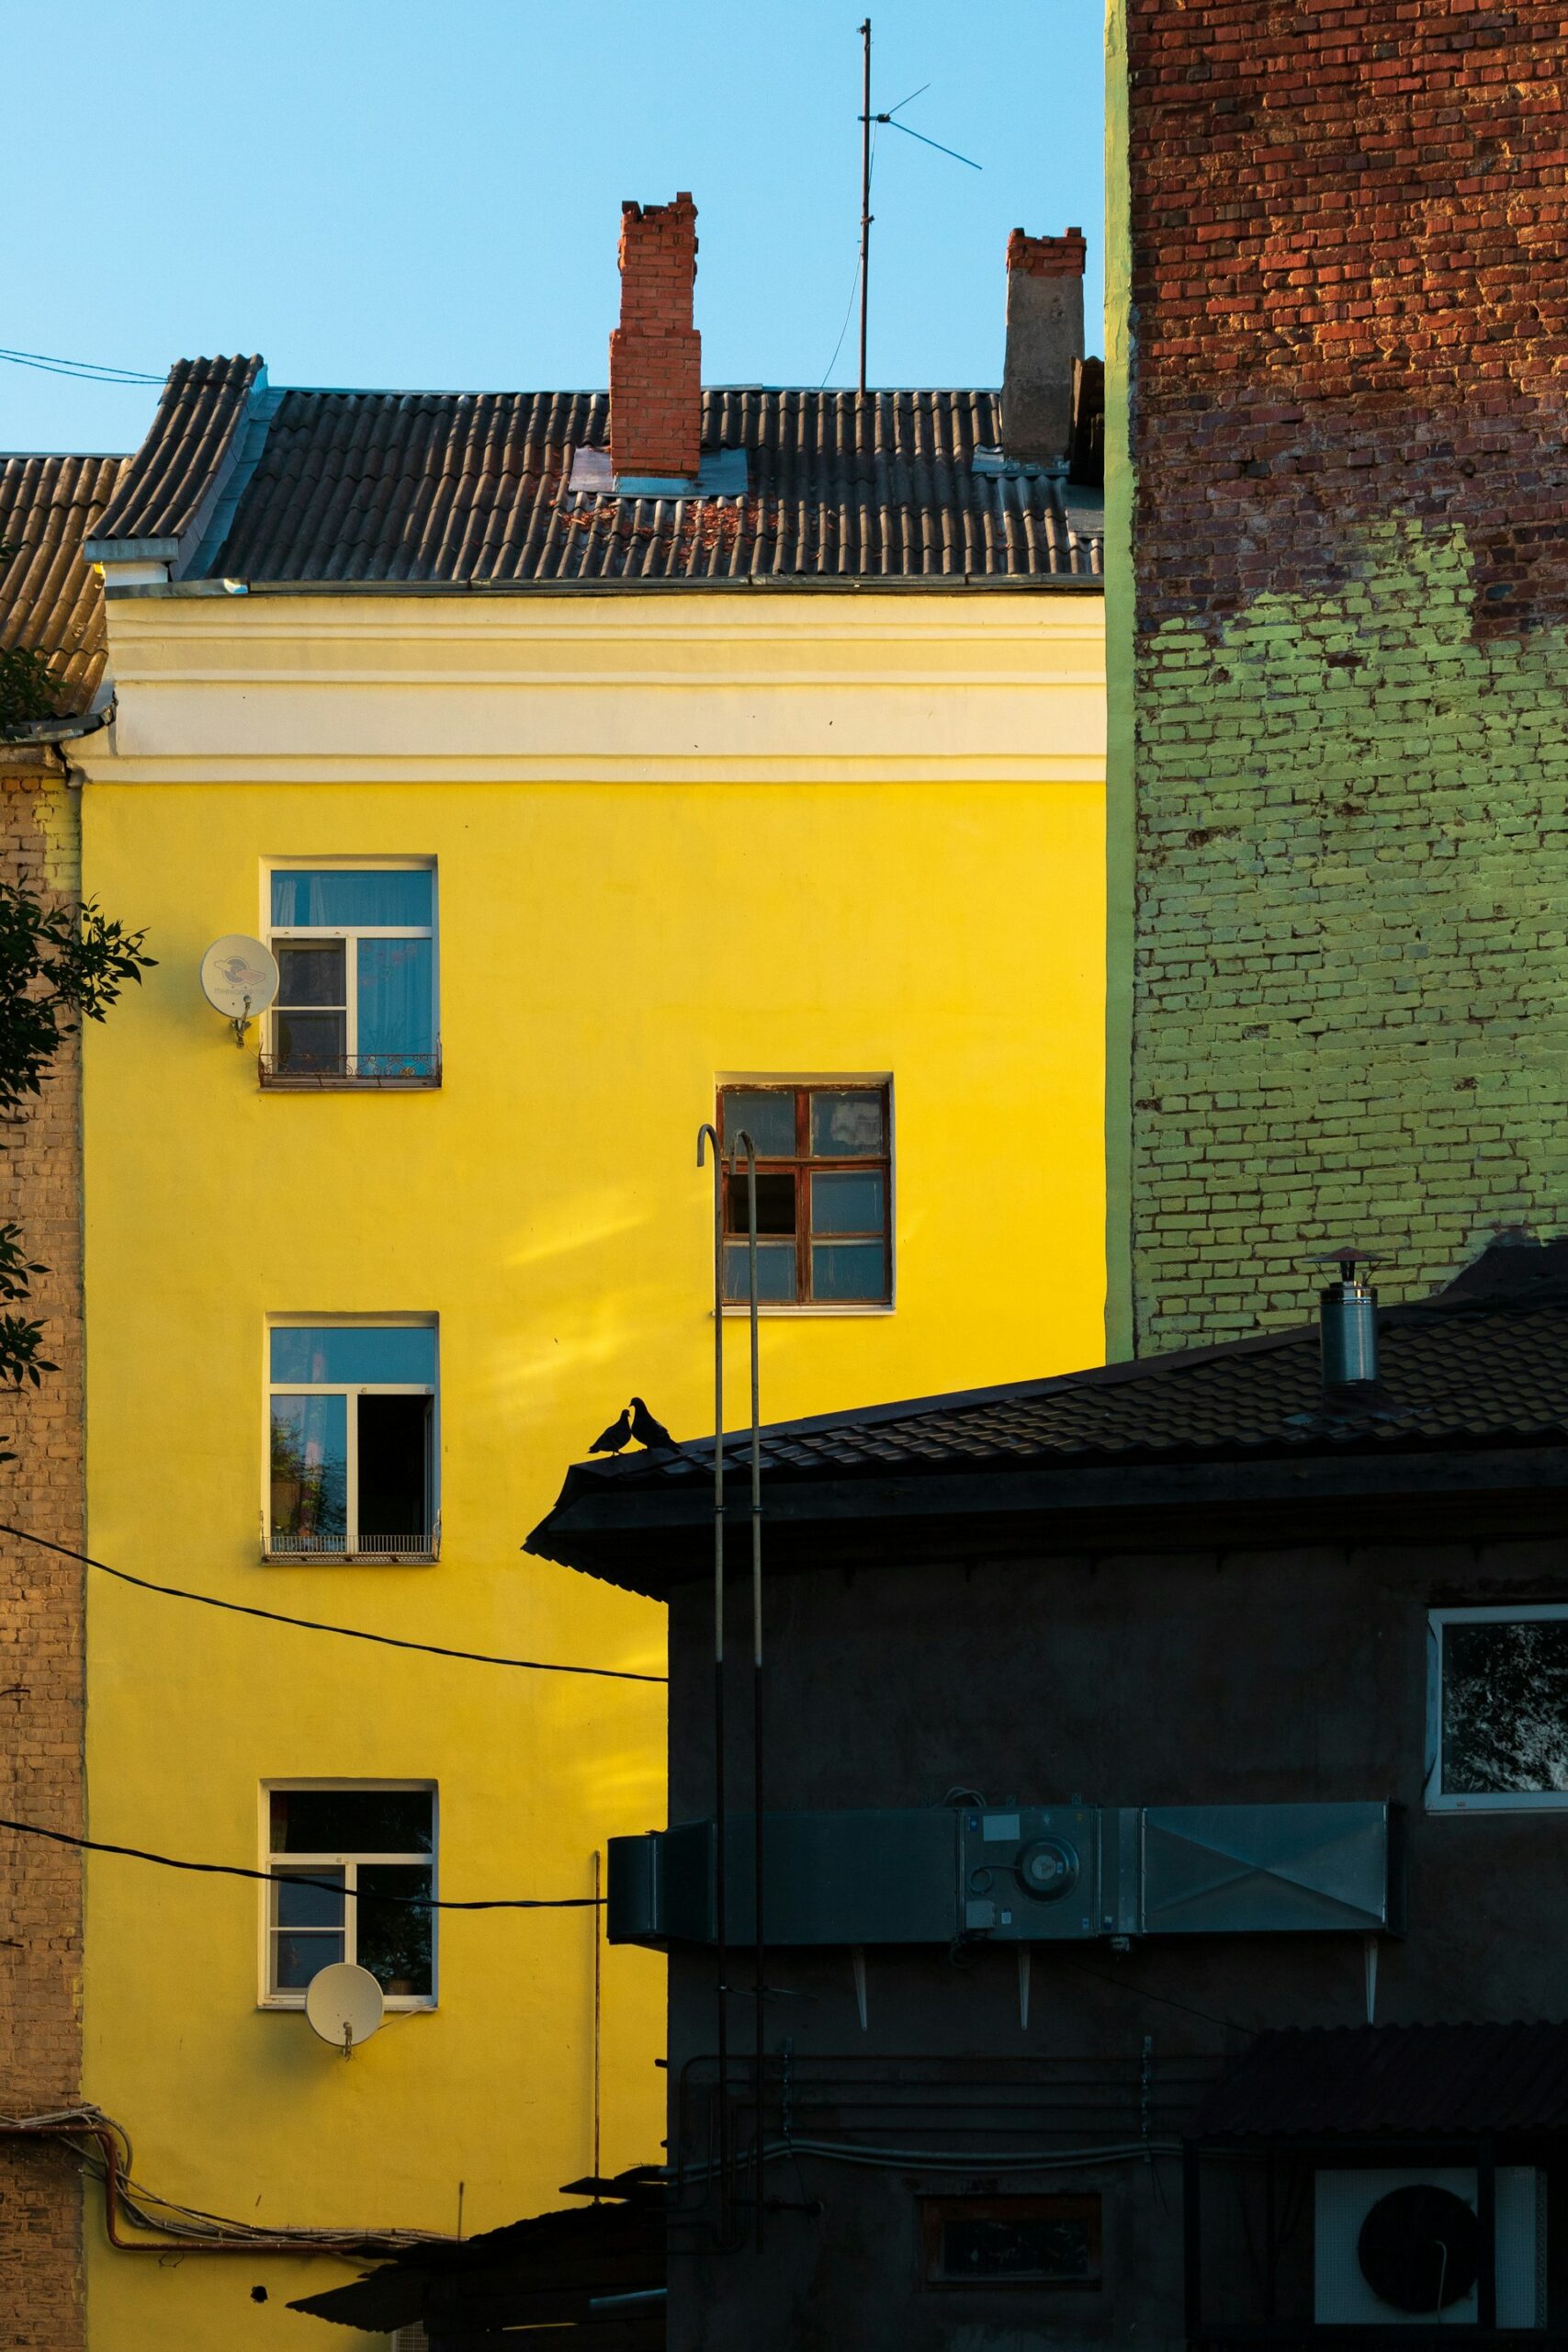
- Instantly modernizes interiors or exteriors
- Hides stains, discoloration, or dated tones
- Offers flexibility in color and style
Cons:
- Permanent: Removing paint is difficult
- Can damage the brick if done improperly
- Requires maintenance to prevent chipping or peeling
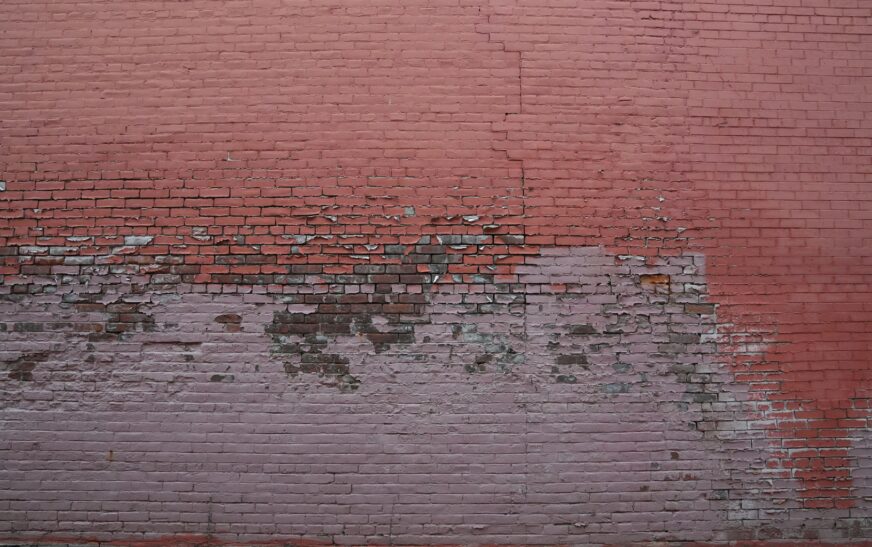
Step 1: Evaluate the Brick’s Condition
Not all bricks are created equal. Before painting, check for:
- Crumbling mortar
- Efflorescence (white, powdery residue)
- Moisture issues or mold
If you find any of these problems, address them first. Painting over issues only makes them worse over time.
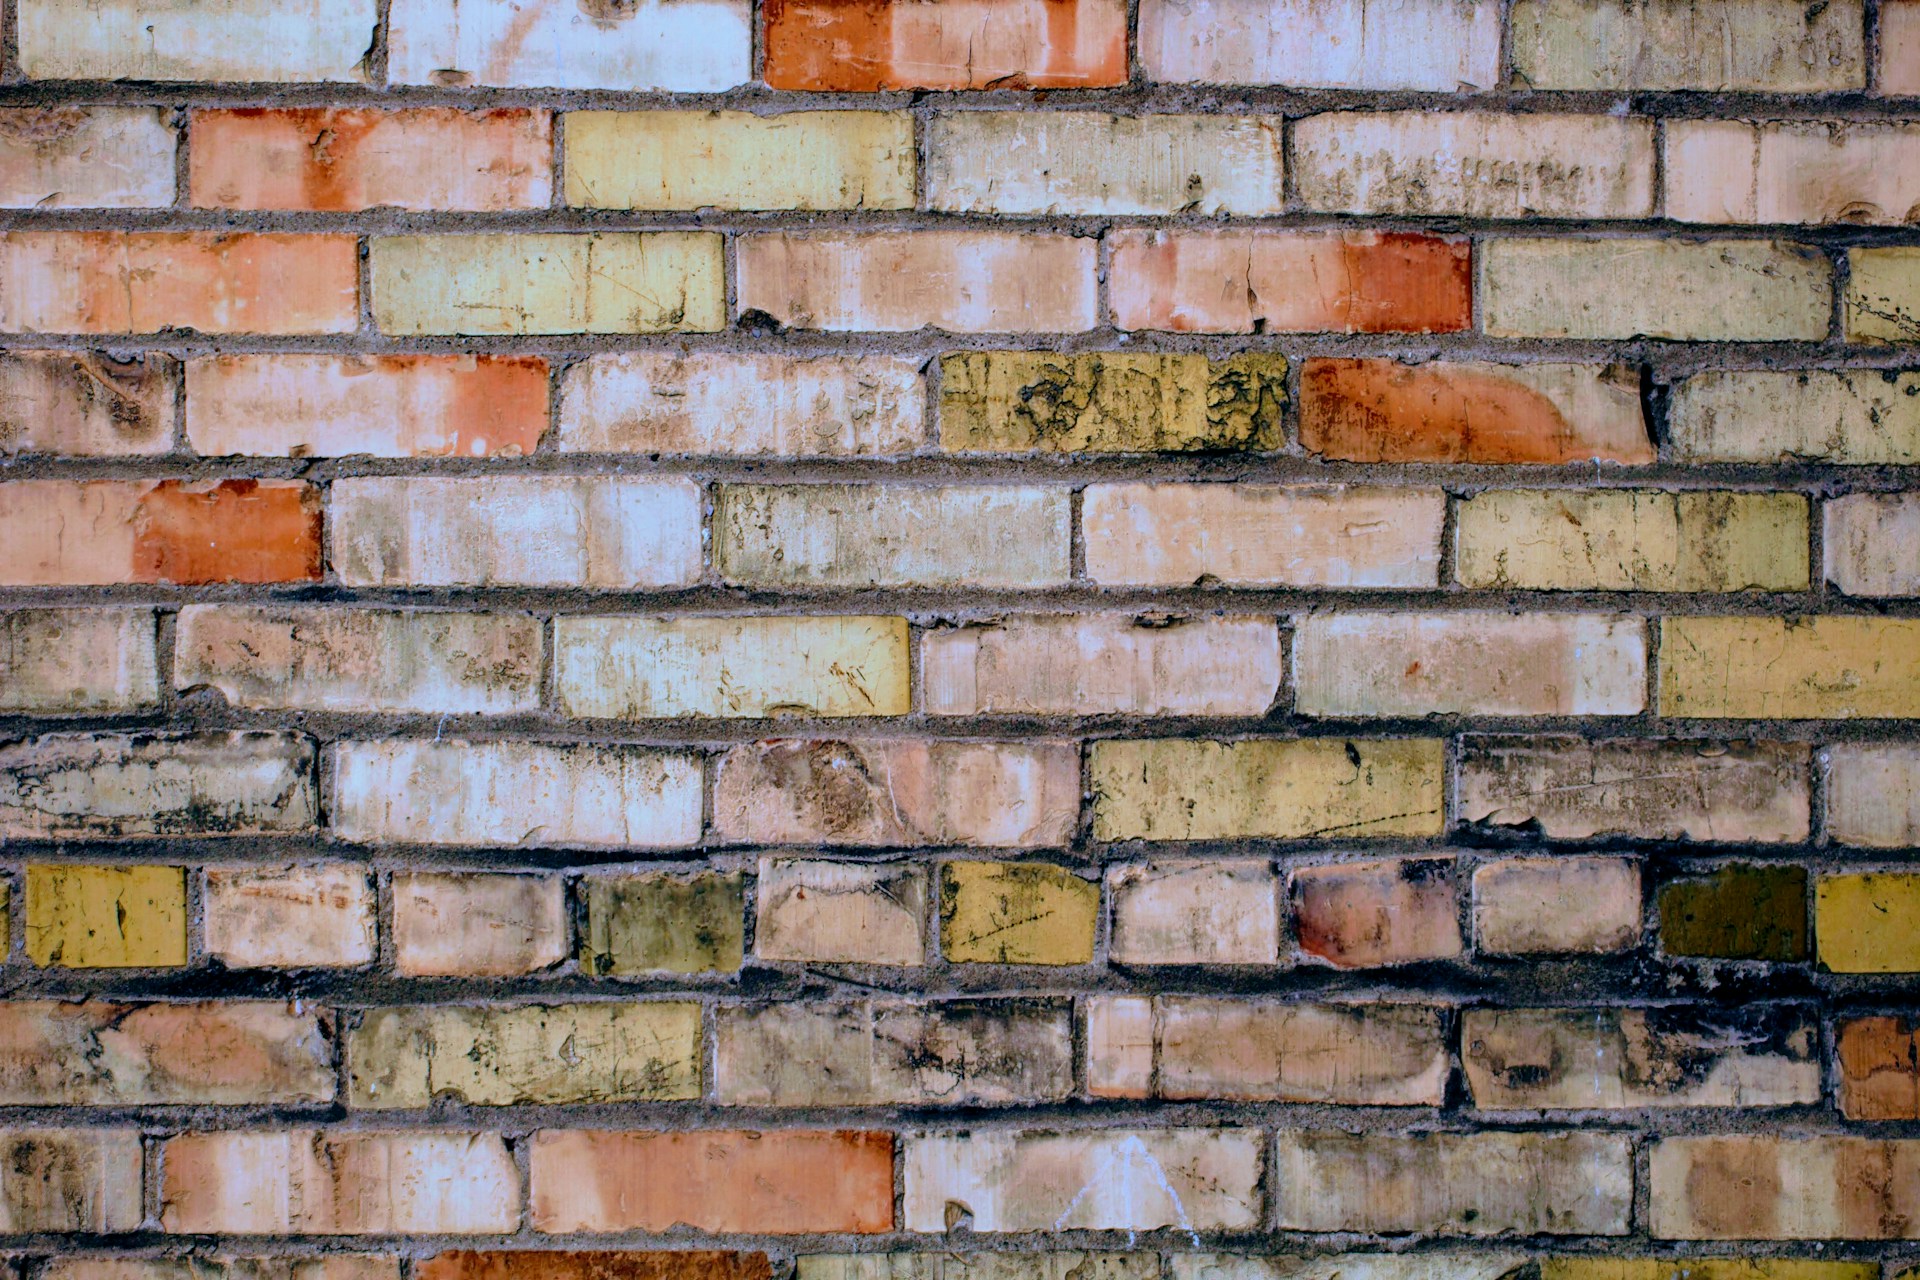
Step 2: Clean Thoroughly
Brick is like a sponge—it holds dust, grime, and mildew. Cleaning is non-negotiable.
Use:
- A stiff-bristle brush
- Mild detergent mixed with water
- Or, for exteriors, a low-pressure washer
Dry completely for at least 24–48 hours. Moisture trapped under paint can lead to bubbling and cracking.
Step 3: Prime Like a Pro
Priming is essential for two reasons:
- Seals the porous surface
- Helps paint adhere better and last longer
Use a masonry primer or stain-blocking primer. Apply with a brush, roller, or sprayer depending on the area, and let it cure fully (usually 24 hours) before painting.
Step 4: Choose the Right Paint
Not all paints work on brick. Best options include:
- 100% acrylic latex paint – breathable and durable
- Elastomeric paint – flexible, great for exteriors
- Limewash or mineral-based paints – natural, historic look
Avoid oil-based paints—they trap moisture and can damage brick over time.
Step 5: Painting Techniques
Now for the fun part—but technique matters:
- Work top to bottom to catch drips
- Use a brush for mortar lines and a roller for flat areas
- Apply two thin coats, not one thick coat
- Let the first coat dry completely before the second
- For exteriors, avoid painting if rain is expected within 24 hours
Read More : What Color to Paint Brick: A Design-Forward Guide to Choosing the Right Hue
Step 6: Maintenance and Touch-Ups
Painted brick isn’t “set it and forget it.” Keep an eye on:
- Cracks or chips in the paint
- Areas where moisture may collect
- Seasonal wear and UV exposure
Touch up as needed, and consider a light cleaning each year to maintain a fresh look.