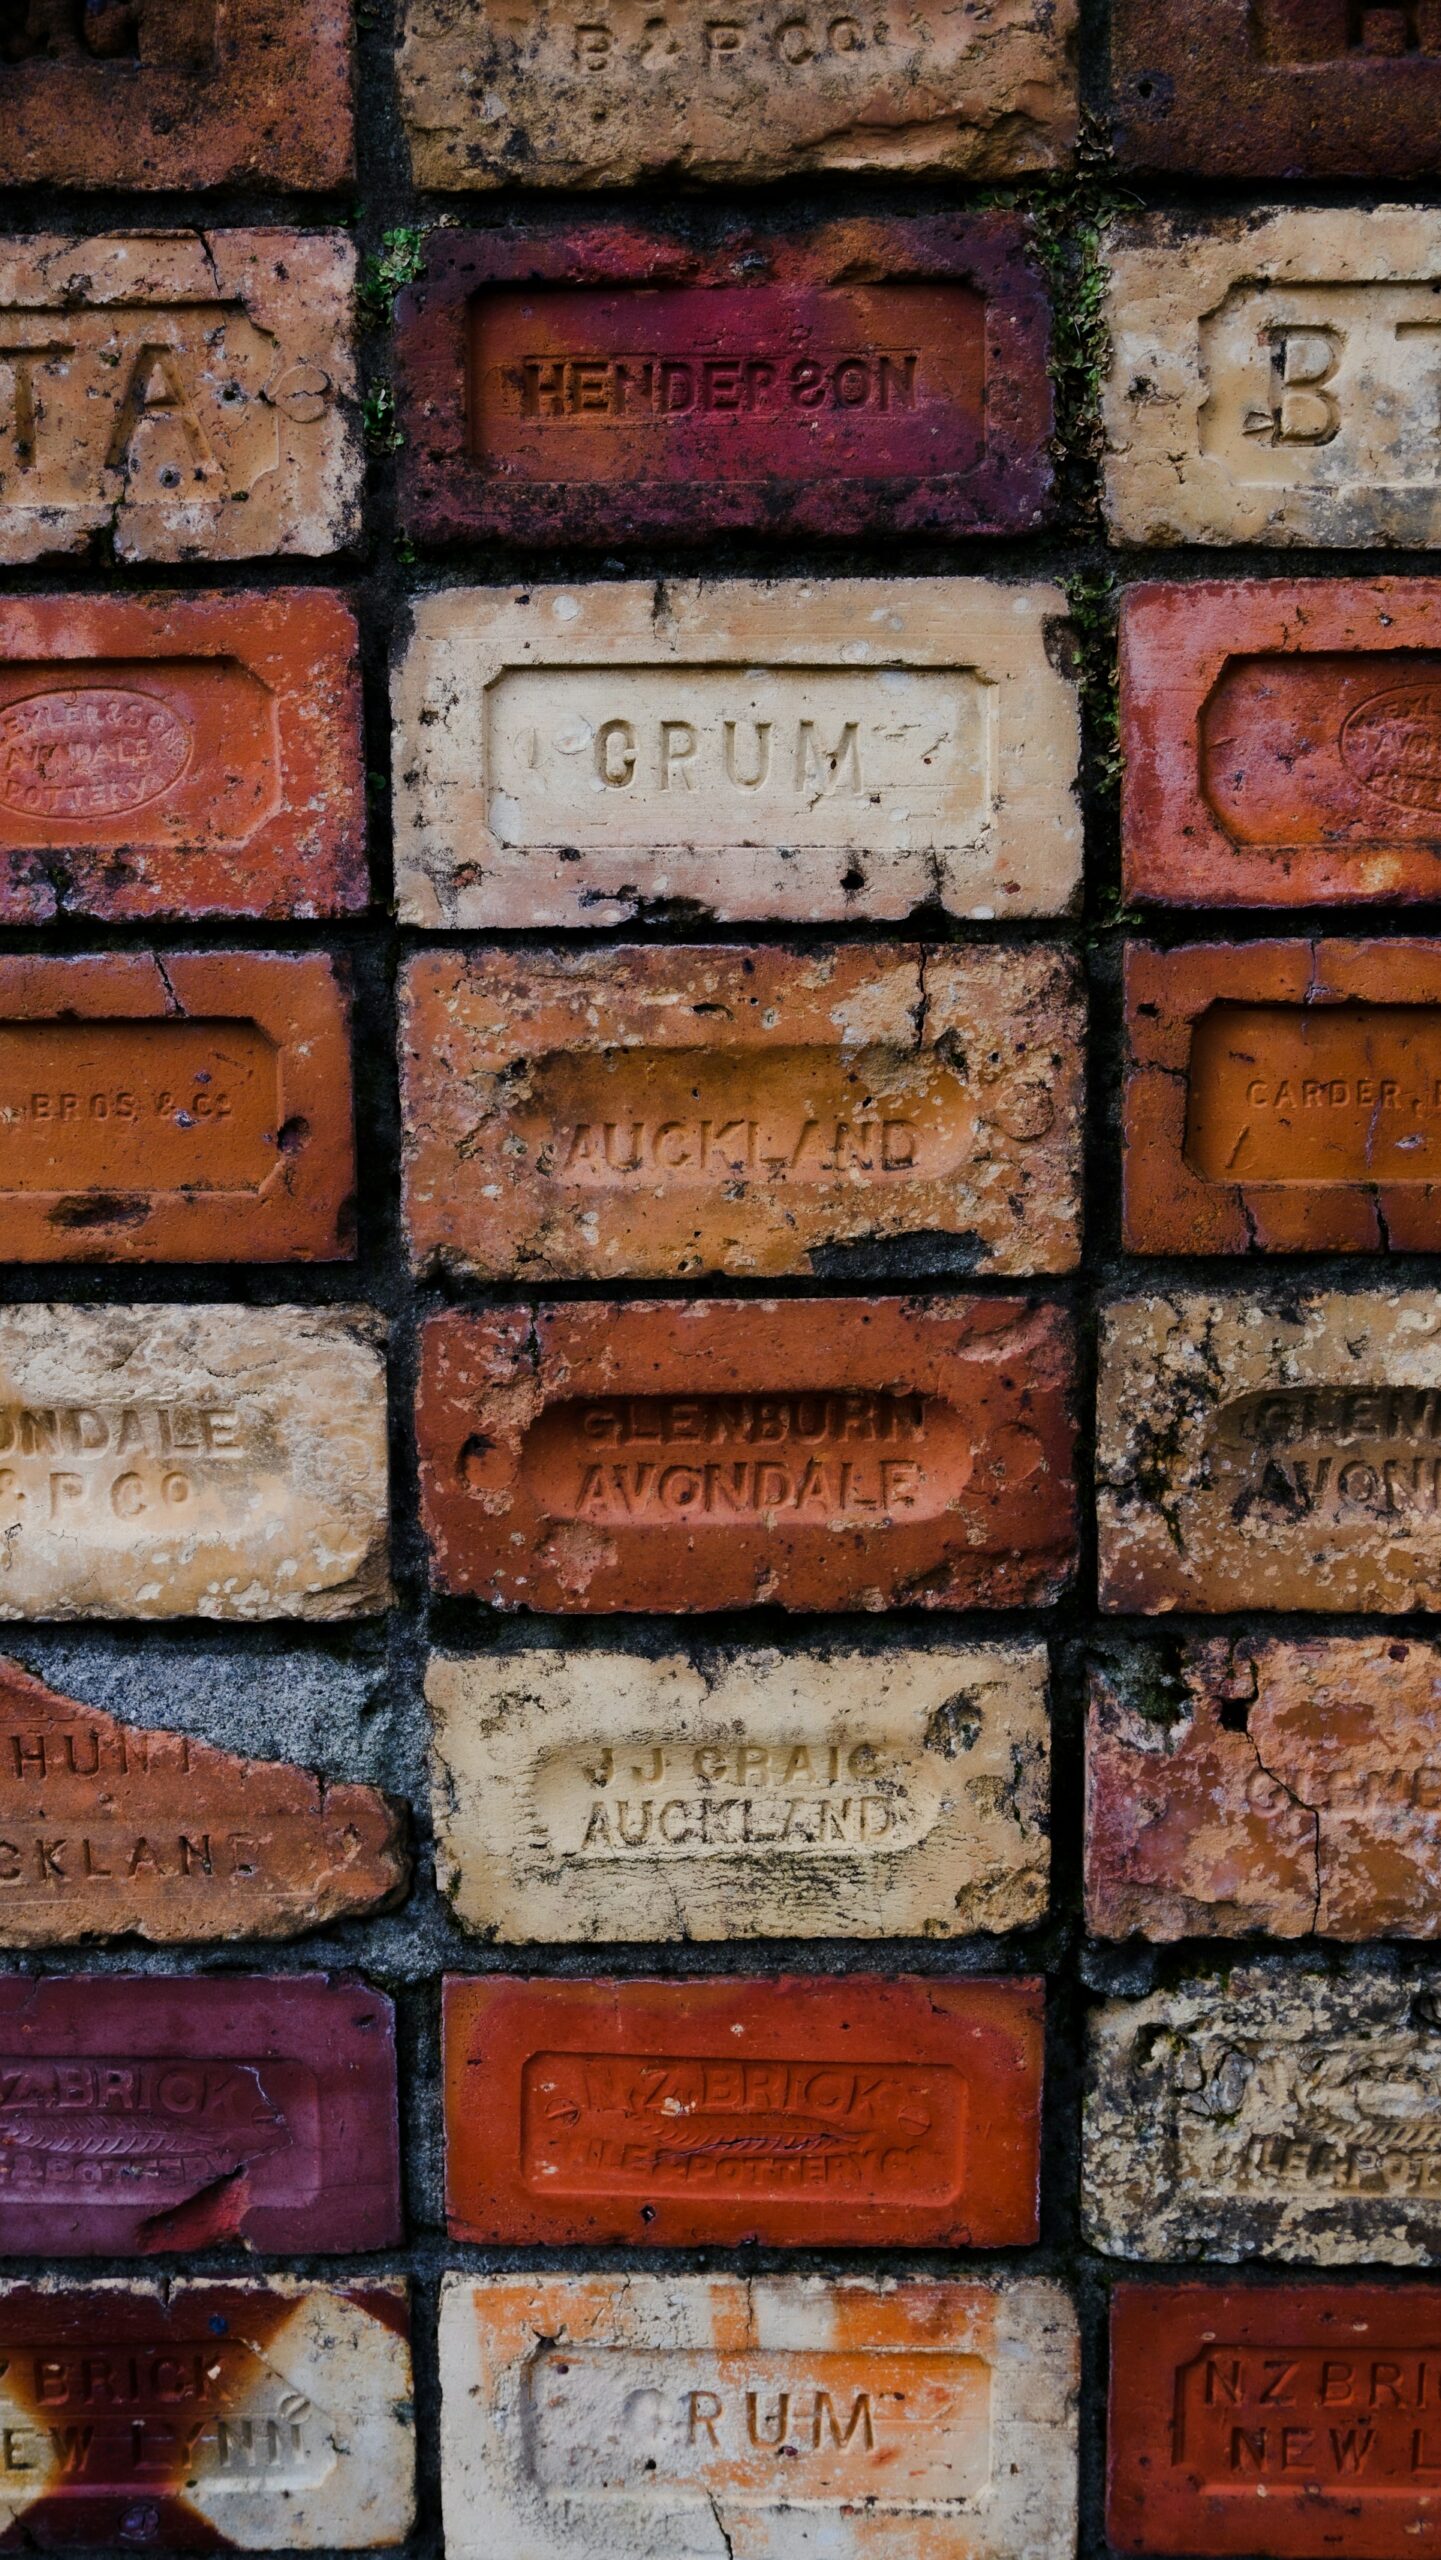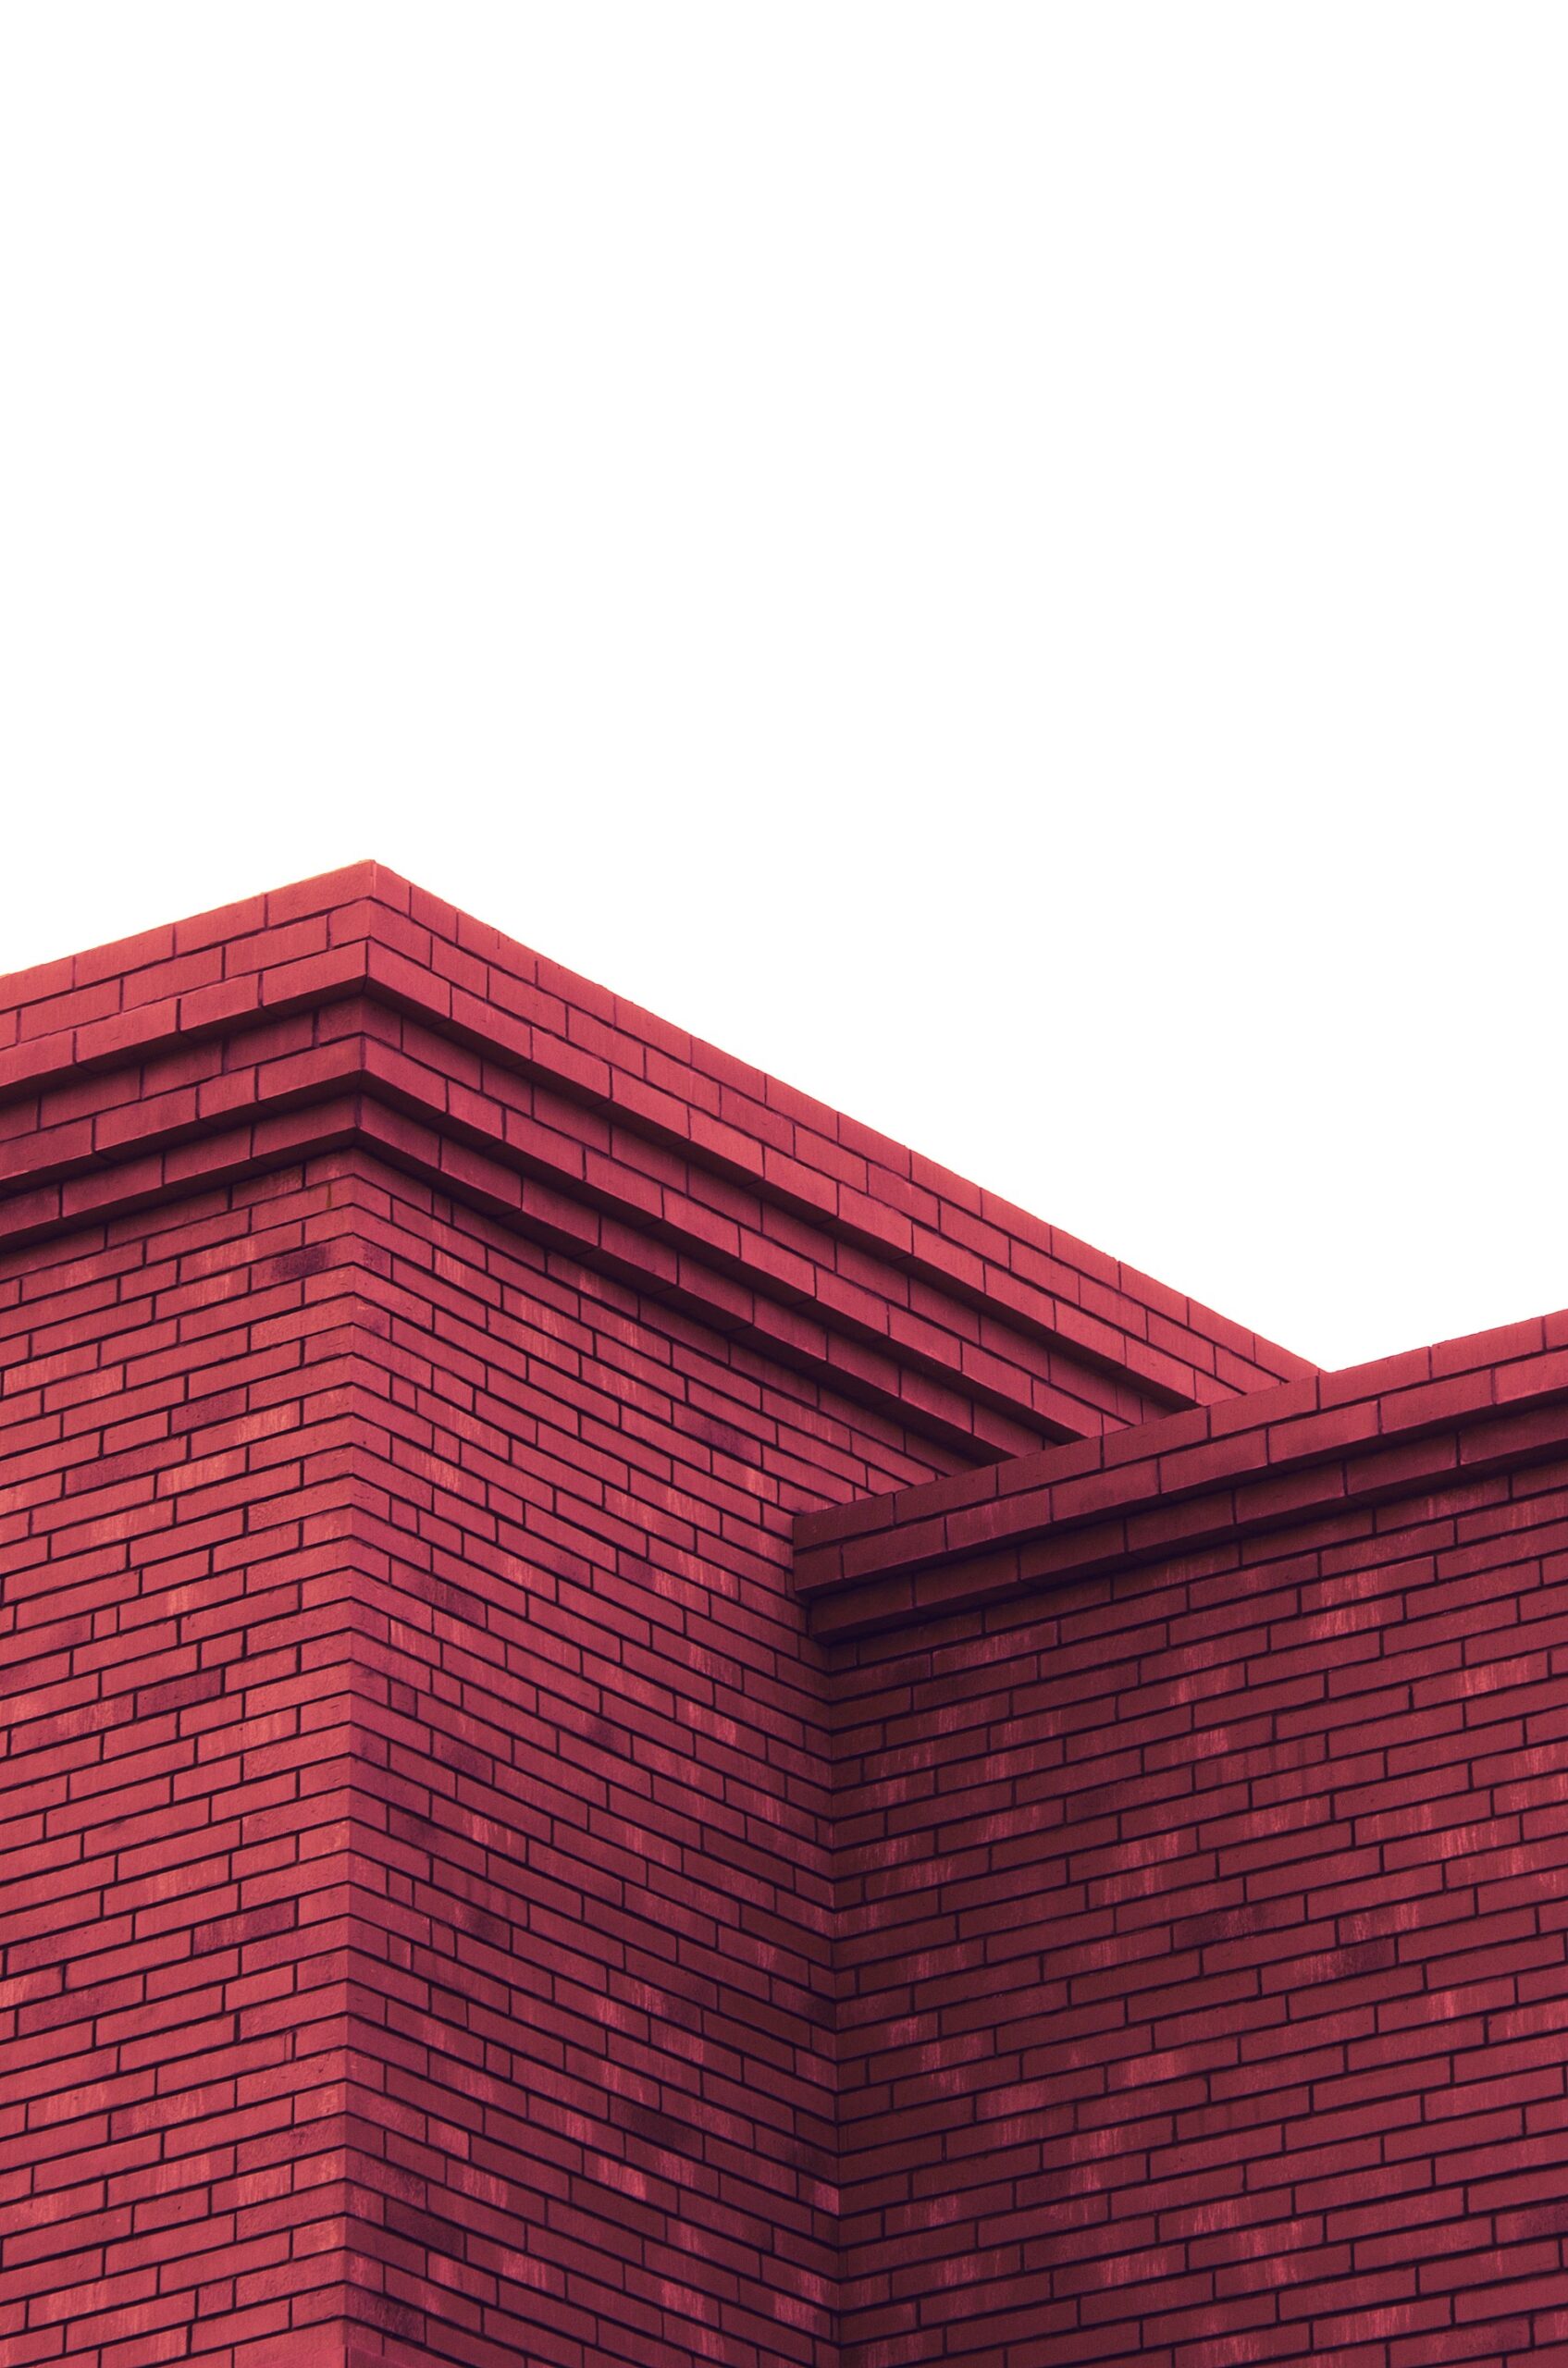
Exposed brick walls? Always in style. They’ve got that rustic, architectural vibe that makes a room feel both raw and intentional. But when it comes to actually hanging something on them—say, your favorite painting—you might pause and think: “Wait… how do I do this without cracking the wall, wrecking the art, or summoning a contractor?”
Hanging Art on Brick
Drywall is easy. Brick? Different story. The tools, the techniques, the rules—they all shift a little. But don’t worry, it’s doable. Here’s how to get your art up without drama.
Step 1: Get to Know Your Brick
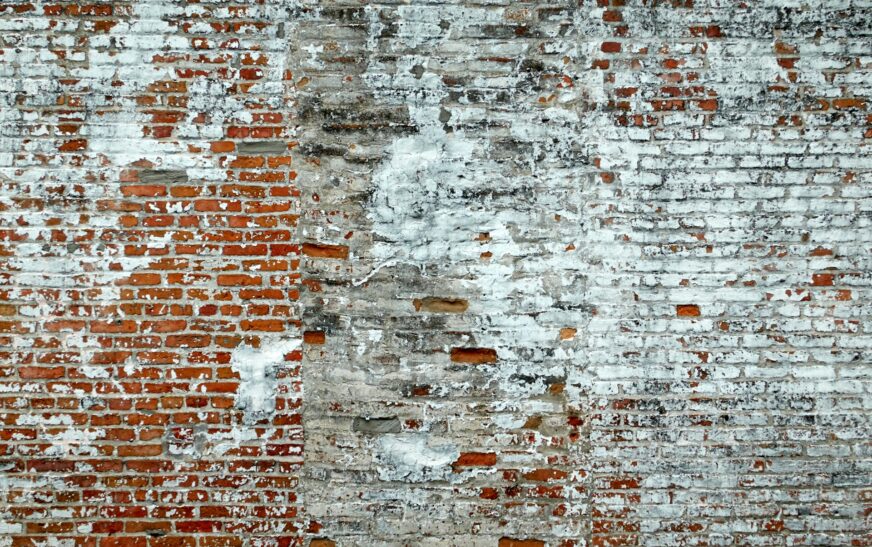
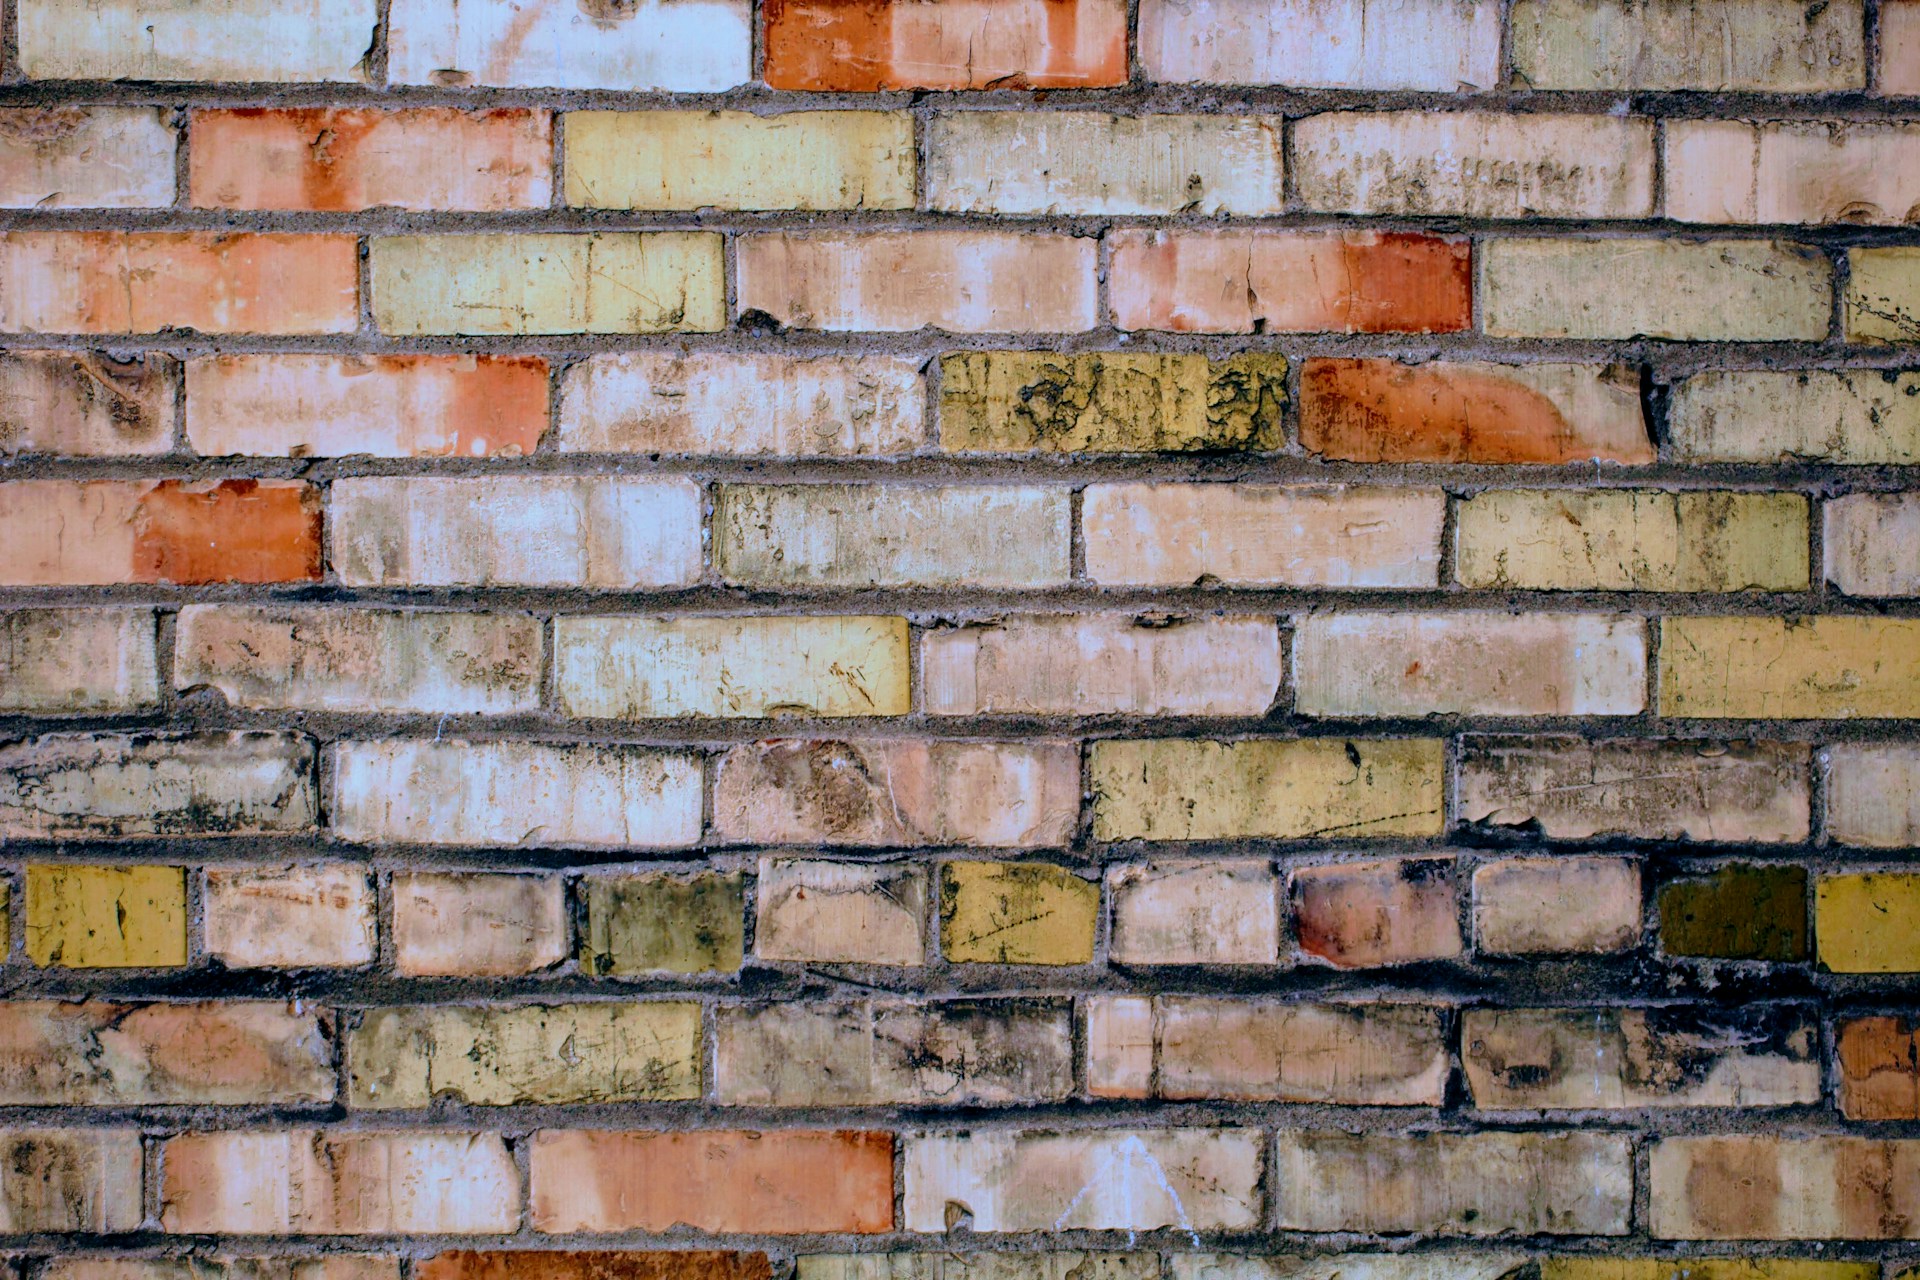
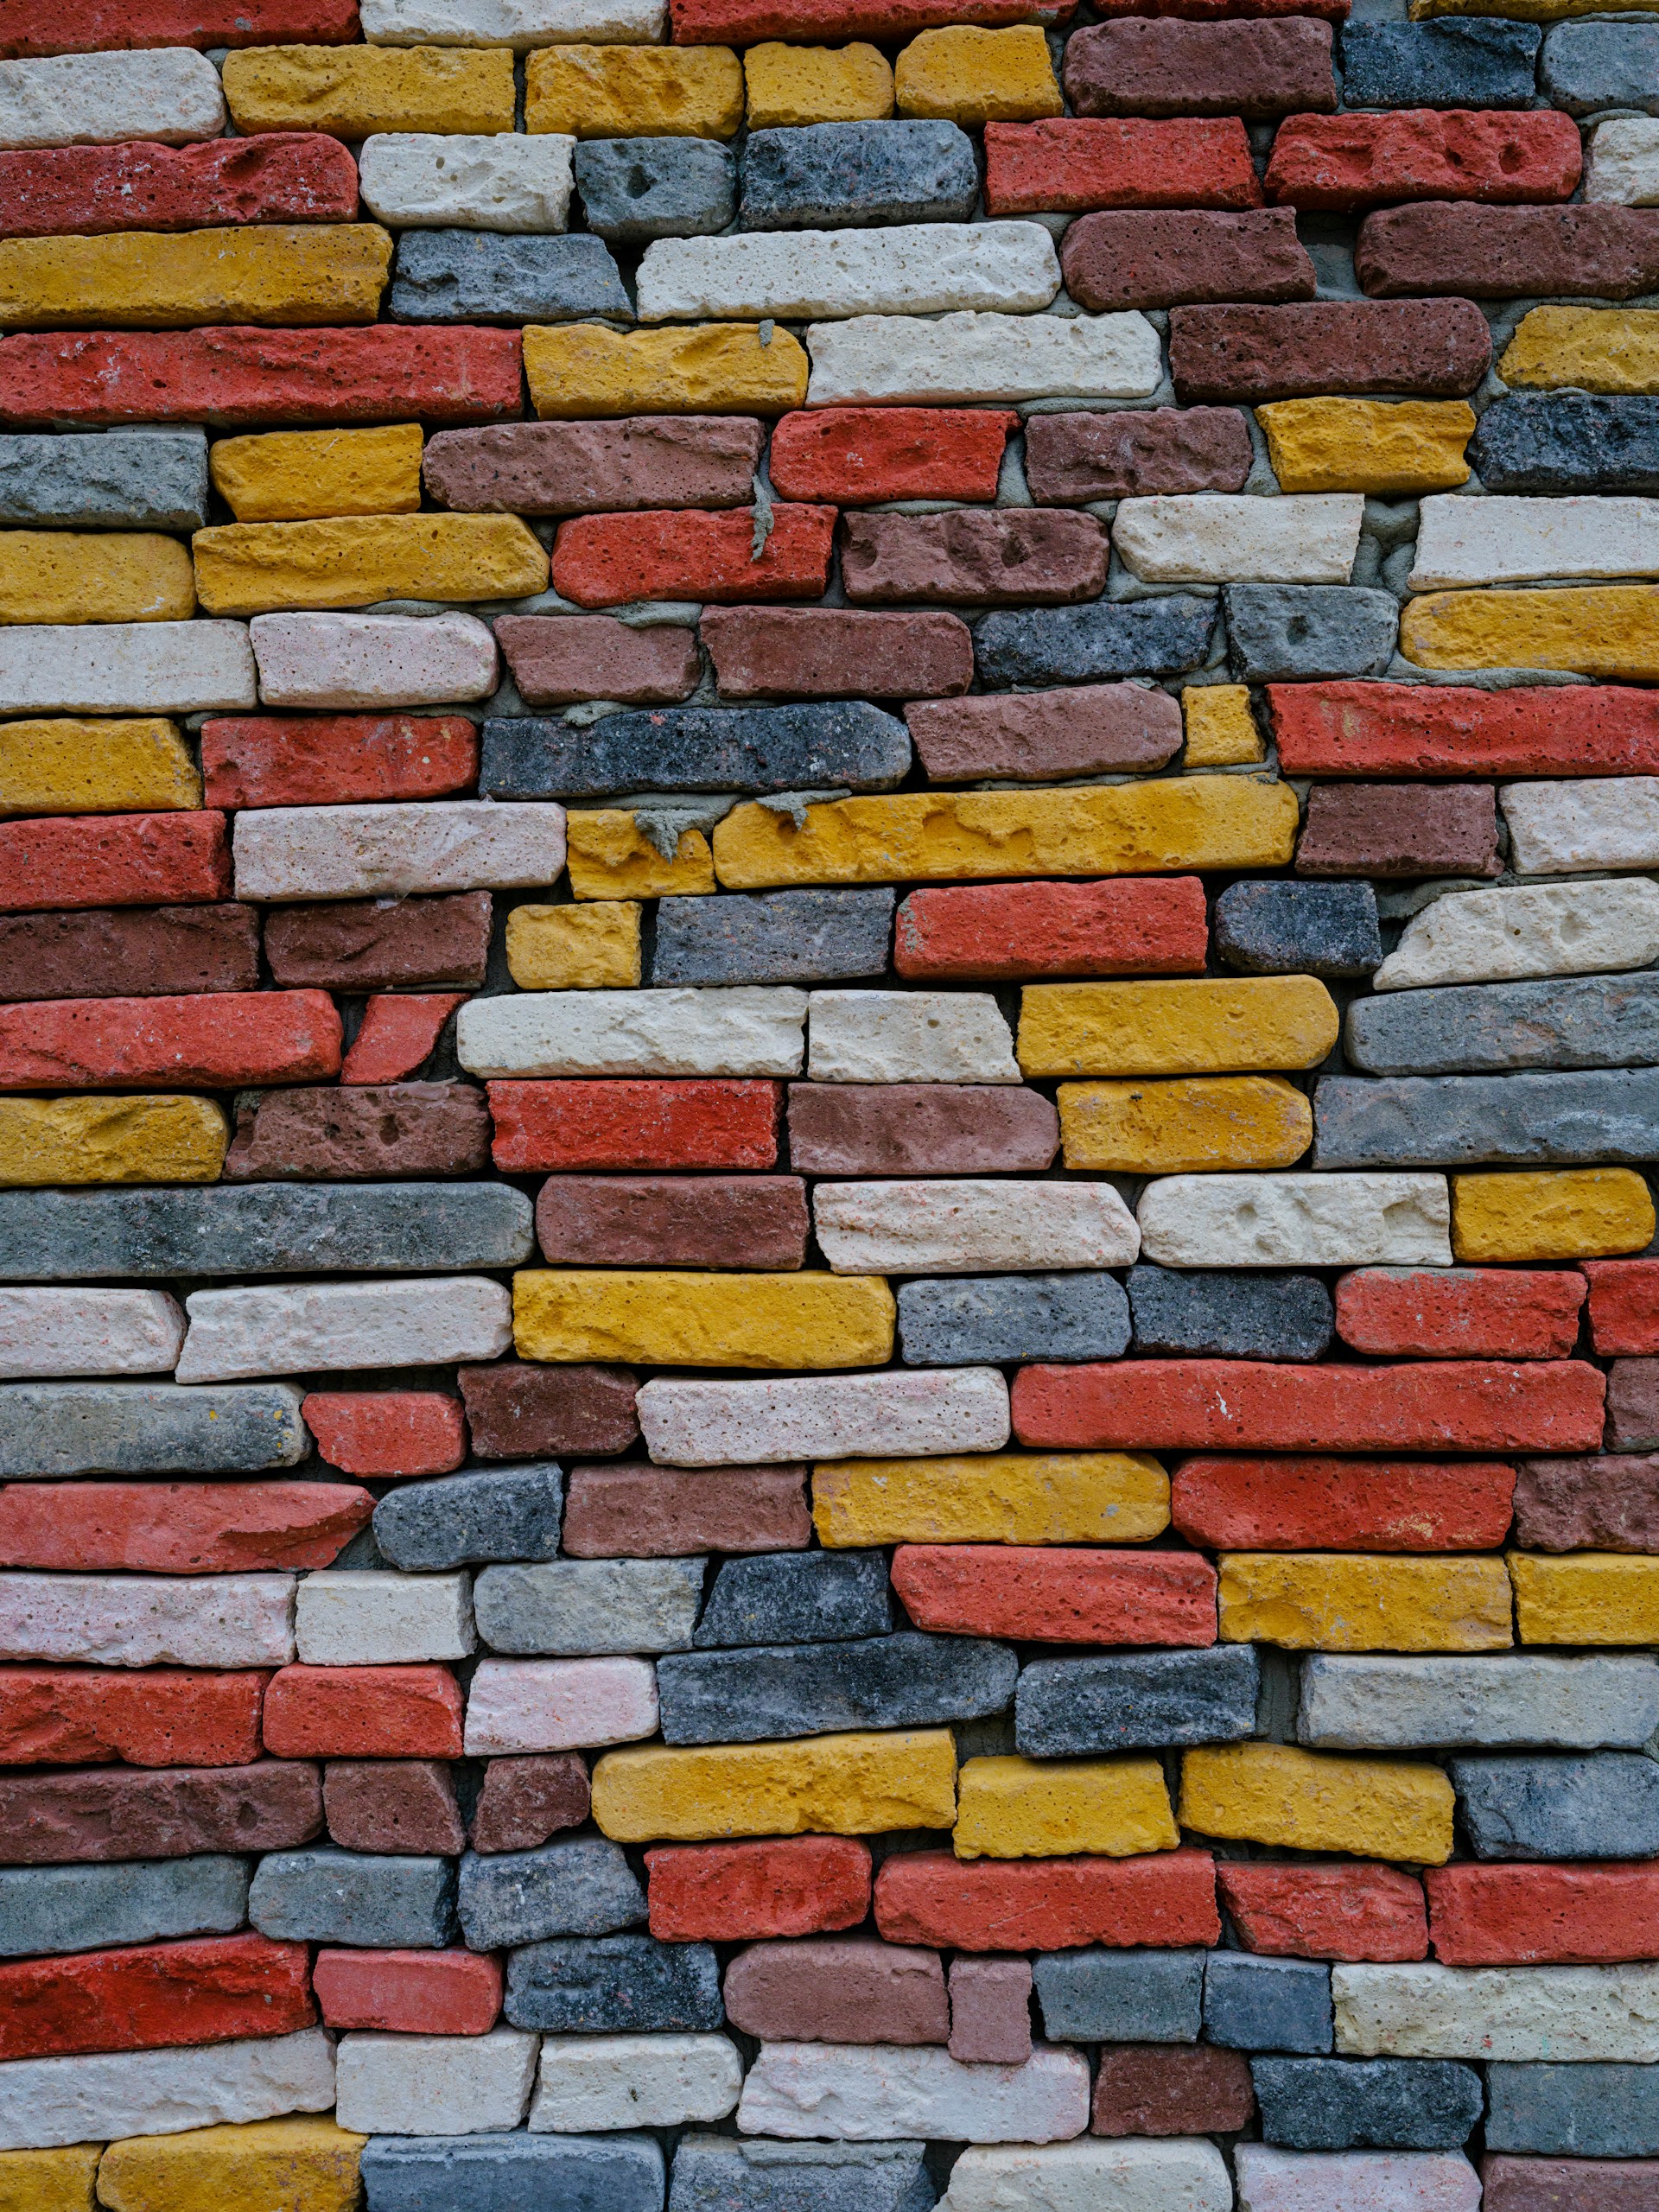
Not all brick walls are equal. Some are smooth and sturdy, others soft and crumbly. Some have deep mortar lines, others barely any. Take a few minutes to size things up:
- Deep mortar lines? Good—more options.
- Old, brittle brick? Go gentle.
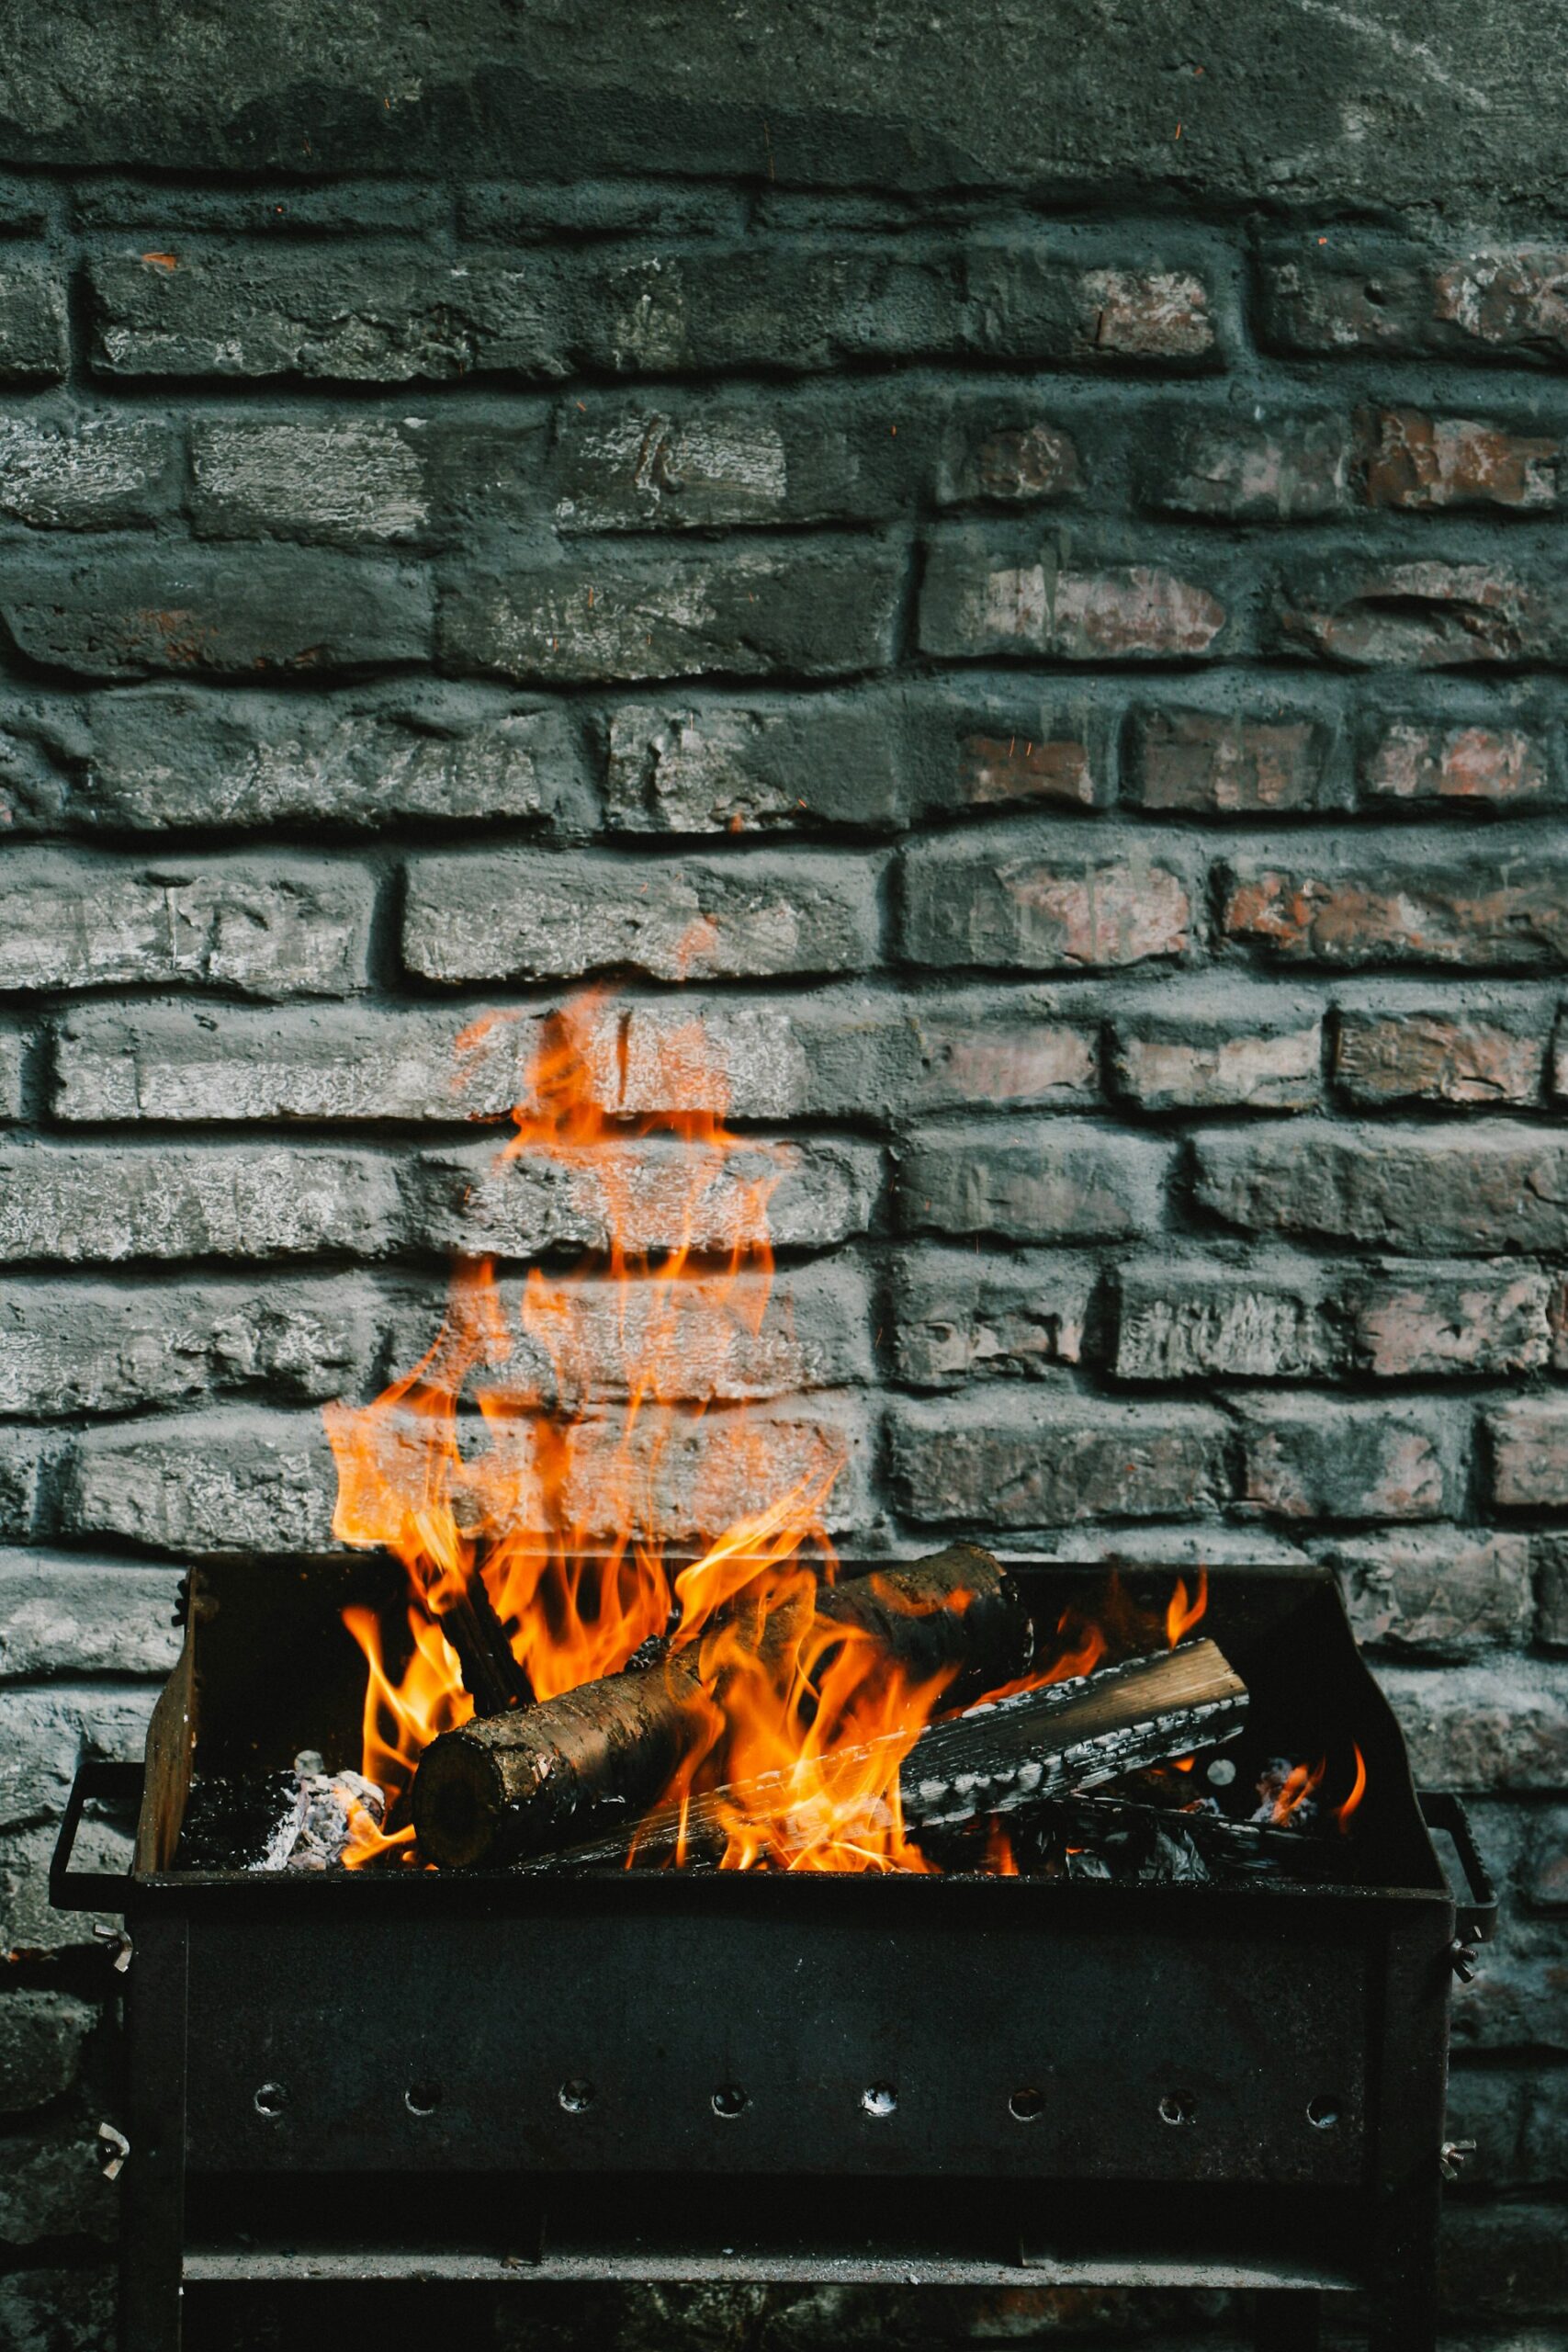
- Inside or outside? Outdoors needs tougher gear.
Basically: your wall’s personality decides your method.
Step 2: Pick Your Hanging Strategy
Now for the fun part—choosing your weapon. How you hang depends on how permanent you want the setup to be (and whether you own the place or rent it).
1. Brick Clips (No Holes, No Worries)
If your bricks have defined edges and recessed mortar lines, brick clips are a game-changer. They hook right onto the brick—no drilling, no adhesives.
- Great for lightweight to medium art
- Totally removable and reusable
- Perfect for renters or people who rearrange a lot
Think of them as the “commitment-free” option.
2. Heavy-Duty Adhesive Strips
Some industrial-strength mounting strips can handle a surprising amount of weight. But they’re picky:
- Clean the brick surface first (dust is their mortal enemy).
- Let them cure before hanging.
- Use products designed for rough surfaces.
Skip these in damp spots like basements or outdoor patios—humidity = failure waiting to happen.
3. Masonry Anchors (The Classic, Secure Way)
For heavier art or if you’re in it for the long haul, drilling is the most reliable method. Don’t panic—it’s not as scary as it sounds.
Here’s the drill (pun intended):
- Mark your spot carefully (use a level—you’ll thank yourself later).
- Use a masonry bit to drill into the mortar, not the brick itself.
- Insert a masonry anchor or wall plug.
- Screw in your hook, eyelet, or fastener.
This gives you a solid, long-term hold. Yes, it leaves small holes, but those can be patched later with fresh mortar or filler if you ever change your mind.
Step 3: Measure Twice, Hang Once
Hanging art isn’t just about getting it up there—it’s about making it look good once it’s up.
- Use a level to keep it straight (brick lines will betray even a tiny tilt).
- Mark with a pencil before drilling or sticking.
- Place at eye level for single pieces, or align groupings with the centerline of the room.
Crooked art + rigid brick = painfully obvious.
Read More : How to Hang a Painting on a Brick Wall
Step 4: The Finishing Touches
Step back and take it in:
- Is it sitting flush against the wall?
- Does the artwork pop against the brick?
- Any weird shadows stealing the spotlight?
Pro tip: Add a small spotlight or track lighting. It not only highlights the piece but also plays up the texture of the brick. Gallery vibes, right at home.