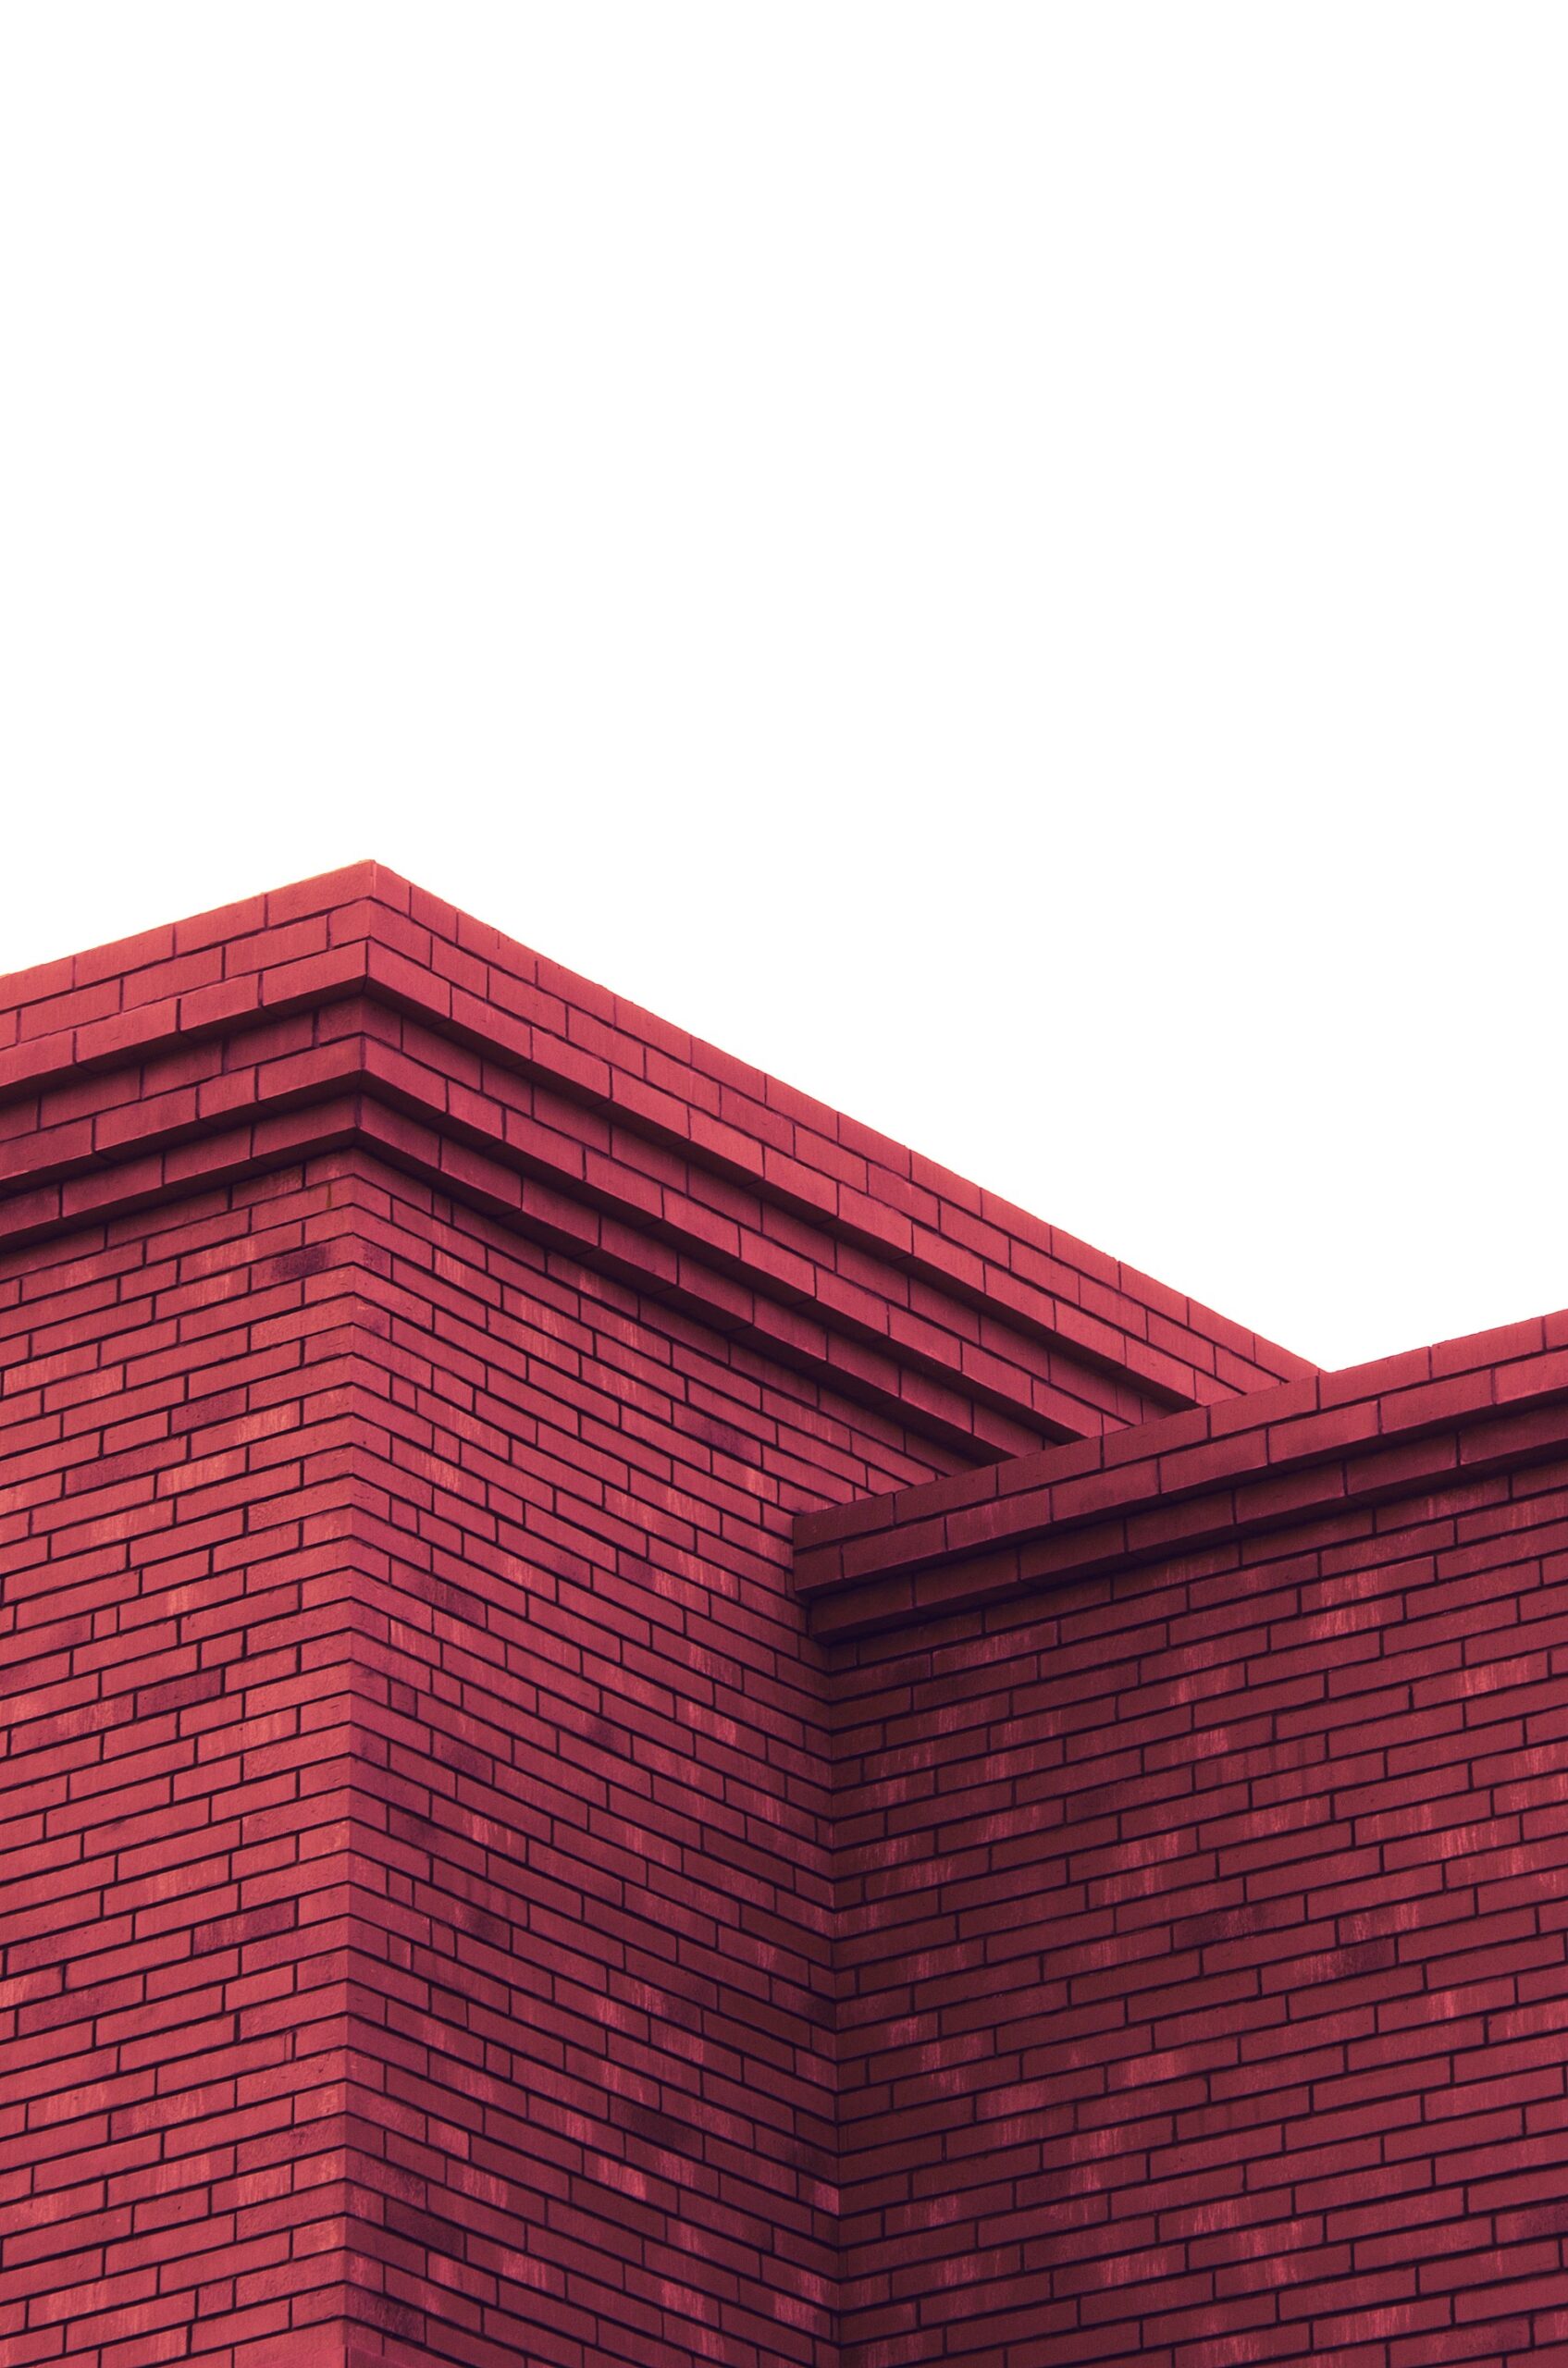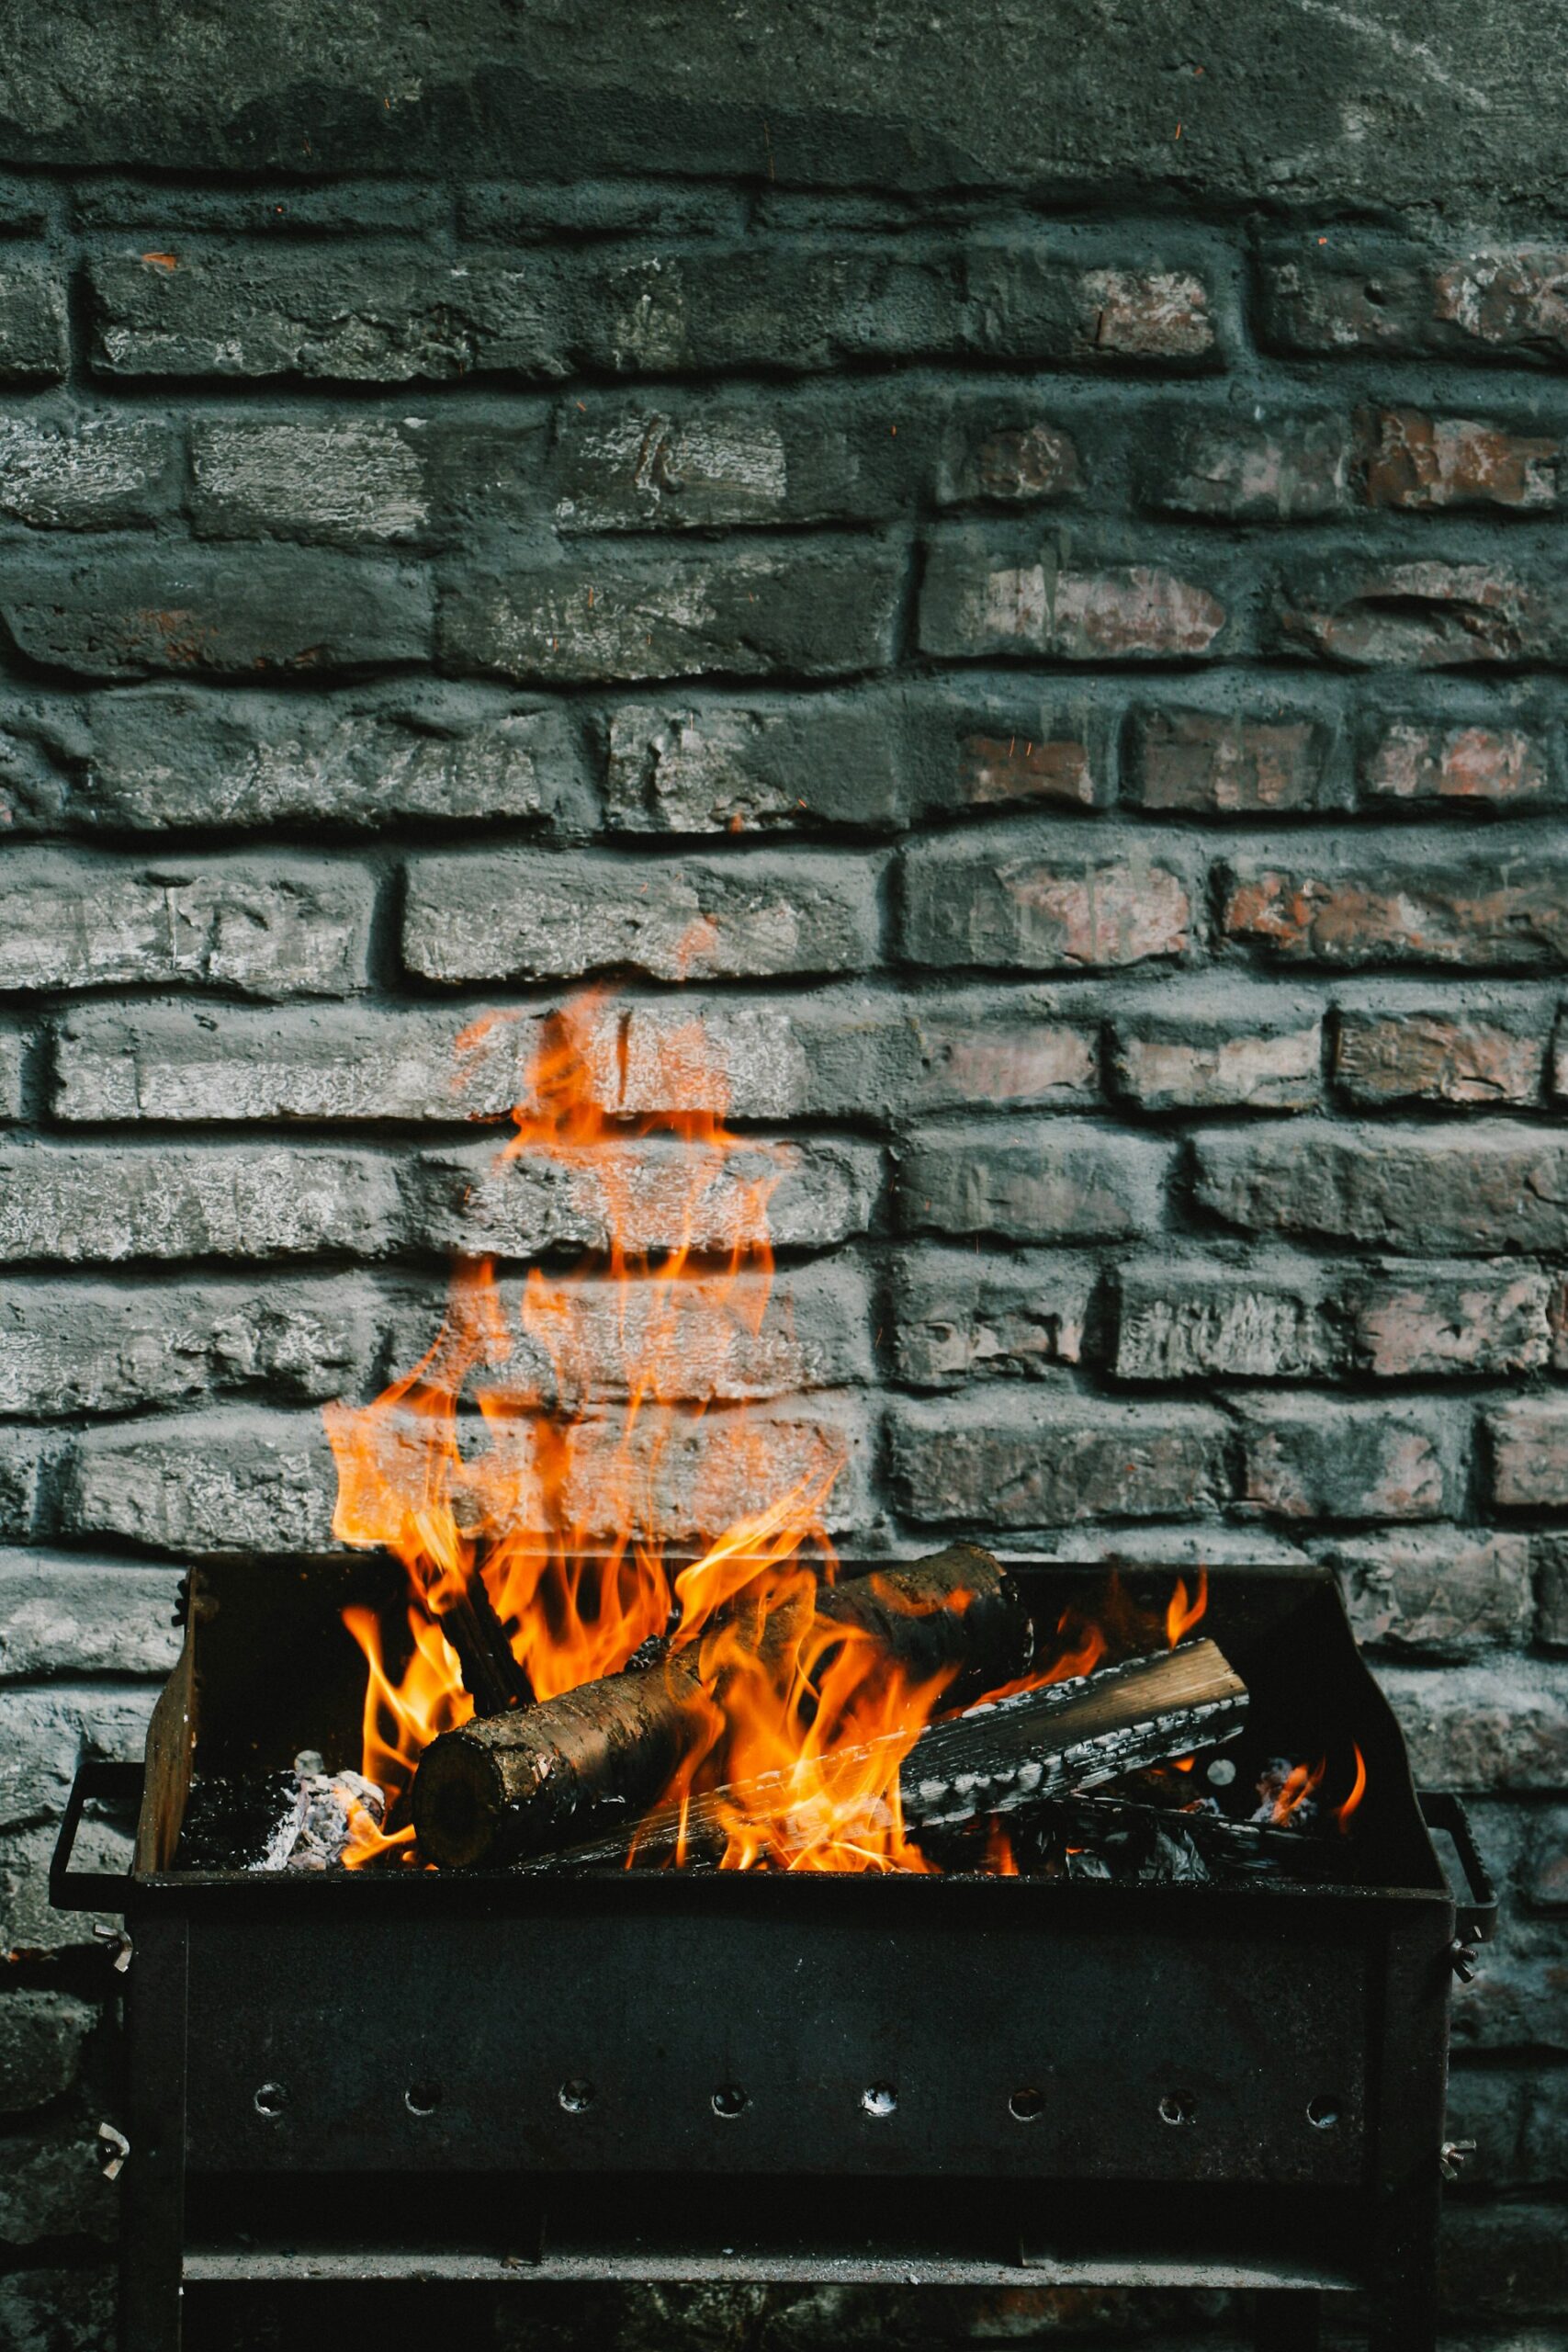
There’s something dramatic about a painting on a brick wall. The contrast—smooth, refined artwork against rough, textured brick—just works. But the effect comes with one tricky question: how do you hang a painting on brick without cracking it, cursing it, or creating permanent regrets?
How to Hang Art on Brick
Nails alone won’t cut it. Hanging on brick takes planning, the right gear, and a little know-how. Whether you’re dressing up an exposed interior wall or adding flair to an outdoor feature, here’s how to do it right.
Step 1: Know Your Wall
Not all brick is the same. Some is solid and load-bearing, some is a thin veneer glued to drywall. The difference matters. Ask yourself:
- Is it real brick or faux veneer?
- Are the mortar joints recessed or flush?
- Is the material brittle, old, or sturdy?
These answers will tell you whether you should clip, stick, or drill.
Step 2: Brick Clips (The No-Drill Heroes)
If you’re renting, commitment-phobic, or just not into power tools, brick clips are your new best friend. They grip the top and bottom edges of brick—provided your wall has recessed mortar lines and standard-size bricks (about 2 ¼”).
Pros:
- No tools, no holes, no stress
- Removable and reusable
- Great for medium-weight art
Cons:
- Only work with certain brick sizes
- Not strong enough for oversized or super-heavy pieces
Look for heavy-duty clips that can hold 10–25 lbs. Perfect for framed art, canvases, and decorative pieces.
Step 3: Masonry Anchors (The Sturdy, Long-Term Fix)
When you’re hanging something large, valuable, or outdoors, drilling is the safest route. It sounds intense, but with the right tools, it’s straightforward.
Here’s the drill (literally):
- Mark your spot carefully—level is your friend.
- Aim for the mortar, not the brick. Mortar is easier to drill and repair later.
- Use a masonry bit to make a pilot hole.
- Insert a wall plug or masonry anchor.
- Screw in a hook or fastener, then hang with confidence.
Pro tip: On older, brittle walls, always drill into mortar. You’ll save your brick from cracks and make repairs much easier.
Step 4: Adhesive Strips (When You Don’t Want Holes)
For lighter pieces and temporary displays, industrial-strength adhesive hooks or strips can work—if you set them up right.
Keys to success:
- Clean the brick thoroughly first (dust = disaster).
- Use products rated for rough or outdoor surfaces.
- Press firmly, then let it cure (usually an hour or two) before hanging.
Best for light art indoors. Skip them in damp basements or outside unless the packaging says they’re made for it.
Step 5: Avoid Rookie Mistakes
Save yourself some headaches:
Don’t hammer nails into brick—they’ll bend, break, or worse, crack the brick.
Don’t skip the pilot hole when drilling—you risk damaging the wall.
Don’t overload hardware—check weight limits before hanging.
Read More : How to Get Old Paint Off of Brick
Step 6: Changing Your Mind (Without Regret)
Need to move your art later? Easy.
- If you drilled into mortar: remove the anchor and patch the hole with a little fresh mortar or filler. Done.
- If you used adhesives: most peel off cleanly—just follow the product’s removal instructions.
Your brick wall survives another day, no scars left behind.