When cracks start sneaking between bricks or the mortar begins to crumble and fall, it’s natural to ask: “How much does it cost to tuckpoint 30 bricks?” The answer isn’t as simple as multiplying bricks by a set price. Tuckpointing is more like art than math—it’s about keeping your wall strong and looking good.
In this guide, we’ll break down what tuckpointing really involves, why even a small patch matters, and what factors influence the cost and complexity of a 30-brick repair. By the end, you’ll understand why this seemingly small job deserves careful attention.
What Is Tuckpointing—and Why Does It Matter?
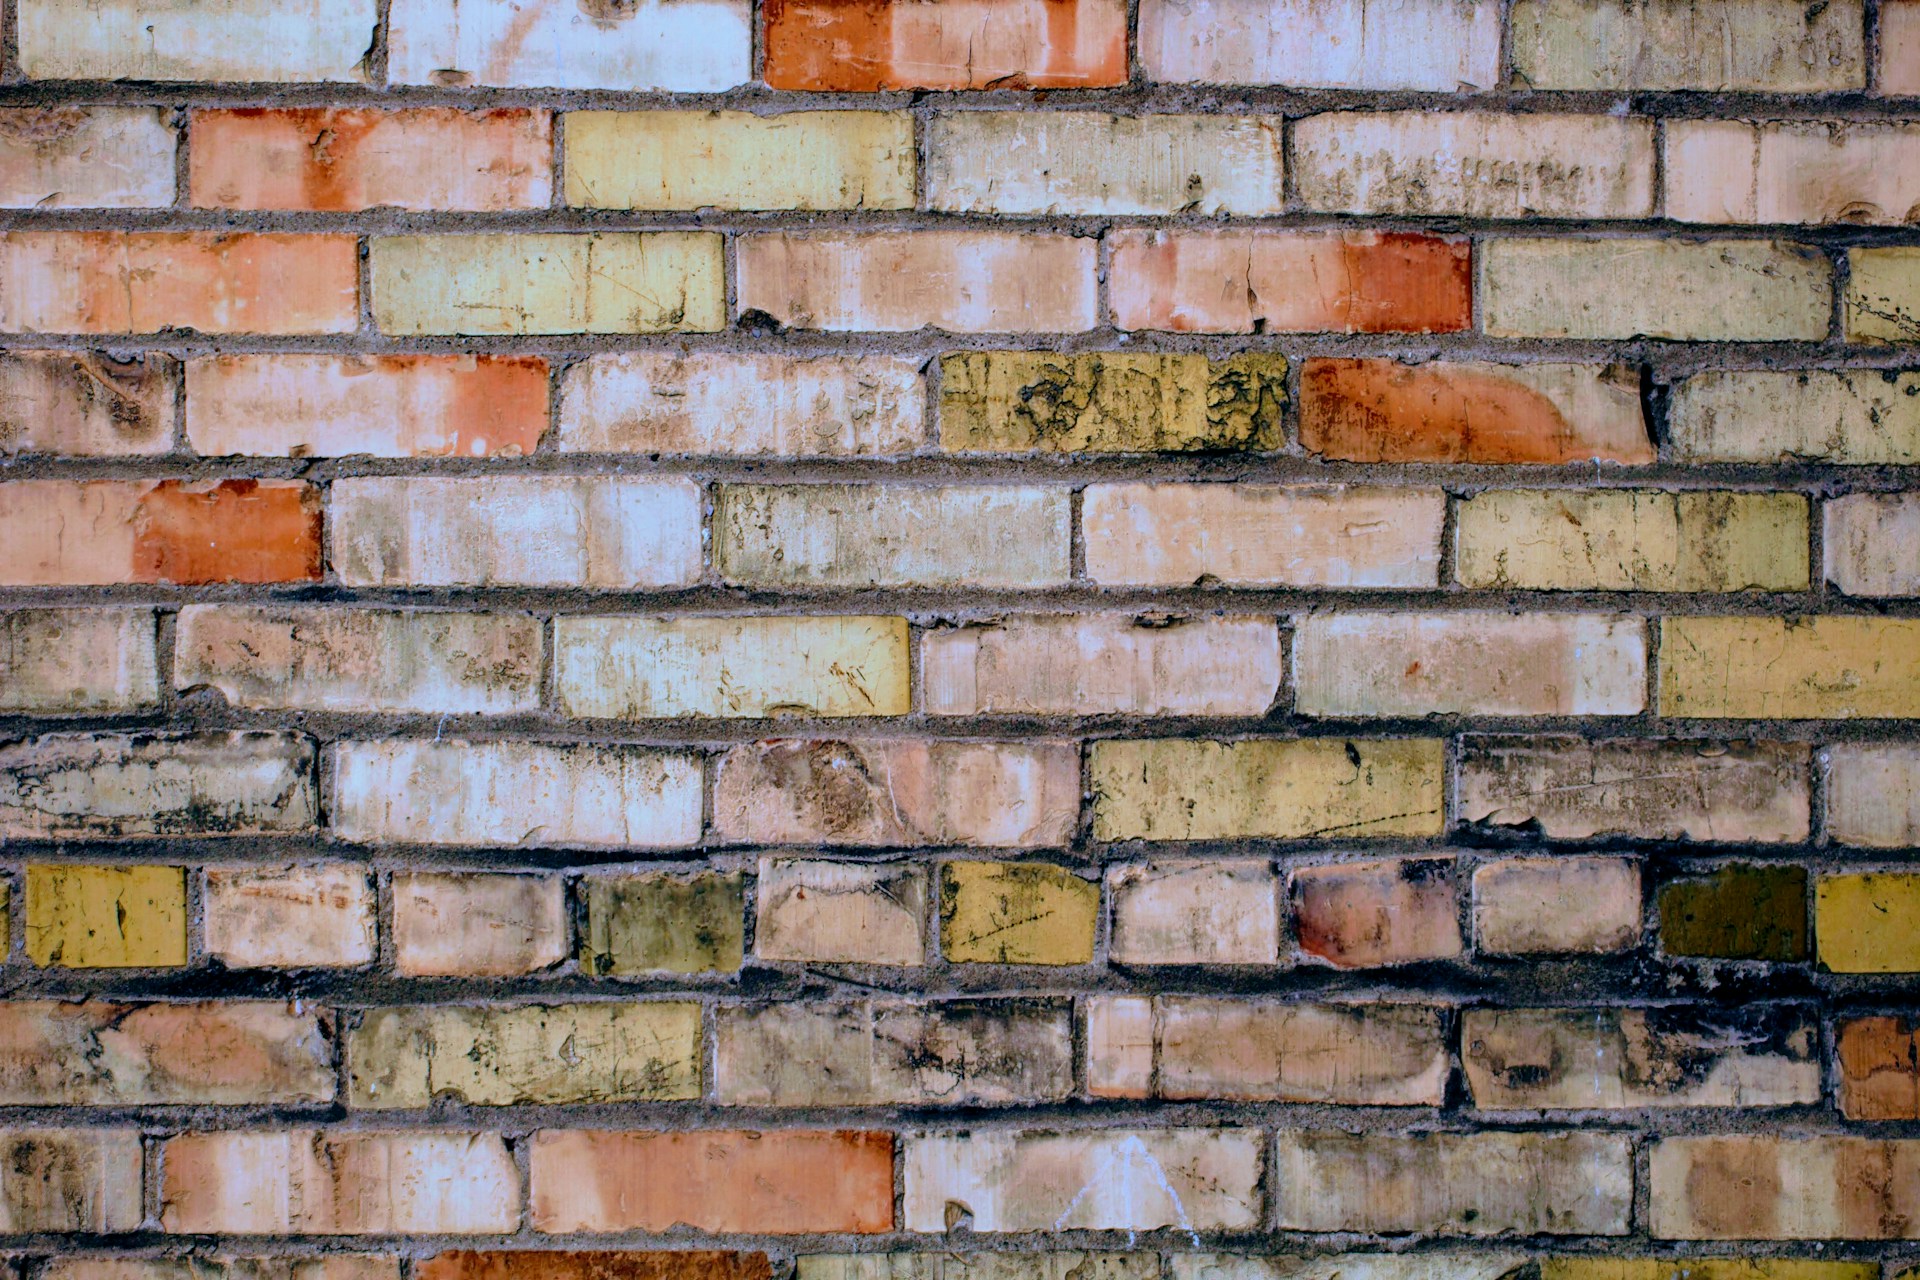
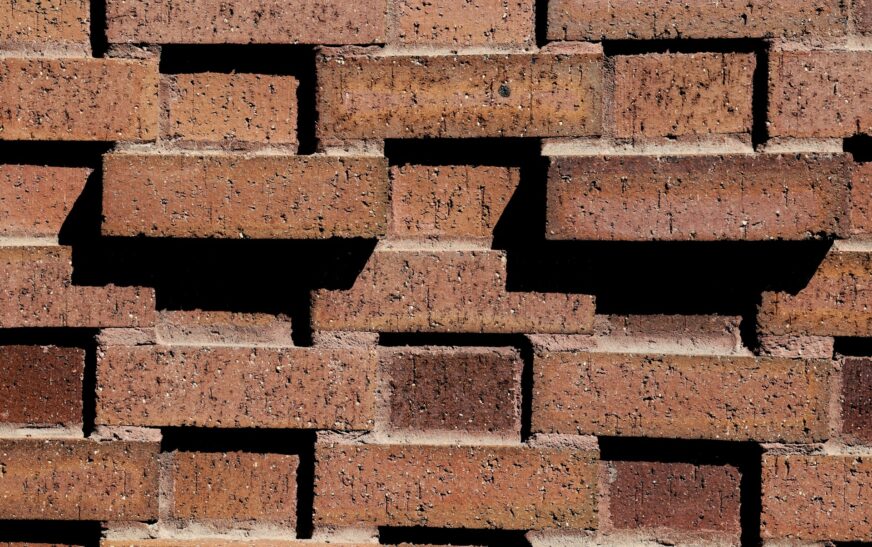
Tuckpointing (aka repointing) is the process of removing old, deteriorated mortar from between bricks and replacing it with fresh, strong mortar. Think of mortar as the glue that keeps your bricks together—when it erodes, moisture sneaks in, freezes in winter, and suddenly your wall’s health is in jeopardy.
Even a small area of 30 bricks, if ignored, can eventually require full-wall restoration. That’s why pros always say: timely tuckpointing is as much about prevention as it is about aesthetics.
Why the “30 Bricks” Question Comes Up
You might wonder why anyone asks about exactly 30 bricks. Well, most homeowners don’t see their walls falling apart all at once. Damage usually appears in small patches—a chimney corner, a foundation edge, or a wall battered by weather.
Focusing on 30 bricks really asks: what’s involved in repairing a tiny, localized section without overhauling the whole wall? Spoiler: there’s more to it than just slapping on some new mortar.
Factors That Affect the Cost of Tuckpointing 30 Bricks
Several things influence how much elbow grease, skill, and time go into tuckpointing:
- Depth of Mortar Removal
Minor cracks need shallow work, but deeper deterioration requires chiseling further into the joints. Deeper = more skill and labor. - Accessibility of the Area
Ground-level wall? Easy. Chimney crown or second-story wall? Hello scaffolding and ladders—time and equipment add up. - Condition of Surrounding Bricks
Sometimes the mortar is the only problem. Other times bricks are chipped, spalled, or water-damaged, which means extra replacement work. - Mortar Matching & Aesthetics
Good masons don’t just fill gaps—they match color and texture. Blending new mortar seamlessly, especially in historic walls, takes both experience and artistry. - Regional & Environmental Factors
Climate matters. Cold regions need flexible lime-based mixes; humid areas need water-resistant mortars.
Why Professional Expertise Matters
Sure, DIY might seem tempting for a 30-brick patch. But tuckpointing requires precision: wrong depth, mismatched mortar, or poor joint tooling can make a patch fail or stick out like a sore thumb. A pro ensures your repair is watertight, visually seamless, and long-lasting. Plus, they can spot hidden damage you might miss.
Small Repairs = Big Prevention
Tackling a 30-brick section isn’t just cosmetic—it’s preventive. By sealing those gaps, you stop erosion from spreading, protecting both the structure and your wallet from larger future repairs. Brick buildings can last centuries, but only with proper maintenance. Small, timely fixes keep the wall happy for decades.
Signs Your 30-Brick Patch Needs Attention
Keep an eye out for:
- Crumbling or sandy mortar falling out of joints
- Visible gaps or holes between bricks
- Water stains or damp spots indoors
- Loose bricks that shift when pressed
- Mortar discoloration compared to surrounding joints
Read More : buildinsights
Notice any of these? Time to call in the pros.
Questions to Ask Your Mason
Before the repair begins, ask:
- How will you match the new mortar to the existing wall?
- What tools and techniques will you use for joint removal?
- Will any surrounding bricks need replacement?
- How long before the repair blends aesthetically with the rest of the wall?
These questions ensure your tuckpointing isn’t just strong—it’s also visually seamless and professionally done.