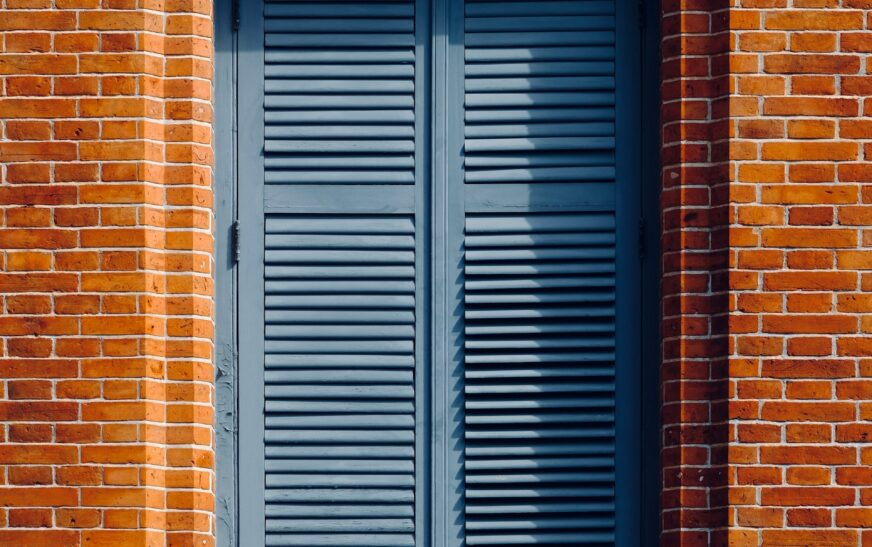
Mounting a TV above a brick fireplace can instantly upgrade your living space. It turns a traditional hearth into a sleek entertainment hub—bonus points for style. But if you’ve ever stared at a brick wall, drill in hand, you know this isn’t your typical weekend DIY.
Brick looks beautiful… and it’s also stubborn. It eats drill bits for breakfast, resists fasteners, and demands a little respect (and patience). Here’s how to tackle it without cracking the wall—or your sanity.
Why Mount a TV Over a Brick Fireplace?
Before jumping in, let’s ask the obvious: why bother?
- Space Optimization: Free up room in smaller living areas.
- Visual Appeal: Creates a clean, modern focal point.
- Central Focus: Your fireplace and TV become the room’s stars.
Challenges? Heat exposure, viewing angles, and hiding cords all need some planning.
Step 1: Evaluate the Fireplace Wall
Not all bricks are created equal. Before you grab a drill:
- Solid brick or veneer? Thin veneer can’t support heavy loads.
- Brick or mortar? Mortar is easier to drill but less secure.
- Painted surface? Adhesion and drill traction can vary.
- What’s behind the wall? Studs, insulation, or flues can affect your mounting options.
Take your time here—measure twice, drill once.
Step 2: Gather Tools and Materials
You’ll need more than a screwdriver:
Essentials:
- Masonry or hammer drill
- Carbide-tipped masonry bits
- TV wall mount (rated for your TV)
- Masonry or sleeve anchors
- Level
- Drill driver or socket wrench
- Safety goggles, gloves, dust mask
Optional but helpful:
- Cable management kit
- Stud finder
- Heat shield or mantel to protect the TV
Step 3: Decide TV Height and Position
Mount too high and your neck may file a formal complaint. Ideally, the center of the screen should be at eye level—but above a fireplace, compromises happen.
Pro Tips:
- Use a tilting or full-motion mount to angle the screen downward.
- Check wall temperature while the fireplace runs—over 100°F? Add a mantel shelf or heat deflector.
Step 4: Drill Pilot Holes
Mark where the mount will go. Double-check your level—crooked TVs are an instant vibe-killer.
- Drill into brick, not mortar (unless specified).
- Let the drill do the work; avoid forcing it.
- Clean up brick dust with a vacuum or brush.
Step 5: Install Anchors and Mount Bracket
- Insert masonry anchors into the holes.
- Align the bracket and tighten bolts securely.
- Ensure the mount is firm and flush—no wobbles allowed.
Step 6: Attach the TV
- Attach mounting arms or rails to the TV.
- Lift and secure it to the bracket.
- Lock safety screws or latches.
- Test any tilt/swivel features—everything should move smoothly without loosening.
Step 7: Conceal the Cables
Clean up the final look:
- Cord covers painted to match the wall
- In-wall cable kits (requires drywall access)
- Wireless HDMI for minimal wires
Safety note: Never run regular power cables inside walls—they need to be rated for in-wall use.
Bonus Tips
- TV overheating? Add a mantel or heat shield.
- Uneven brick? Use shims behind the mount.
- Remote issues? Bluetooth or Wi-Fi remotes can save the day.
Read More: How to Hang Things on a Brick Wall: Smart Techniques for a Tough Surface
Alternatives If You Can’t Drill
- Mantel mounts: Sit on the mantel and clamp or use adhesive.
- Free-standing mounts: Place near the fireplace for a similar look.
- Adhesive mounts for lightweight TVs: Not ideal for big screens, but works in a pinch.