Replacing windows in a brick house can feel like a high-stakes game: one wrong move, and suddenly your brick exterior looks like a scene from a demolition show. Unlike wood or vinyl siding, brick isn’t forgiving. So how do you swap out windows without cracking the masonry or your nerves? Let’s break it down step by step.
Why Brick Is Different
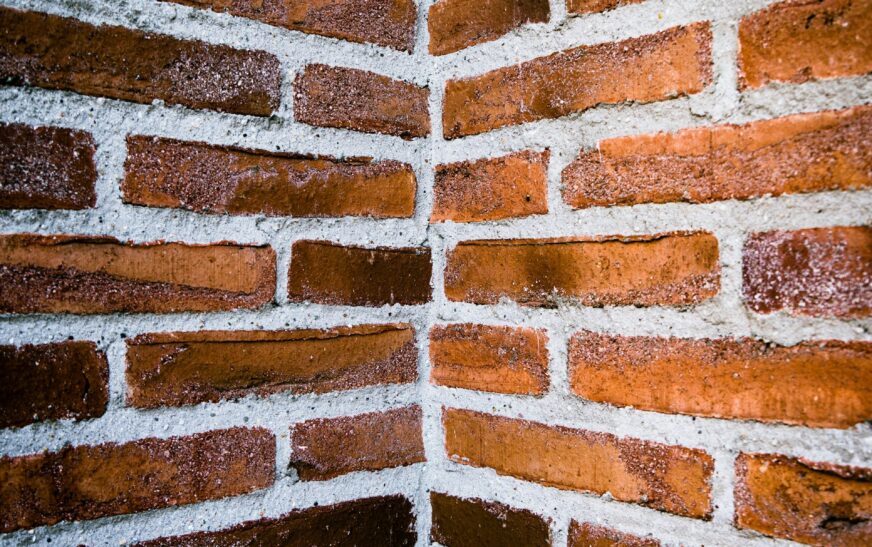
Before you grab a pry bar or crowbar, it’s important to understand brick construction. Brick is strong but brittle. Unlike wood, which you can trim or nudge, brick responds poorly to force and vibration. That means every cut, pull, or shim needs to be precise.
Most windows in brick homes are set into a rough opening, often framed with wood or supported by a steel lintel. The bricks around the window are mortared in place, sometimes with flashing or sealant to keep out water. So replacing a window isn’t just swapping frames—it’s a careful dance between structural integrity and waterproofing.
Step-by-Step Guide: Replacing Windows in a Brick House
1. Identify the Window Type
Knowing what you’re dealing with makes life easier. Most brick house windows are either:
- Nail fin windows: Common in new builds, nailed to the wall before brick is laid.
- Block frame (replacement) windows: Installed without flanges, typically used for replacing older windows.
Your approach changes depending on the type.
2. Measure Like a Surgeon
Accuracy is key. Measure the width and height from inside the frame, not the trim, and take three measurements each (top, middle, bottom for width; left, center, right for height). Use the smallest number to ensure a snug fit—because no one wants a window that’s “almost right.”
3. Prep the Work Area
Protect your home and sanity:
- Remove blinds, curtains, and furniture.
- Lay down drop cloths inside and out.
- Shield landscaping and nearby exterior features.
Brick dust has a sneaky way of getting everywhere—trust me.
4. Remove the Old Window Carefully
Step carefully—brick doesn’t forgive:
- Score caulk lines with a utility knife.
- Remove interior trim or stops.
- Unscrew or cut fasteners.
- Gently extract the window, tilting as needed.
If the window is embedded in mortar or behind brick flanges, removal gets trickier and may require partial brick removal or special tools. When in doubt, call a pro—brick damage is not easily reversed.
5. Inspect and Repair the Opening
Before installing the new window, check for:
- Rotting wood frames
- Water damage, mold, or insect activity
- Worn or missing flashing
Install new flashing tape or a sill pan if needed—this is your chance to fix small problems before they become expensive headaches.
6. Install the New Window
Slide it into place and check that it’s level and square. Use shims as needed. Secure with screws into wood or masonry anchors depending on your wall type. Seal the perimeter with exterior-grade caulk or low-expansion spray foam to keep drafts and moisture out.
7. Finish With Trim and Details
Reattach interior trim, stops, or casing. Repaint or caulk as needed. On the exterior, consider brick molding or metal capping for a clean, weather-resistant finish.
Special Considerations for Brick Houses
Lintels and Load-Bearing Walls
Many windows sit beneath steel or stone lintels, which carry the weight of the bricks above. Disturbing a lintel or load-bearing wall can cause serious structural issues. If you’re unsure, don’t gamble—consult a professional.
Custom Sizing
Older brick homes rarely have standard-sized windows. Custom replacements may be necessary to avoid cutting bricks or compromising the structure.
Read More : Do Command Strips Work on Brick? An In-Depth Guide to Adhesion on Masonry Surfaces
Permits and Codes
Check local regulations. Replacing windows—especially in historic brick homes—may require permits or approval.
Replacing windows in a brick house isn’t impossible—it just requires patience, precision, and respect for the bricks that hold everything together. Follow these steps, and your windows (and walls) will thank you.