Painting a brick house might sound simple—just grab a roller and go, right? Well… not quite. Brick has personality. It’s textured, porous, and a little picky. To get a professional-looking, long-lasting finish, you need the right prep, products, and patience.
If you’re ready to give your home a fresh look, here’s your step-by-step guide to painting brick like a pro.
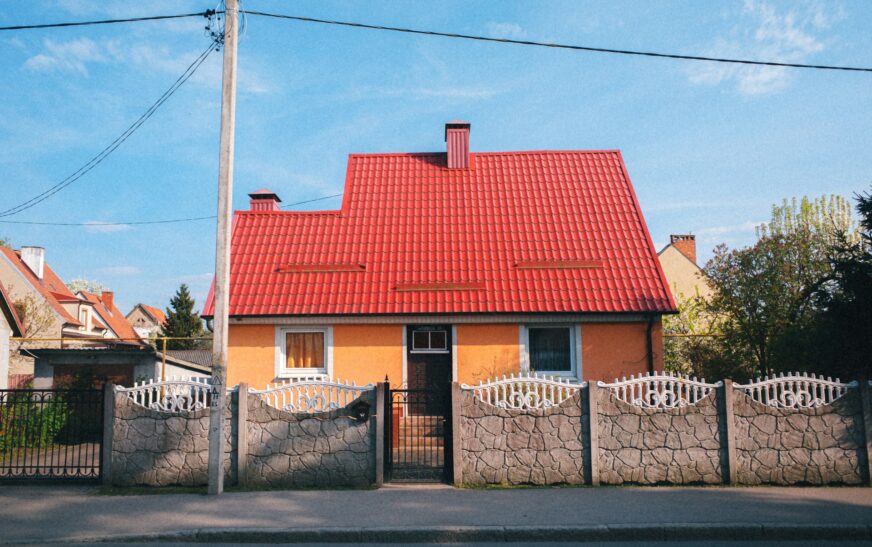
Why Paint a Brick House?
Bricks are durable, but even the sturdiest brick can get weathered, dull, or just plain “meh” over time. A fresh coat of paint can:
- Revive an outdated facade
- Boost curb appeal (because first impressions matter)
- Add a layer of protection against moisture and mold
- Reflect your personal style
Heads-up: Painted brick is a commitment. Undoing it is messy and expensive, so getting it right the first time is key.
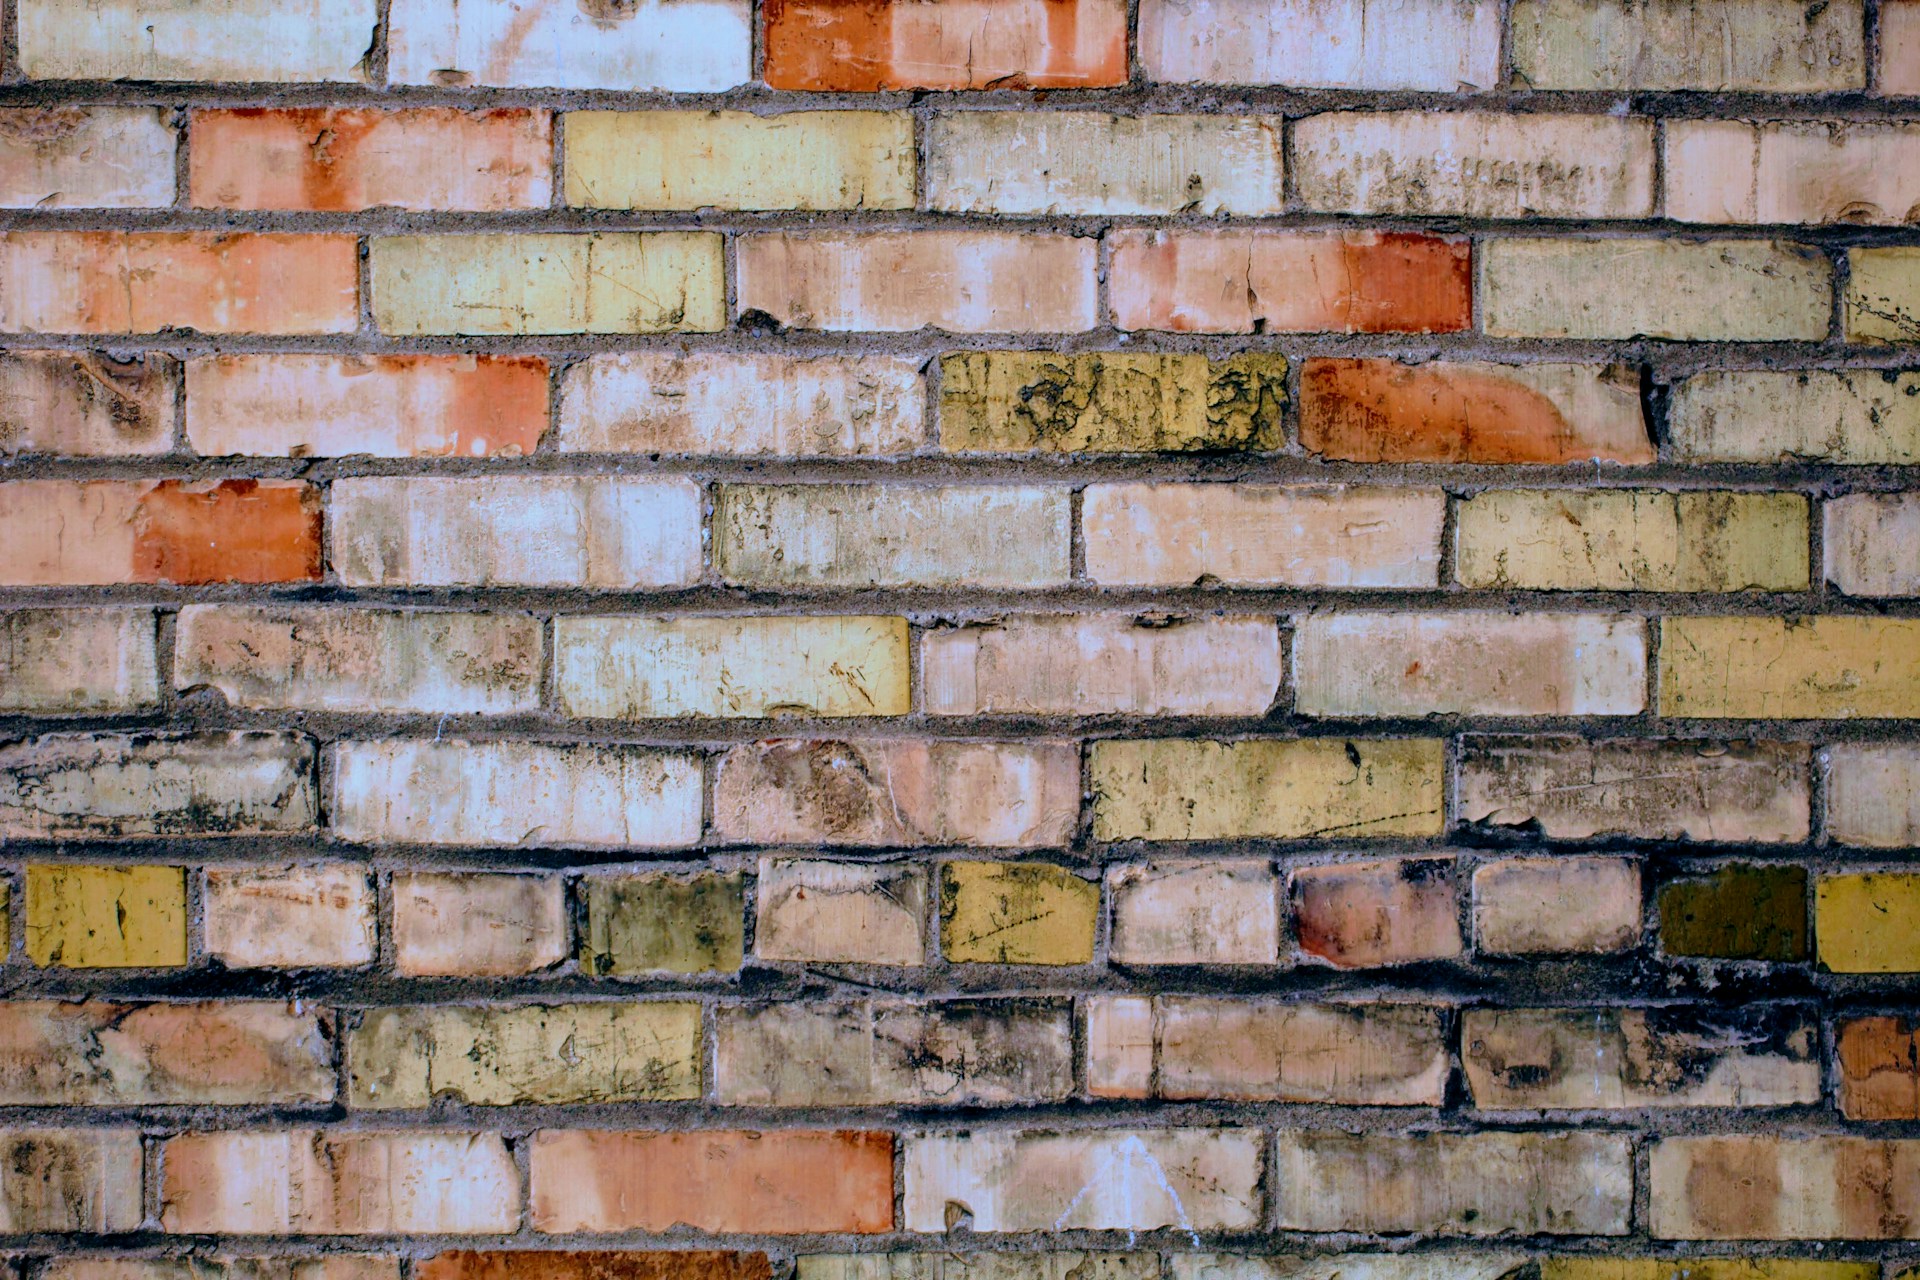
Step 1: Check Your Brick’s Health
Not every brick is ready for a makeover. Before painting, inspect your surface:
- Damaged or crumbling brick? Repair it first.
- White, powdery residue (efflorescence)? That’s trapped moisture—deal with it before painting.
- Mortar gaps or cracks? Repoint them.
Painting over problems is like putting a bandage on a broken bone—it won’t fix it, and it might make things worse.
Step 2: Clean Thoroughly
Clean brick = better paint adhesion and a smoother finish.
- Use a pressure washer on a low setting to remove dirt, mold, mildew, and loose debris
- Remove any old peeling paint
- Let it dry completely—usually at least 48 hours (humidity can slow things down)
Pro tip: Patience here pays off. Damp brick + paint = peeling disaster.
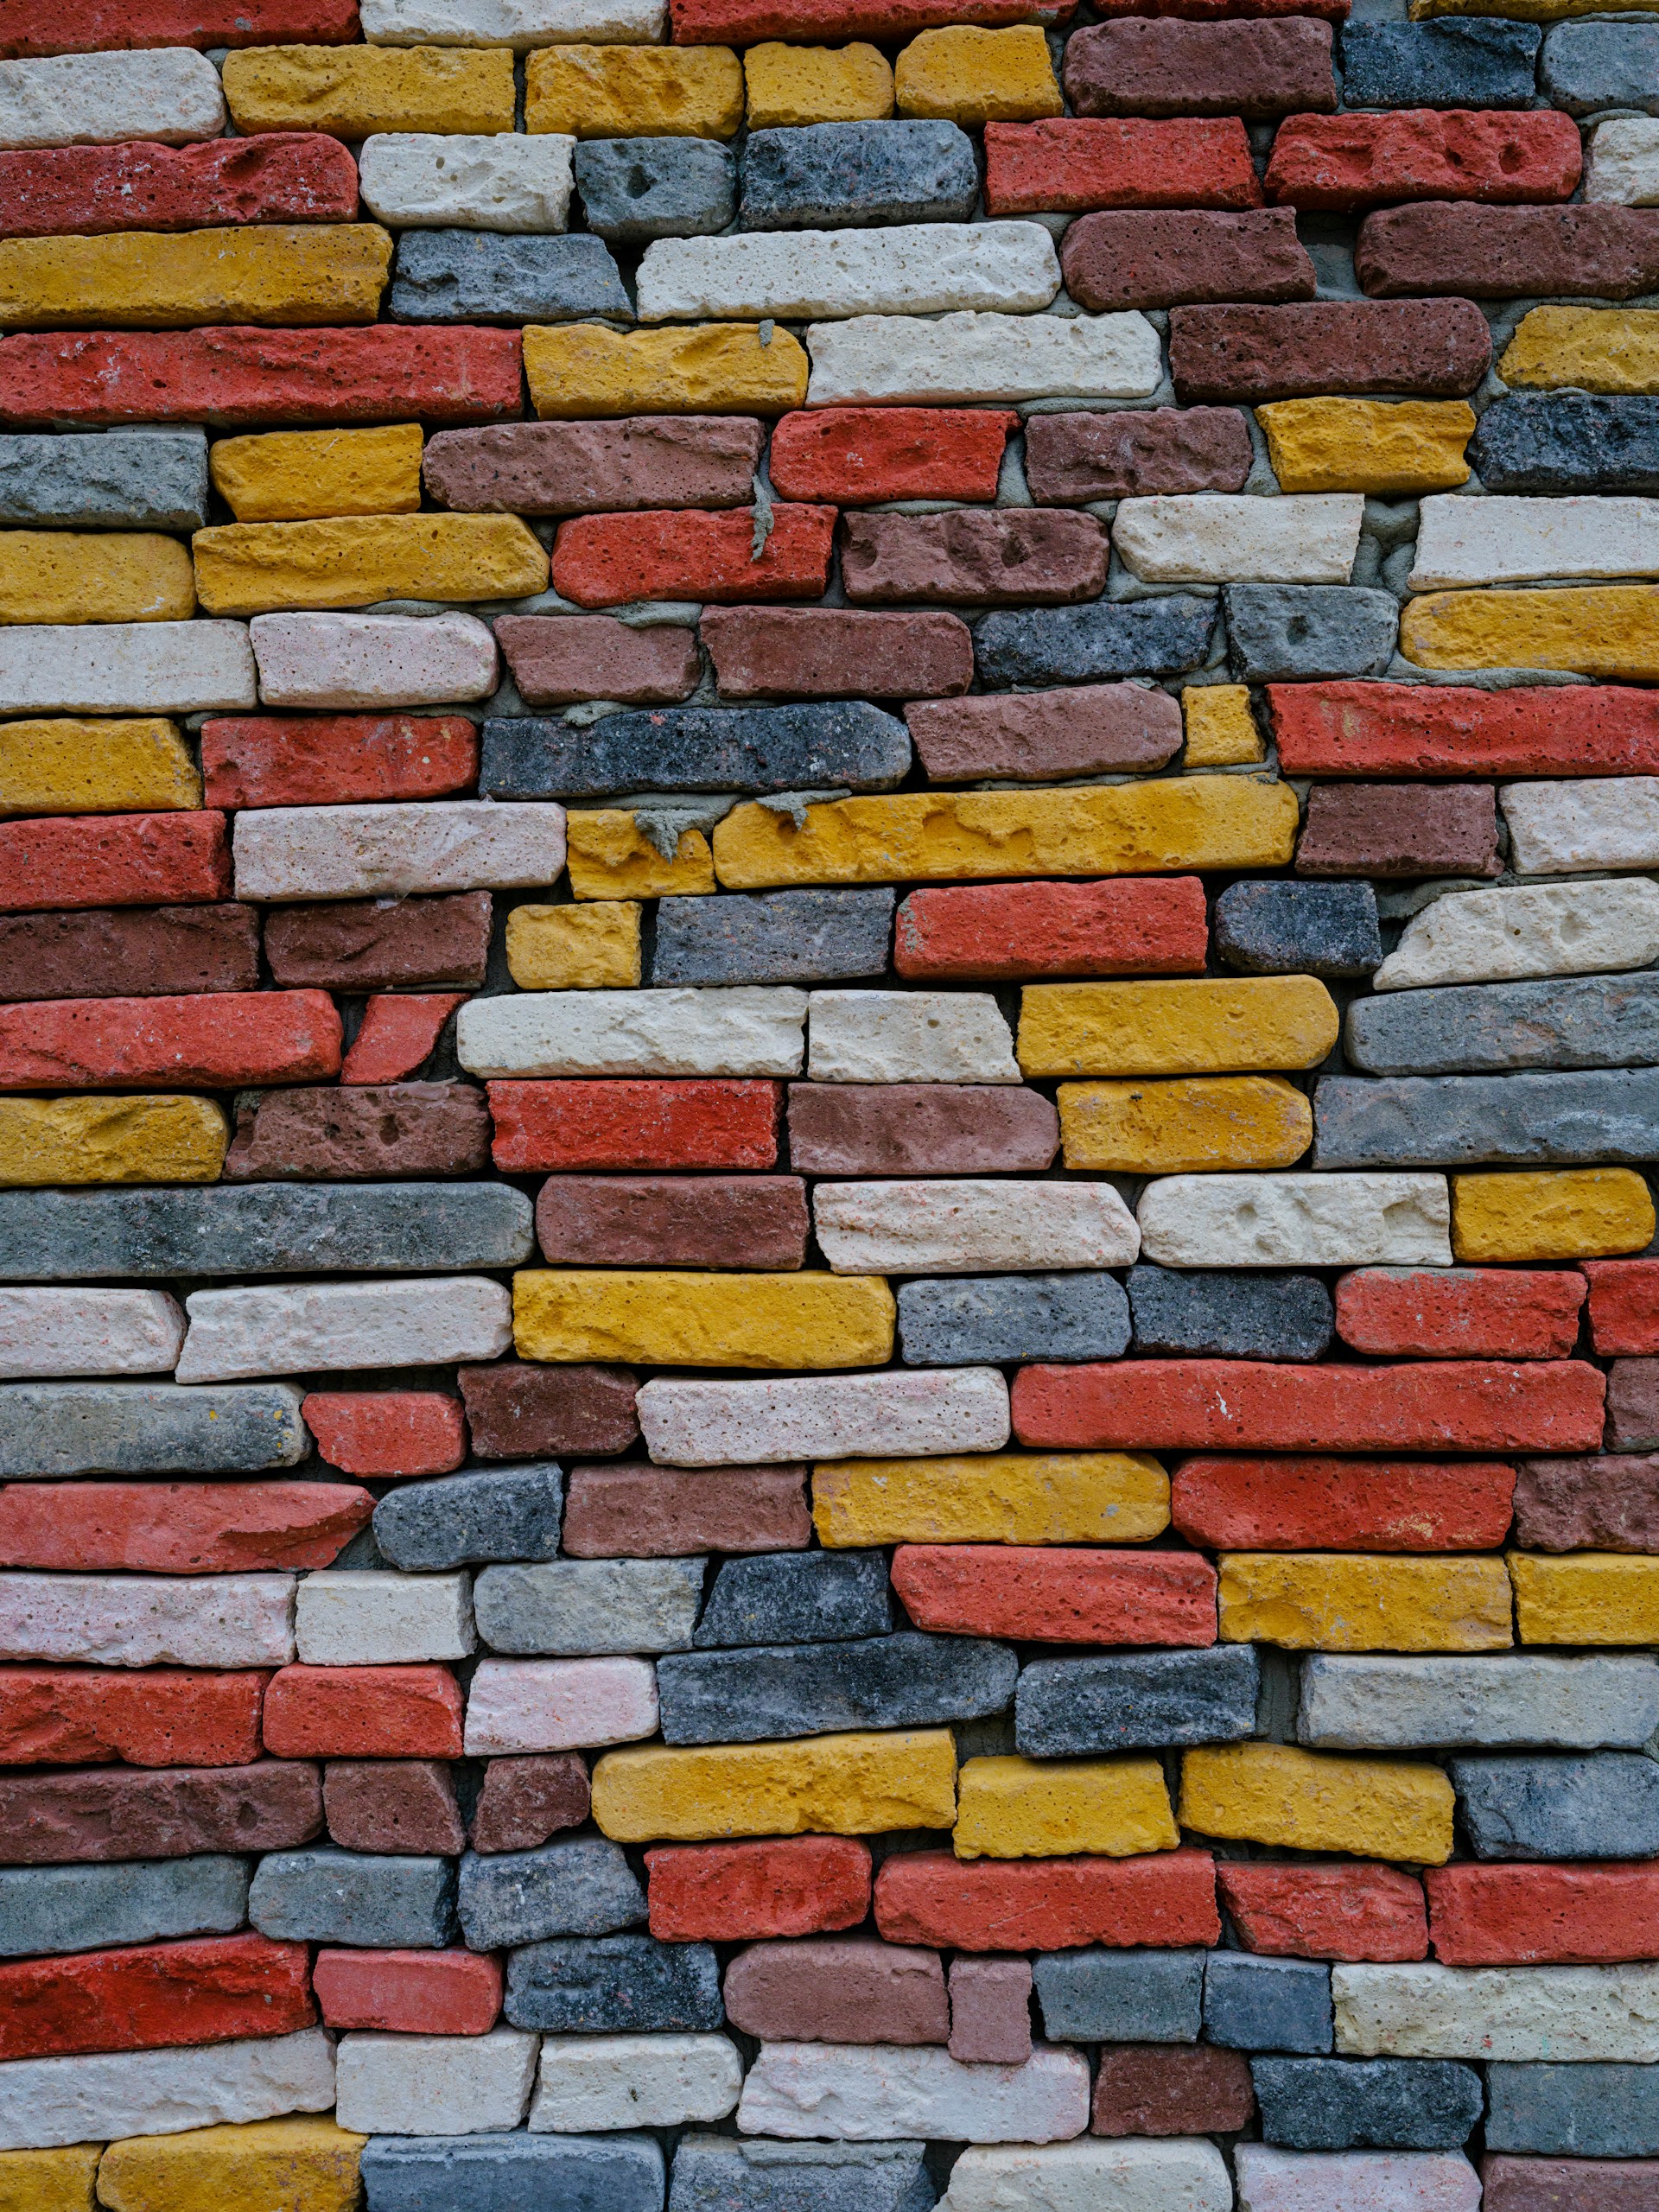
Step 3: Pick the Right Paint and Primer
Not all paints are created equal when it comes to brick. Choose:
- Primer: Masonry bonding primer creates a strong, even base
- Paint: Elastomeric or 100% acrylic latex paints work best—they expand and contract with the brick, reducing cracking
Avoid oil-based paints—they trap moisture and can lead to blistering or peeling.
Step 4: Mask and Protect Surroundings
Before you paint, protect anything you don’t want accidentally turned white (or whatever color you chose):
- Windows and doors
- Landscaping near the house
- Porch fixtures and trim
Painter’s tape + plastic sheeting = your best friends.
Step 5: Apply Primer
- Use a roller for flat areas and a brush for edges and details
- Primer seals the brick and ensures paint sticks properly
- Let it dry fully (sometimes up to 24 hours)
Step 6: Paint the Brick
- Start from the top down to avoid drips ruining your work
- Tools: Sprayer for big areas, thick-nap roller for textured surfaces, brush for mortar lines and corners
- Apply at least two coats, letting each dry fully
Patience here equals durability and beauty. Rushing = streaks, thin spots, and headaches later.
Step 7: Inspect and Touch Up
Once dry, walk around your house and check for:
- Missed spots
- Thin areas
- Drips or streaks
Tip: Inspect under different lighting during the day. Sunlight can reveal spots you didn’t see before. Touch them up for a flawless finish.
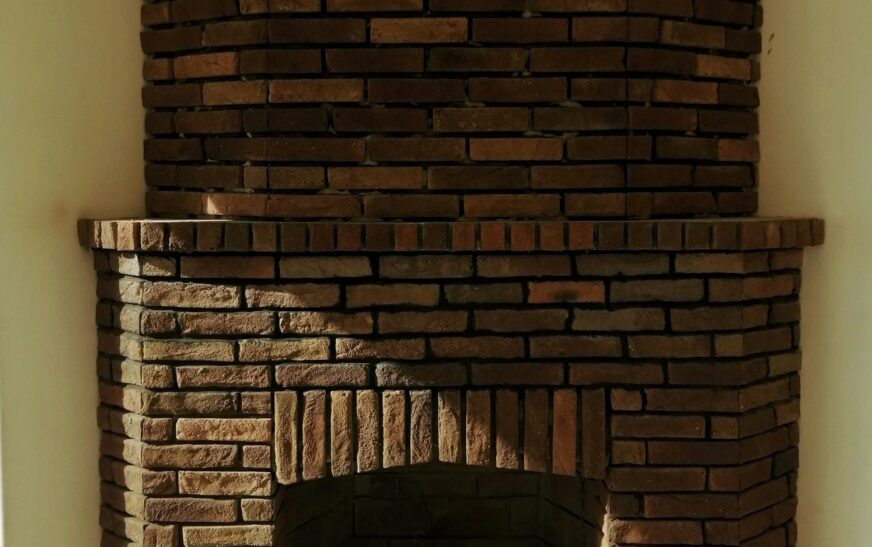
Read More : How to Paint a Brick Fireplace White (and Do It the Right Way)
Long-Term Maintenance
- Wash the surface annually to remove dirt or mildew
- Address chips or peeling early to prevent spreading
- Repaint every 7–10 years (or sooner if needed)
With the right prep, materials, and patience, painting your brick house can transform its look and give it long-lasting curb appeal—without ending in regret.